How to Do a Full Render Bake in Blender
Blender is a powerful 3D modeling and rendering software, and render baking is a particularly useful feature, especially in game development and animation production. Render baking allows complex lighting, shadow, and texture information to be precomputed and stored in textures, significantly reducing the computation required for real-time rendering. In this article, we will detail how to perform a full render bake in Blender and share some practical tips.
What is Render Baking?
Render baking refers to the process of precomputing and storing the lighting, shadows, and other rendering information of a scene into 2D texture maps. These maps can be applied to 3D models, reducing the real-time rendering computation and improving rendering efficiency. For example, in games, using baked lighting maps can make scenes look more realistic while reducing hardware demands.
How to Perform a Full Render Bake in Blender
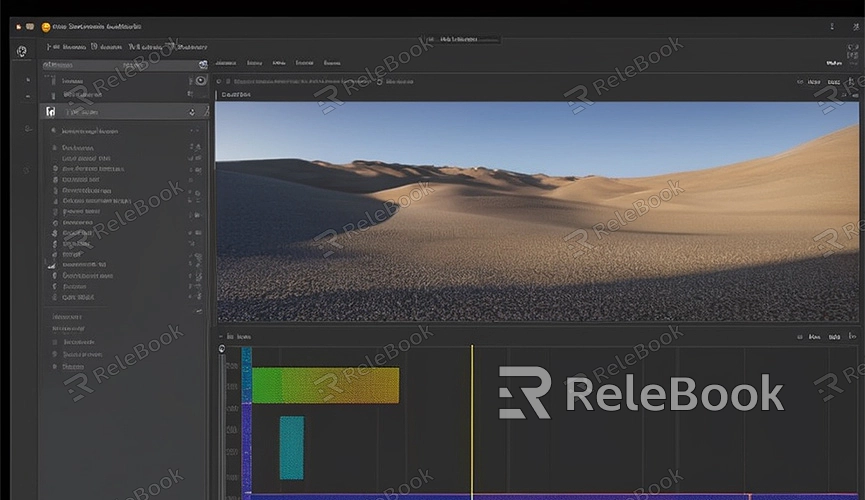
First, make sure you have the 3D model and scene you want to work with open in Blender. If you don’t have a scene, create a simple test scene.
1. Select the Model: In Blender, select the model you want to bake. You can right-click the model to select it.
2. UV Unwrap: Ensure your model has been UV unwrapped. UV unwrapping refers to the process of projecting a 3D model's surface onto a 2D plane to apply textures. If your model has not been UV unwrapped, you can do this in Edit Mode by selecting the model’s faces and pressing the "U" key to unwrap.
3. Create a New Texture: In the “UV/Image Editor” window, click the “New” button to create a new image texture. This texture will store the bake results. Set the texture resolution according to your needs, such as 1024x1024 or 2048x2048.
4. Choose the Bake Type: In Blender’s “Properties” panel, switch to the “Render” tab, then find the “Bake” section. Here, you can select the type of bake, such as “Diffuse,” “Glossy,” “AO,” etc. For a full render bake, select “Combined.”
5. Configure Bake Settings: In the “Bake” section, you can configure settings such as the bake margin to prevent seams on the edges of the texture. You can also choose whether to clear existing bake results.
6. Start Baking: Click the “Bake” button, and Blender will start computing the bake results and storing them in the texture you created. This process might take some time, depending on the scene’s complexity and texture resolution.
Practical Applications of Render Baking
Game Development
In game development, render baking can significantly improve performance. By precomputing lighting and shadows, you can reduce the real-time rendering computation, making the game run more smoothly. For instance, in a complex indoor scene, using baked lighting maps can make the scene look more realistic while significantly reducing GPU demands.
Animation Production
In animation production, render baking can help you handle complex lighting and shadows more efficiently. By baking this information into textures, you can use these textures in the animation, reducing the rendering time per frame. For example, in a scene that needs to be reused multiple times, baked textures can greatly speed up the rendering process.
Virtual Reality
In virtual reality applications, render baking is also crucial. Due to the higher demands of real-time rendering in VR, baking lighting and shadows can help maintain high quality while improving rendering efficiency. For example, in a VR architectural walkthrough, using baked lighting maps can make the interior lighting effects more realistic.
If you need high-quality 3D textures and HDRIs when creating models and virtual scenes, or if you need to download 3D models, you can download them from Relebook. After downloading, you can directly import the textures and 3D models into your project. This not only enhances your workflow efficiency but also ensures higher quality in your work. We hope this article helps you better understand and utilize Blender’s render baking feature. By using render baking wisely, you can greatly improve your workflow efficiency and achieve higher quality final results.
