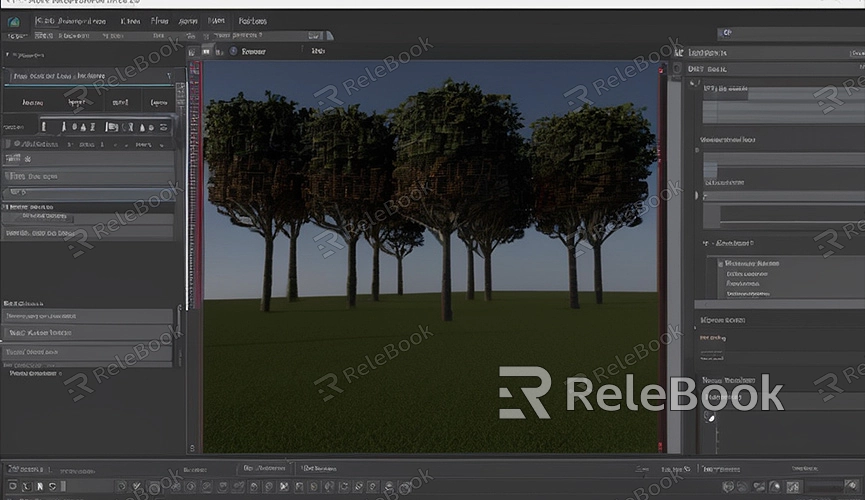
How to Enable Render Layer in Blender
Blender is a powerful 3D modeling and rendering software that provides essential tools for both beginners and advanced users. One such tool is the render layer feature, which can significantly enhance your workflow efficiency. In this article, we will discuss how to enable render layers in Blender and offer some practical tips for their application.
What are Render Layers?
Render layers are a robust feature in Blender that allow users to split a scene into multiple parts for independent rendering. This not only helps organize your work better but also can greatly speed up the rendering process. For example, you can separate the foreground, background, and midground for individual rendering and then composite them together in post-processing. The benefit of this approach is that it allows you to adjust the render settings for each layer independently, resulting in finer control and higher quality final output.

Steps to Enable Render Layers
1. Open Blender and Load Your Scene: First, ensure that you have opened the scene you want to work on in Blender. If you don’t have a scene yet, you can create a simple test scene.
2. Switch to the "View Layer" Tab: In the right-side panel of Blender, you will see the "View Layer" tab. Click on this tab to see all the view layers of the current scene.
3. Add New View Layers: Click the "+" button to add a new view layer. You can name each view layer for easy identification and management. For example, you can create a "Foreground" view layer, a "Background" view layer, and so on.
4. Set the Content of the View Layers: In each view layer, you can select the objects and collections to include. By adjusting these settings, you can control the specific content rendered in each view layer.
5. Configure the Render Settings for Each View Layer: Each view layer has its own render settings. You can tweak lighting, shadows, materials, and other parameters to achieve the best effect. For example, you might use higher render quality for the foreground layer and lower quality for the background layer to save rendering time.
Practical Applications of Render Layers
Separating Foreground and Background
In a complex scene, the foreground and background often require different treatments. By splitting them into different view layers, you can independently adjust the render settings for each part. For instance, you might use a higher anti-aliasing level for the foreground layer to achieve smoother edges, while lowering the anti-aliasing level for the background layer to save computational resources.
Separating Lighting Conditions
Different lighting conditions can affect various parts of a scene differently. Using render layers, you can set independent light sources for each layer. For example, you can add a light source specifically for illuminating the foreground in one view layer and use another light source for the background in another view layer.
Separating Characters and Environments
In animation production, characters and environments often need to be rendered independently. By splitting characters and environments into different view layers, you can more conveniently adjust their animation and render settings. For instance, you can use higher render quality for the character layer to capture finer details, while simplifying the render settings for the environment layer to improve rendering speed.
Tips for Optimizing Your Rendering Workflow
While using render layers can significantly boost your workflow efficiency, it is essential to use them wisely to avoid unnecessary complexity. Here are some tips for optimizing your rendering workflow:
- Name View Layers Clearly: Give each view layer a clear name for easy identification and management.
- Avoid Excessive View Layers: Although render layers are powerful, too many layers can increase management difficulty. Allocate the number of view layers based on actual needs.
- Use Templates: Before starting a new project, create some commonly used view layer templates for quick configuration.
If you need high-quality 3D textures and HDRI for creating models and virtual scenes, or if you need to download 3D models, you can download them from Relebook. After downloading, you can directly import the textures and 3D models into your project, which can significantly enhance your workflow efficiency and achieve higher quality final results.
We hope this article helps you better understand and utilize Blender’s render layer feature. By wisely using render layers, you can more efficiently manage complex scenes and achieve more professional rendering results.

