How to Dither a Render in Blender
Blender is a powerful 3D modeling and rendering software that many artists and developers use to create complex and beautiful 3D works. In some cases, applying dithering to a rendered image can significantly enhance its quality, especially when dealing with color transitions and reducing banding effects. This article will detail how to apply dithering in Blender and share some practical tips for its use.
What is Dithering?
Dithering is an image processing technique that adds noise between colors to smooth transitions, thereby reducing banding effects. This technique is commonly used in low color depth images but is also useful in high-quality renders. By applying dithering to your render, you can make the image appear more natural and refined.
How to Enable Dithering in Blender
To enable dithering in Blender, first ensure you have Blender installed and open. Here are the specific steps:
1. Open Blender and Load Your Project: Make sure you have your 3D model and scene loaded in Blender. If you don't have a project yet, you can create a simple test scene.
2. Access the Render Settings: In Blender's right-hand panel, find the "Render Properties" tab, represented by a small camera icon. Click on it to access the render settings.
3. Locate the Dithering Setting: Scroll down in the "Render Properties" tab until you find the "Film" section. In this section, you will see an option called "Dither."
4. Adjust the Dithering Intensity: By default, the dithering intensity is set to 0. You can adjust this value as needed; typically, setting it between 0.5 and 1.0 will yield good results. Higher values will add more noise but will better smooth color transitions.
5. Render the Image: After setting the dithering intensity, click on the "Render" menu and select "Render Image" or press the F12 key to start rendering. Once the render is complete, you will notice that the color transitions in the image are smoother and the banding effects are significantly reduced.
Practical Tips for Dithering
- Use a Higher Sample Rate: While dithering can reduce banding effects, using a higher sample rate is also important. By increasing the sample rate, you can achieve higher quality renders. You can adjust the sample rate settings in the "Sampling" section of the "Render Properties" tab.
- Proper Use of Color Management: Color management in Blender can also affect the final render. In the "Color Management" section of the "Render Properties" tab, you can adjust the view transform and display device. Choosing the appropriate color management settings can further enhance image quality.
- Post-Processing: After rendering, you can use Blender's "Compositor" for post-processing. Adding some post-processing effects, such as blur, sharpen, and color correction, can make the final image more polished. Combining dithering with post-processing yields even better results.
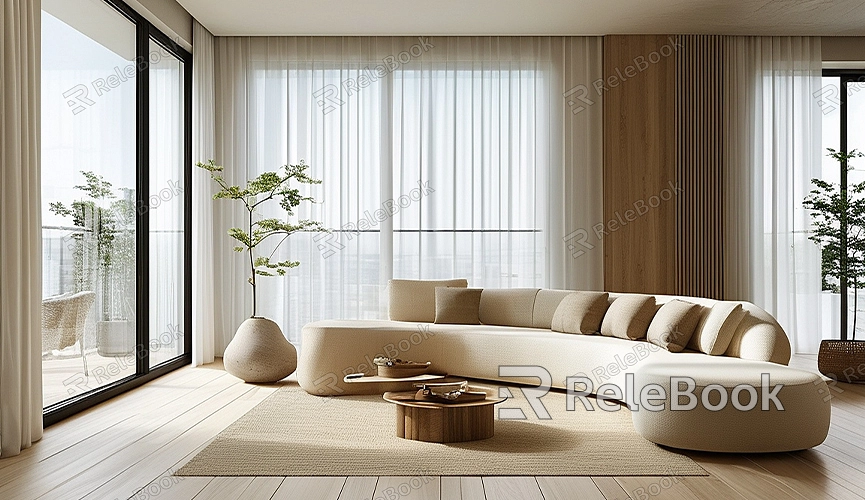
By following the above steps and tips, you can easily apply dithering to your rendered images in Blender, reducing banding effects and enhancing image quality. If you need high-quality 3D textures and HDRIs or 3D model downloads when creating models and virtual scenes, you can download them from Relebook. After downloading, you can directly import the textures and 3D models into your project. This can greatly improve your workflow efficiency and achieve higher quality final results.
I hope this article helps you better understand and utilize Blender's dithering function. By properly using dithering and other optimization techniques, you can achieve more natural and beautiful rendered images.
