How to Make One Render Layer Transparent Blender
Blender, as a powerful 3D modeling and rendering software, is capable of achieving various complex effects. In many scenarios, you might need to set a specific render layer to be transparent to allow for more flexible editing during post-production. This guide will walk you through the process of creating a transparent render layer in Blender to help you master this technique.
Preparations
Before you start, ensure that you have the latest version of Blender installed and that you are familiar with its basic operations. Create a simple scene where we can apply the transparent render layer.
Create the Basic Scene
First, we need to create a simple 3D scene that includes some basic geometric shapes and lighting.
1. Open Blender and start a new project.
2. Add a cube and a sphere, placing them in different positions within the scene.
3. Add a plane to serve as the ground.
4. Include a point light and an ambient light in the scene, adjusting their positions and intensities to achieve the desired lighting effects.
Set Up the Render Layer
Next, we need to assign the objects to a separate render layer that will be set to transparent.
1. Select the sphere and go to the “Object Properties” tab.
2. In the “Relations” panel, assign the sphere to a new render layer, such as Layer 1.
3. Ensure that other objects (the cube and the plane) remain on the default render layer.
Configure Render Settings
We need to adjust the render settings to ensure that the render layer is rendered separately and outputs with a transparent effect.
1. Go to the “Render Properties” tab and choose the “Cycles” renderer.
2. In the “Film” panel, enable the “Transparent” option so the background will be rendered as transparent.
3. Go to the “Layers” tab and ensure that Layer 1 is set to render separately.
4. In the “Layers” panel, enable the “Transparent” option to maintain the transparency effect during compositing.
Set Up the Material
To better display the transparent effect, we can assign a translucent material to the sphere.
1. Select the sphere and go to the “Material Properties” tab.
2. Create a new material and choose the “Transparent BSDF” shader.
3. Adjust the transparency parameters to achieve the desired transparency effect.
Render and Export
Once the above settings are complete, we can render the scene and export the result as an image with a transparent background.
1. Select “Render Image” from the “Render” menu to preview the render.
2. If satisfied with the result, choose “Save As” to export the render as a PNG file, which supports transparent backgrounds.
Post-Processing
In most cases, after rendering an image with a transparent background, we perform compositing in post-processing software.
1. Open a post-processing software (such as Photoshop or After Effects).
2. Import the rendered image with the transparent background.
3. Perform layering, adjustments, and special effects as needed.
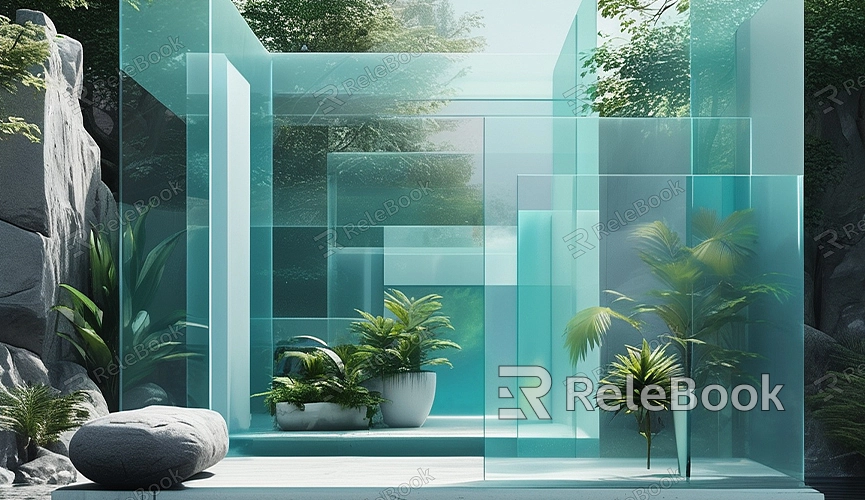
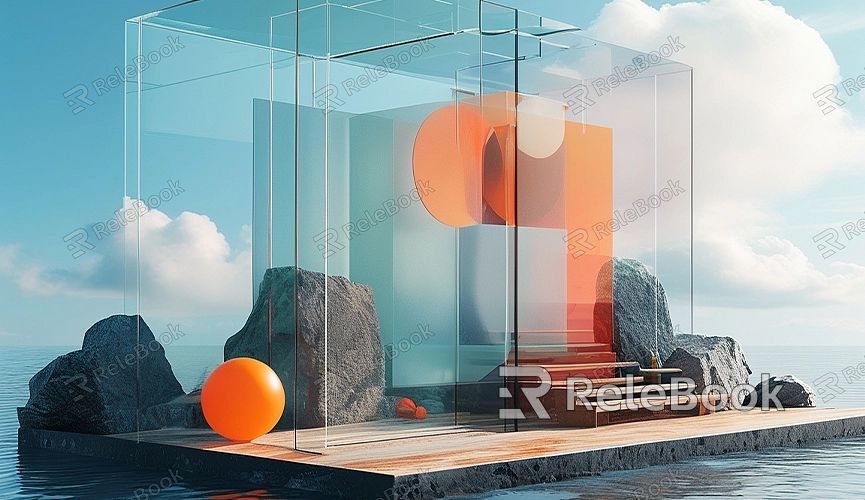
By following these steps, you can easily create a transparent render layer in Blender and perform flexible editing and compositing during post-production. If you need high-quality 3D textures, HDRIs, or 3D model downloads for creating models and virtual scenes, you can download them from Relebook and directly import the textures and models into your project. We hope this guide helps you master the technique of creating transparent render layers in Blender.
