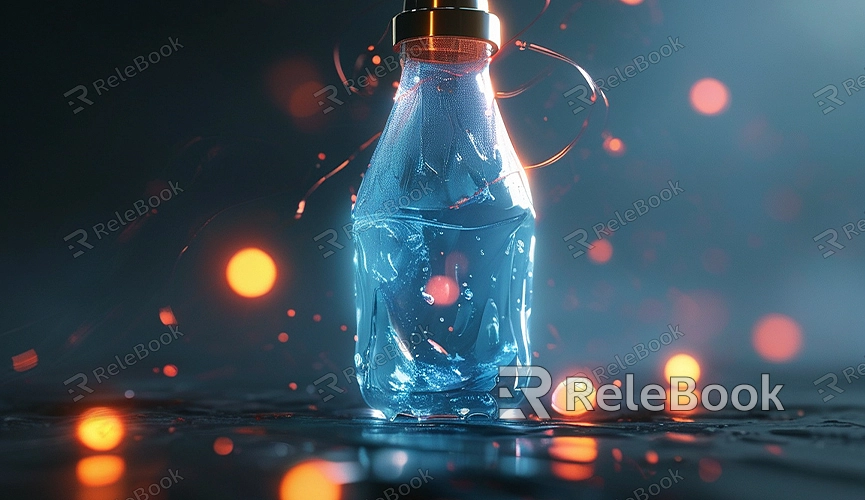
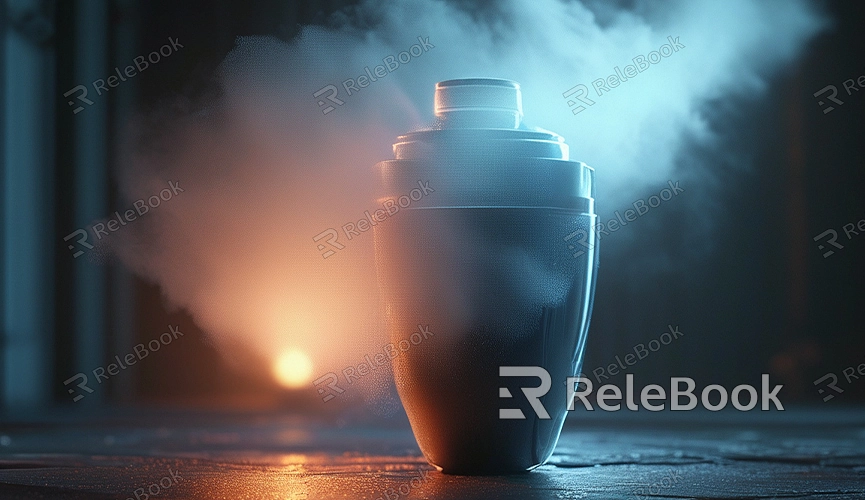
How to make smoke in blender render
Creating realistic smoke effects in 3D modeling and rendering is a crucial skill. Smoke can add depth and realism to a scene, whether in films, animations, or games. This article will detail how to create smoke effects in Blender and make them look more realistic.
Preparation
Before starting, ensure you have the latest version of Blender installed. Blender is a powerful, open-source 3D modeling and rendering software that is free to use. You can download the latest version from Blender's official website.
Creating the Basic Scene
1. Open Blender and delete the default cube.
2. Press Shift+A, select Mesh, and then choose Cube to add a new cube.
3. Adjust the cube's size and position to serve as the container for the smoke. You can make these adjustments in the properties panel on the right.
Setting Up the Smoke Source
1. Press Shift+A again, select Mesh, and choose a small cube or sphere. Place it inside the larger cube to act as the smoke emitter.
2. Select the smoke emitter, switch to the physics properties panel, click Fluid, and set the Fluid Type to Fluid. Then, set the Fluid Behavior to Flow and choose Inflow for the flow type.
Setting Up the Smoke Domain
1. Select the large cube, switch to the physics properties panel, click Fluid, and set the Fluid Type to Fluid. Then, set the Fluid Behavior to Domain.
2. In the fluid settings, choose Gas as the fluid type. This will allow the large cube to contain and simulate the movement and changes of the smoke.
Adjusting Fluid Parameters
1. In the physics properties panel, adjust the emission rate and temperature of the smoke emitter to make the smoke more realistic. You can experiment with different values to find the best effect.
2. In the domain settings, adjust the resolution and detail levels. Higher resolution will produce finer smoke effects but will also increase computation time.
Smoke Material and Rendering
1. Select the large cube, go to the materials panel, and click New to create a new material.
2. In the material node editor, add a Volume Scatter node and connect it to the volume input of the material output.
3. Adjust the density and color of the Volume Scatter node to make the smoke look more realistic.
Adding Lighting and Environment
1. Add lights to the scene, using point lights, parallel lights, or spotlights. Adjust the position and intensity of the lights to ensure the smoke is well-lit.
2. To add depth and realism to the scene, add an HDRI environment map. This will provide natural environmental lighting.
Rendering Settings
1. Switch to the render settings panel and choose an appropriate render engine (such as Cycles).
2. Adjust the sample count and resolution to balance between render quality and time.
3. Click the Render menu and select Render Image to render a still image. If you need to render an animation, select Render Animation.
Enhancing the Effect
When creating smoke effects, the choice of materials and textures is crucial. If you need high-quality 3D textures and HDRIs or downloadable 3D models for your projects, you can get them from Relebook. Importing these textures and models into Blender can significantly improve your workflow and make your work more realistic and professional.
By following these steps, you should now know how to create realistic smoke effects in Blender. From setting up the basic scene to configuring the smoke source and domain, and finally to adjusting materials and lighting, each step is essential in the 3D modeling process. I hope this article helps you master these techniques.
