How to render with texture in blender
Blender is a powerful open-source 3D rendering and modeling tool widely used in film production, game development, and visual effects design. Rendering textured scenes is a key step in creating realistic visuals, as textures can add detail to models, making them appear more lifelike. This article will guide you through adding textures to your scenes in Blender and rendering them, helping you create stunning 3D images.
Preparing Texture Resources
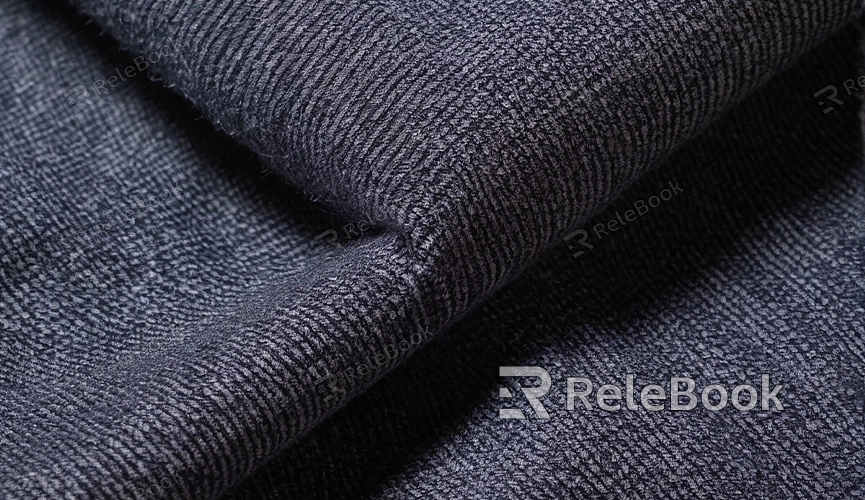
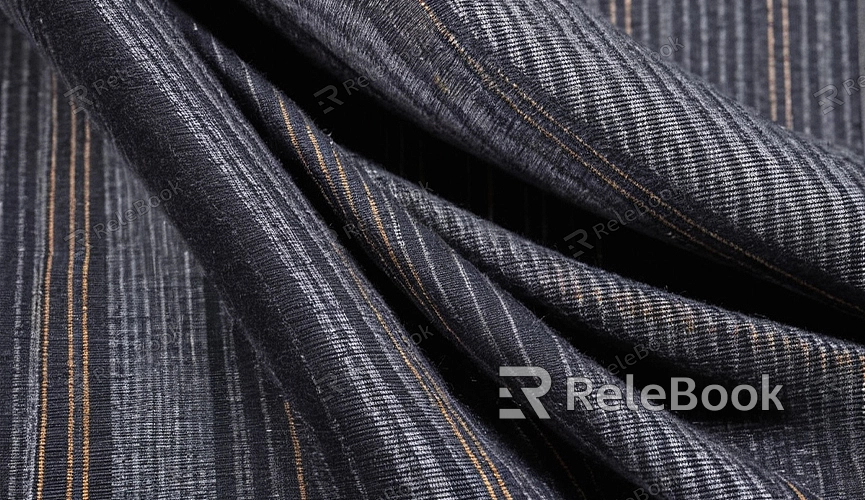
To render textured scenes in Blender, you first need to prepare your texture resources. Textures are images applied to the surfaces of 3D models that simulate material details, such as wood grain, fabric texture, or metal sheen. If you need high-quality 3D textures and HDRIs while creating models and virtual scenes, you can download a variety of premium textures for free from [Relebook](https://textures.relebook.com/). These resources will enhance the realism and detail of your scenes. If you also need stunning 3D models, you can find a wealth of high-quality 3D resources at [Relebook](https://3dmodels.relebook.com/) to meet your various needs.
Applying Textures in Blender
1. Import Your Model: First, ensure your 3D model is imported into Blender. You can import your model by navigating to “File” > “Import.”
2. Switch to the Material Panel: Select the model you want to texture and switch to the Material Properties panel. Here, you can add and edit materials for your model.
3. Create a New Material: Click the “New” button to create a new material. The “Surface” section will appear in the material panel, where you can set the basic properties of the material.
4. Add a Texture Node: Switch to the Shader Editor and add an “Image Texture” node to the material’s node graph. Connect this node to the “Base Color” input of the material. Click the “Open” button to select your prepared texture image file.
5. Adjust Texture Settings: In the “Image Texture” node, you can adjust various settings such as scale, rotation, and offset. These settings help the texture better fit the model's surface.
6. UV Unwrap: To ensure the texture maps correctly onto the model, you may need to perform UV unwrapping. In the UV Editing workspace, you can unwrap the model's UV layout and adjust the texture's mapping position and scale.
Rendering Textured Scenes
Once your texture setup is complete, you can proceed to render the scene. Here are the steps for rendering a textured scene:
1. Select the Rendering Engine: In the properties panel on the right, select the “Render” settings. Ensure you choose either the “Cycles” or “Eevee” rendering engine. Cycles is a ray-tracing-based engine suitable for high-quality renders, while Eevee is better for real-time rendering.
2. Adjust Render Settings: Modify the render settings as needed, such as resolution, sample count, and lighting settings. In the Render panel, you can set the quality and detail to achieve the best results.
3. Add Lighting: Make sure your scene has appropriate lighting. You can use point lights, spotlights, or ambient lights to illuminate the model and enhance texture details.
4. Set Up the Camera: Adjust the camera's position and angle to ensure you capture the desired shot. The camera's perspective will affect the final rendering outcome and quality.
5. Render the Scene: Click the “Render” button, and Blender will begin rendering your scene. Rendering time may vary depending on the complexity of the model and the set resolution.
6. Check the Rendered Result: Once rendering is complete, view the final image to check the texture application. If necessary, return to Blender for adjustments and optimizations.
Tips for Improving Texture Rendering Quality
To achieve better texture rendering results, consider the following tips:
- Use High-Resolution Textures: High-resolution textures provide more detail, making models appear more realistic. However, using high-resolution textures can increase the computational load, so choose the appropriate resolution based on your needs.
- Fine-Tune Material Properties: In the material panel, carefully adjust properties such as glossiness, roughness, and reflectivity to further enhance the texture effect.
- Utilize Post-Processing: After rendering, you can use Blender's post-processing features to adjust and enhance the image. For example, adding color correction and adjusting contrast and brightness can improve the final effect.
- Optimize Scene and Models: Reducing unnecessary details and polygon counts, and optimizing model and scene settings can improve rendering speed and quality.
Rendering textured scenes in Blender can significantly enhance visual effects and realism. By correctly setting and applying textures, along with appropriately adjusting render settings, you can create impressive 3D images. I hope this guide helps you master the techniques for rendering textures in Blender and improves your creative efficiency and outcomes.
If you need high-quality textures and 3D resources, visit [Relebook](https://textures.relebook.com/) to download free high-quality textures and HDRIs. For stunning 3D models, check out [Relebook](https://3dmodels.relebook.com/) for downloads. Utilizing these premium resources will enhance the rendering quality of your scenes.
