How to Make 3D Models for CNC Routers
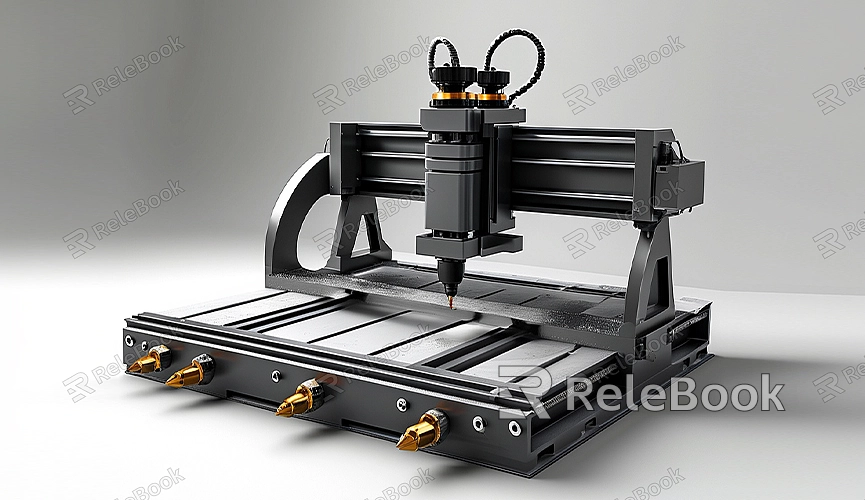
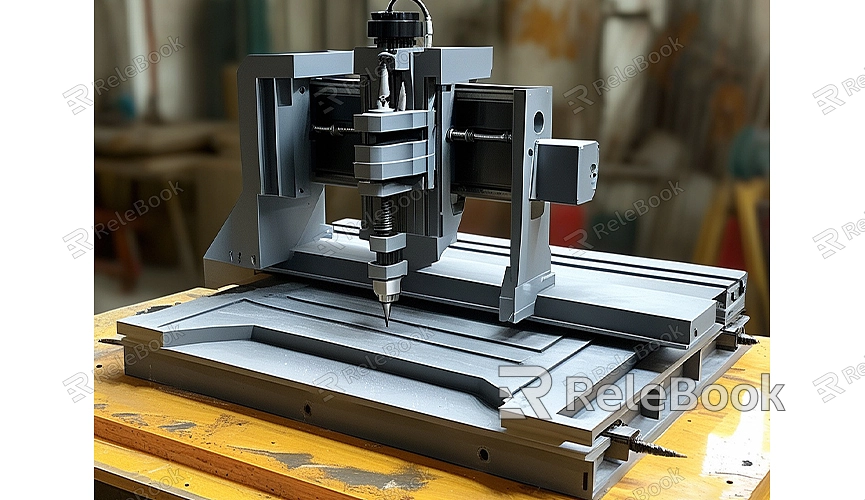
CNC routers (Computer Numerical Control routers) play an increasingly crucial role in modern manufacturing by precisely converting digital designs into physical objects. Creating 3D models suitable for CNC routers is a key step in this process. This guide will cover essential steps and tips to help you create high-quality 3D models that meet the requirements of CNC routers.
Choose the Right Software
Selecting appropriate software is crucial before creating 3D models. There are many 3D modeling software options available, such as Blender, SolidWorks, and Fusion 360. For CNC routers, it's recommended to use powerful modeling software that offers extensive tools and settings to help you create accurate 3D models.
Consider the Material
When designing your 3D model, it's important to consider the type of material you will be using. Different materials (such as wood, plastic, or metal) affect the carving process in various ways. Adjust the model's details and complexity based on the material's characteristics to ensure the final product is processed smoothly and meets expectations. For example, wood may require wider carving paths, while metal might need finer details.

Create a High-Quality 3D Model
1. Model Details: Ensure your model has sufficient detail but isn't overly complex. Highly detailed models can be challenging for the CNC router to handle, increasing processing time and cost. Maintaining a reasonable polygon count and detail level is key to a successful model.
2. Check Model Integrity: Use the modeling software's inspection tools to check for errors such as open edges, duplicate faces, or extra vertices. These issues can affect the carving quality and potentially cause processing failures.
3. Consider Carving Paths: Optimize the carving paths to reduce processing time. Design with the goal of minimizing tool movement and optimizing carving paths to enhance efficiency and precision.
Convert to CNC Router Format
Once your 3D model design is complete, the next step is to convert it into a format recognized by CNC routers. CNC routers typically require specific file formats, such as STL, DXF, or G-code. Most modeling software can export these formats, but you may also need to use CAM (Computer-Aided Manufacturing) software to generate the final carving paths and code.

1. Export Model: In your modeling software, choose the appropriate format to export your 3D model. Ensure you select the correct units and resolution to match the CNC router's requirements.
2. Generate G-code: Use CAM software to convert the 3D model into G-code, the language used by CNC routers. CAM software will generate detailed carving paths, including tool movement routes and cutting depths.
Test and Optimize
Before starting large-scale production, it’s best to conduct a test carve. This helps you assess the model's actual effect and identify any potential issues. Based on the test results, you can adjust the router settings or modify the model to improve the final product’s quality.
1. Test Carve: Select a small piece of material for a test carve to check the model's details and overall effect. Make necessary adjustments and improvements based on the test results.
2. Optimize Settings: Adjust the CNC router settings, such as cutting speed and tool selection, according to the test results to ensure optimal processing outcomes.
Use High-Quality Textures and Model Resources
To enhance the quality of your 3D models, consider using high-quality textures and model resources. If you need high-quality 3D textures, HDRIs, or 3D model downloads, you can obtain them from Relebook. After downloading, simply import these textures and models into your project. These resources can help create more detailed and realistic models, improving the quality and effect of the final product.
By following these steps, you can create high-quality 3D models suitable for CNC routers, meeting various production needs.

