How to Photoshop SketchUp Models
In modern design and modeling work, the integration of 3D modeling software like SketchUp with Photoshop has become a routine practice for many designers, architects, and visual artists. SketchUp is widely used in fields like architectural design, interior design, and landscape architecture due to its ease of use and efficiency. On the other hand, Photoshop, as the world’s leading image editing tool, offers a way to add extra detail and aesthetic effects to SketchUp renders, making the final visual presentation more realistic and artistic.
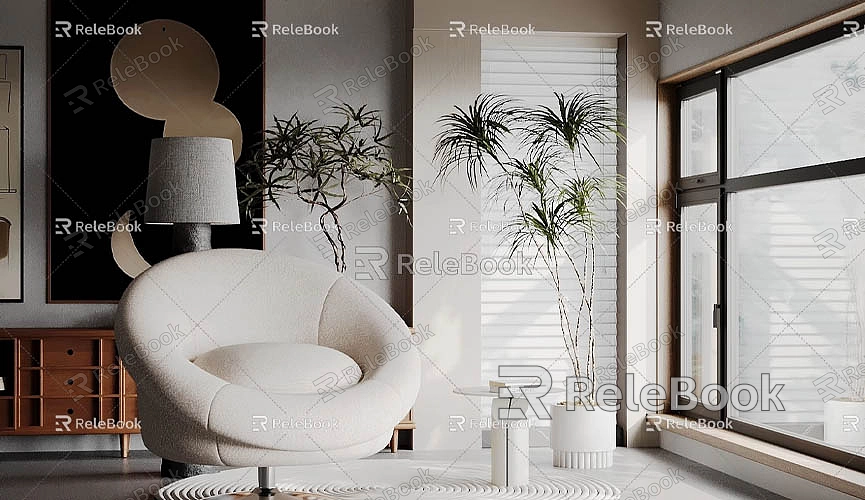
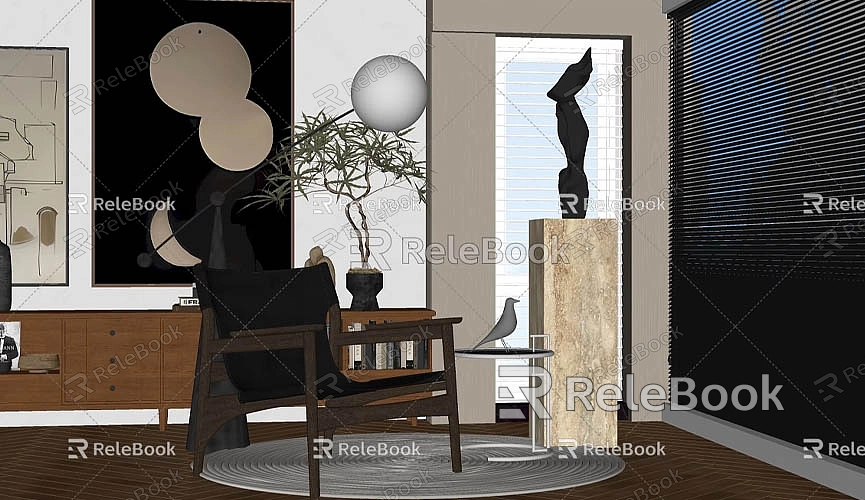
Although SketchUp is a powerful modeling tool, its rendering and post-processing capabilities are relatively limited, particularly when it comes to detailing and realism. Therefore, importing SketchUp renders into Photoshop for further adjustments and enhancements has become an effective solution. Through Photoshop, you can fine-tune lighting, colors, materials, and add additional details, significantly improving the overall effect.

Why Use Photoshop to Enhance SketchUp Models?
While SketchUp provides some basic rendering features, these are sometimes insufficient to meet the high expectations of many designers. Designers often want to add more vivid details to their models, such as complex lighting and shadow effects, material textures, and background compositions. Although there are many SketchUp plugins designed to enhance rendering effects, they still cannot fully replace Photoshop’s powerful image editing capabilities. By processing SketchUp renders in Photoshop, designers gain more creative freedom, adjusting elements like tone, contrast, saturation, and adding intricate textures to the model’s surfaces.
Here are some key reasons why you should use Photoshop to process SketchUp models:
Enhance Render Quality: SketchUp’s built-in rendering capabilities often fall short in terms of realism and artistic expression. Photoshop allows you to adjust the color, brightness, and contrast of the image, making the render more vibrant and layered.
Add Details and Textures: While SketchUp offers a basic material library, its texture selection is not extensive. In Photoshop, you can freely add textures to the model, making surfaces look more realistic. For example, you can apply wood textures to floors, tile patterns to walls, or a more natural metallic finish to metal surfaces.
Improve Lighting and Shadows: SketchUp’s lighting effects sometimes fail to simulate natural lighting variations. Photoshop provides more robust tools for lighting and shadow adjustments. You can simulate sunlight, reflective light, and other natural phenomena to make the render’s depth and dimensionality stand out.
Background Composition and Environmental Modeling: Many design projects require integrating modeled objects or scenes into real-world environments. Photoshop offers a range of tools for background composition, whether you need to merge architectural models with cityscapes, or indoor designs with exterior views.
Add Artistic Effects and Visual Impact: Sometimes designers want to enhance the visual appeal of a model with artistic effects. For example, blur effects, tonal adjustments, and gradient filters can add a stronger artistic dimension to the design.
How to Export a SketchUp Model and Import it into Photoshop
Since Photoshop cannot directly handle 3D model files, you need to render your SketchUp model into a 2D image before importing it into Photoshop for post-processing. Common rendering methods include using SketchUp’s built-in rendering tools or third-party rendering plugins.

Here’s how you can go about it:
Complete the Model in SketchUp: Finish your model in SketchUp and choose the appropriate view.
Rendering Methods:
1. Using SketchUp’s Built-In Render Tool: SketchUp has basic rendering capabilities, allowing you to render models directly within the software. You can adjust the model’s viewpoint, materials, and lighting to get a basic rendered image.
2. Using Third-Party Rendering Plugins: Plugins like V-Ray and Enscape offer higher-quality renderings, providing more realistic lighting, shadows, and reflections, even supporting advanced materials like glass, metal, and wood. These plugins produce more professional and polished renders.
Export the Rendered Image: After rendering, go to the File menu and select Export, saving the render as PNG, JPEG, TIFF, or other common formats. Photoshop supports all these formats.
Export Wireframe or Section Views: If you want to further edit the model’s structure or details in Photoshop, you can export SketchUp’s wireframe or section views as PNG or SVG files. These images are useful for enhancing details in Photoshop.
Editing SketchUp Renders in Photoshop
Once you’ve imported the rendered image into Photoshop, the next step is to adjust the image to optimize lighting, shadows, materials, and other details. Here are some common Photoshop techniques to improve your rendered image:
Adjust Colors and Brightness: Use the Levels, Curves, Contrast, and Saturation tools to optimize the image’s color. You can also use the Color Balance tool to tweak the red, green, and blue channels, making the image more natural or giving it an artistic effect.
Add Textures and Surface Details: In Photoshop, you can overlay textures onto the model's surfaces using layer blending modes and opacity adjustments. For example, you can apply textures to walls, floors, or ceilings. By adjusting the layer transparency and blending modes, you can ensure the textures blend seamlessly with the model.
Lighting and Shadow Adjustments: Use gradient and brush tools to simulate changes in natural light, adding stronger lighting and shadow effects to the render. You can also apply Gaussian Blur to soften unimportant areas, highlighting the lighting and shadows on the main objects to create visual depth.
Add Background and Environment: Sometimes, you’ll need to merge your SketchUp render with a real-world background. For example, integrate a building model into a real cityscape or an interior design with an outdoor view. Photoshop’s Layer Masking feature helps control the composite area precisely, ensuring natural transitions and eliminating harsh edges.
Create Reflections and Refractions: If your model includes materials like glass, water, or metal, you can use Photoshop to simulate reflections and refraction effects. By drawing reflection lines or refracted images, you can make these materials appear more realistic.
Getting More Resources
High-quality 3D textures and model resources can greatly enhance the visual appeal of your designs when working with SketchUp and Photoshop. Relebook offers a wide range of high-quality 3D resources, including textures, HDRI images, and 3D models, helping designers easily obtain the materials they need to improve their creative work.
If you need high-quality 3D textures and HDRI images for your modeling and rendering work, visit https://textures.relebook.com/ for free downloads. For exquisite 3D models, check out https://3dmodels.relebook.com/. Relebook provides a wealth of premium 3D resources, ensuring you have everything you need for a successful design process.
By importing your SketchUp models into Photoshop for post-processing, you can better adjust render effects, lighting, and materials, adding more detail and artistic flair to your designs. Photoshop not only allows for color and brightness adjustments but also simulates lighting, shadows, and complex material effects, greatly enhancing the realism and visual impact of your models. For designers, mastering this skill can significantly improve the quality of your modeling and provide clients with stunning visual presentations. For even better textures and models, consider exploring Relebook’s platform, which offers an abundance of high-quality 3D resources to help you complete your design tasks more efficiently.

