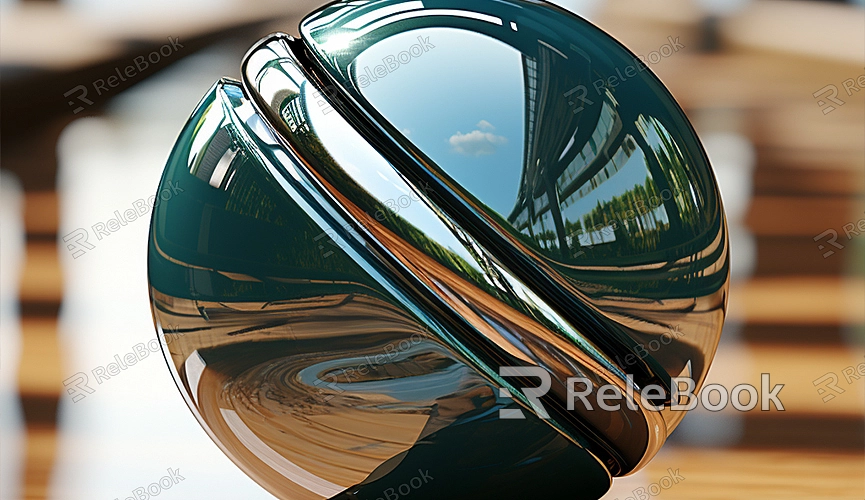
What Is Model Ray Tracing Rendering?
Model ray tracing rendering is a technique used in 3D design software to generate realistic images and animations. In 3D modeling software such as Autodesk 3ds Max, Blender, Maya, and others, this technology is employed to simulate how rays of light interact with objects in a scene, resulting in highly realistic visual effects. If you want to try using model ray tracing rendering for animation, here are some key steps and tips to get you started:
1. Set up Lighting:
Lighting is a crucial component of rendering, as it determines the illumination of the scene. You can set various types of light sources, including point lights, spotlights, and directional lights (also known as infinite lights).

2. Define Materials and Textures:
Materials and textures influence factors like color, reflectivity, and transparency on the surfaces of objects in the scene. Applying different materials and textures to models enhances visual realism.
3. Enable Advanced Shadow Modes:
Most 3D modeling software offers various shadow types, such as hard shadows, soft shadows, or area shadows. For ray tracing rendering, higher-quality shadow modes are typically chosen for better detail.
4. Adjust Global Illumination (GI) Settings:
Global illumination takes into account the impact of all light sources on every surface in the scene, as well as the reflection of light between surfaces. This is essential for creating a realistic environment.
5. Enable Ray Tracing Reflections and Refractions:
Ray tracing allows for precise calculations of reflections and refractions, making surfaces like mirrors, glass, and other smooth materials appear more natural.
6. Final Gathering and Monte Carlo Methods:
Final gathering is an approximation algorithm used to calculate indirect lighting, which includes light that reflects from other surfaces in the environment onto the model. Monte Carlo methods are statistical simulation techniques used to estimate results for complex problems, such as how light scatters in a scene.
7. Preview and Render:
Before final rendering, you can check your settings in a preview window to ensure they are correct. Once satisfied, select an appropriate resolution and quality setting for the final render.
8. Post-Processing:
After rendering, you may need to perform some post-processing, such as adding effects, color correction, or compositing multiple rendering layers.
9. Optimize and Debug:
If the rendering results are not satisfactory, you may need to adjust lighting, materials, or other settings and re-render until you achieve the desired outcome.

