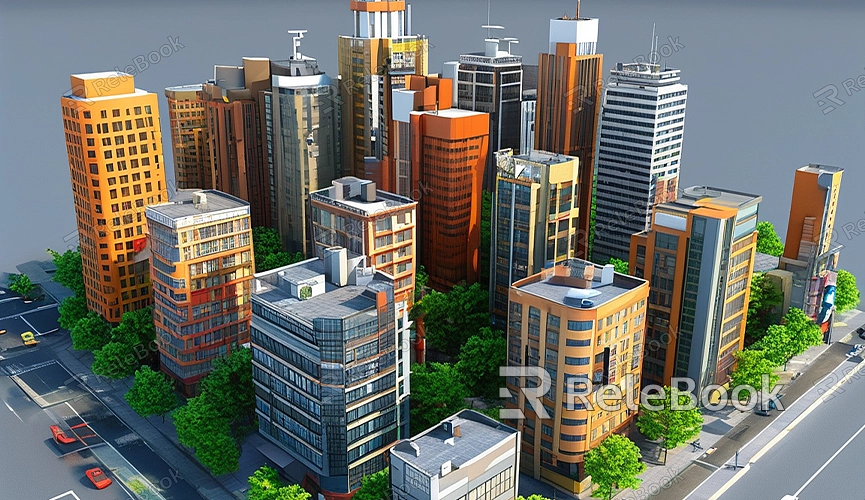
How to Render 3D Objects in Blender
Blender is a powerful open-source 3D modeling and rendering tool widely used in game development, animation, visual effects, and more. Whether you're new to 3D modeling or an experienced professional, mastering how to render 3D objects in Blender is crucial. This guide will walk you through the basic steps of rendering 3D objects in Blender, helping you achieve outstanding render results.
Preparation
Before you start rendering, make sure your model and scene are fully prepared:

- Create or Import a Model: You can either create a 3D model from scratch in Blender or import an existing model. Ensure that the model is detailed and well-structured, as this will directly affect the rendering outcome.
- Set Up the Scene: This includes adding appropriate lighting, cameras, and backgrounds. Proper scene setup enhances the realism and visual appeal of the render.
Basic Render Settings
Before rendering in Blender, you need to configure some basic settings:
1. Choose a Render Engine: Blender supports various render engines, with Cycles and Eevee being the most commonly used. Cycles is a ray-tracing-based renderer that provides higher quality results but slower render times. Eevee is a real-time render engine suitable for fast previews. Choose the render engine that best fits your needs.
2. Configure Render Resolution: Adjust the output resolution in the render settings. You can set the resolution in the “Output Properties” panel. Common resolutions include 1920x1080 (Full HD) or higher 4K resolutions. Select a resolution that suits your project.
3. Set Sampling Rates: In the Cycles render engine, the sampling rate directly impacts render quality. Higher sampling rates reduce noise and produce clearer images. You can set the sampling rate in the “Render Properties” panel, with a recommended range of 1000 to 2000 samples.
Adding Lights and Cameras
Lighting and camera settings are crucial for the final render:
1. Add Lights: Blender offers various types of lights, such as point lights, spotlights, directional lights, and area lights. Choose the appropriate light types based on your scene and adjust their position, intensity, and color. Proper lighting setup can simulate realistic lighting environments and enhance the visual quality of your model.
2. Set Up the Camera: Ensure that the camera angle and position showcase your 3D object effectively. Adjust the camera's focal length and field of view to achieve the best shot. Check the scene composition in the camera view to make sure all important details are included in the frame.
Applying Materials and Textures
Materials and textures are essential elements of rendering:
1. Create Materials: Create and assign materials to your model. In the “Material Properties” panel, set parameters such as color, reflection, and glossiness. Adjust the materials based on your model's needs, such as metal, plastic, or glass.
2. Add Textures: Apply texture maps to the materials. Texture maps can include diffuse maps, normal maps, and specular maps. Applying these textures enhances the model's detail and realism.
Render Preview and Output
Blender allows you to preview and save your render results:
1. Render Preview: Use Blender's “Render View” mode (press F12) to see the render result. The preview function lets you check the rendering effects and make adjustments as needed. If the results are not as expected, revisit the lighting, camera, or material settings.
2. Output Settings: Set the save path and file format for the render in the “Output Properties” panel. Common file formats include PNG and JPEG. Choose the appropriate file format and compression settings to achieve the best image quality and file size.
Further Optimization
For even better render results, consider these optimizations:
- Denoising: Use Blender’s denoising feature to reduce render noise. In the Cycles render engine, you can configure denoising settings in the “Render Properties” panel.
- Lighting Adjustments: Adjust the intensity and position of lights as needed to optimize lighting and shadow effects.
Rendering 3D objects in Blender requires precise settings and careful adjustments. By configuring the render engine, setting up lights and cameras, and applying materials and textures, you can create exceptional render results. If you need high-quality 3D textures, HDRIs, or model downloads while creating models and virtual scenes, you can find them on Relebook. Download and directly import these textures and models to enhance your work.

