How to Make a 3D Butterfly Model
Creating a detailed butterfly model in 3D not only enhances your modeling skills but also deepens your understanding of handling intricate details. Butterfly models, with their complex wing structures and vibrant colors, make for an excellent practice project. This article will guide you through the process of creating a 3D butterfly model in Blender, from initial modeling to final detailing.
Preparation
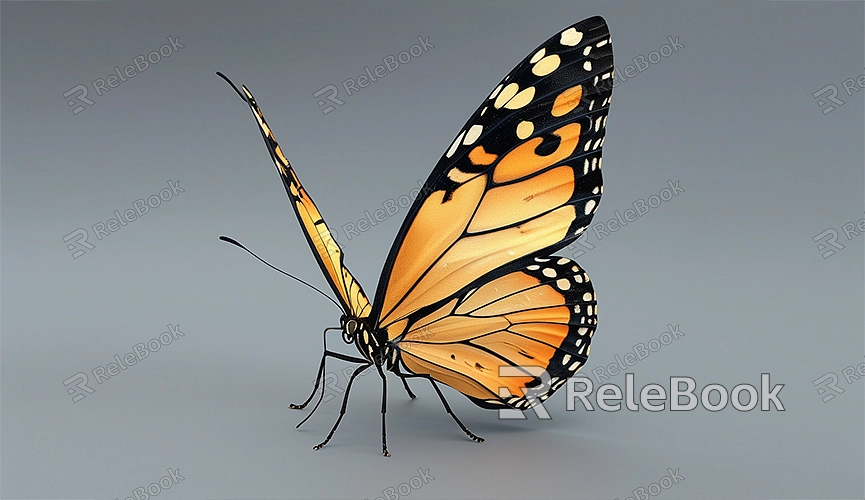
Before starting your 3D butterfly model, gather some reference materials. Find photos or illustrations of butterflies to help you accurately capture details during the modeling process. These references will serve as blueprints, ensuring realism and accuracy in your final model.
Modeling Steps
1. Create the Basic Shape
Begin by creating a simple base shape for the butterfly's body in Blender. Use a plane or cylinder as your starting model. In edit mode, add details and adjust vertices to gradually form the butterfly's body structure.
- Set Up Reference Image: Import your butterfly photo into Blender as a background reference image. This will help you compare your model with the real butterfly during the modeling process.
2. Model the Butterfly Wings
The wings are the most distinctive part of a butterfly. Start with a plane as the base shape for the wings and gradually add details. The "Mirror" tool can help you create symmetrical wings.
- Refine Wing Edges: Use the "Subdivision" tool to add details to the wings, making the edges smoother. The "Extrude" function can be used to create folds and curves in the wings.
3. Add Details
Once the basic wing shape is complete, start adding finer textures and decorations. Use sculpting tools to carve intricate patterns and textures on the wings.
- Apply Texture Maps: To make your butterfly model more realistic, add texture maps to the wings. Use Blender's material editor to apply image textures to the model's surface.
4. Adjust Materials and Colors
Butterflies have a rich variety of colors. Set different materials and colors for your butterfly model to mimic the natural look. Use Blender's material and shader functions to adjust the appearance, making it closer to real butterflies' colors and gloss.

- UV Unwrapping: Before applying textures, ensure the model is UV unwrapped. UV unwrapping is the process of flattening a 3D model's surface onto a 2D plane for easier texturing.
5. Add Animation (Optional)
If you want your butterfly model to be dynamic, try adding simple animations, such as wing flapping. Use Blender's bone system and animation tools to create natural, fluid wing movements.
Rendering and Output
After completing the model and refining the details, you can start rendering your butterfly model. Set appropriate rendering parameters, such as lighting, camera angles, and output resolution. Blender offers various render engines like Eevee and Cycles, which you can choose based on your needs.
- Render Settings: Ensure you set the render resolution, image format, and render output path correctly. Preview the effect before rendering to ensure the model's lighting and colors are displayed correctly.
Creating a 3D butterfly model is an interesting and challenging project that enhances your modeling skills and understanding of detail handling. By creating the base shape, refining the wings, adding details, adjusting materials, and rendering, you can produce a lifelike butterfly model.
If you need high-quality 3D textures and HDRI, or want to download 3D models for creating scenes, you can find them on Relebook. Download the textures and 3D models and import them into your project for enhanced realism and detail.
