How to Make a Metal Texture Map in Photoshop?
Introduction
Metal textures are essential in many 3D models, as they provide a sense of realism and physicality. Whether you're working on a futuristic robot, a vintage car, or a shiny piece of machinery, the right metal texture can make all the difference. In this guide, we'll cover the steps to create a high-quality metal texture map using Photoshop, ensuring that your 3D models shine with authenticity.
Setting Up Your Document
1. Open Photoshop and create a new document. For texture maps, a common resolution is 2048x2048 pixels. This size provides a good balance between detail and performance, suitable for most 3D applications.
2. Set the color mode to RGB Color and 8-bit. This setup ensures that the texture will be compatible with most 3D software and maintains color fidelity.
Creating the Base Texture
1. Fill the Background: Start by filling the background layer with a neutral gray color. This will act as the base for your metal texture. Choose a medium gray (around RGB 128, 128, 128) to begin with.
2. Add Noise: To create a more realistic metal texture, add some noise. Go to Filter > Noise > Add Noise. Adjust the amount to around 5-10% to give your texture some granular detail. Make sure "Uniform" is selected and "Monochromatic" is checked to avoid color artifacts.
3. Apply a Gaussian Blur: To soften the noise and give it a more natural look, apply a slight Gaussian Blur. Go to Filter > Blur > Gaussian Blur, and set the radius to a low value (around 0.5-1.0 pixels).
Adding Metal Details
1. Create a New Layer: Add a new layer above your base texture. Set the layer mode to "Overlay" or "Soft Light" to enhance the details without overpowering the base texture.
2. Add Metal Patterns: Use various brushes or patterns to add metal details. You can create custom brushes with metallic textures or download metal texture brushes online. Paint some details like scratches, dents, and smudges to mimic the imperfections found in real metal.
3. Add Noise and Grain: To further enhance the texture, you can add more noise and grain. Use the Add Noise filter again on this new layer, and adjust the amount to your preference. This will make the metal look more realistic and varied.
Adding Reflections and Highlights
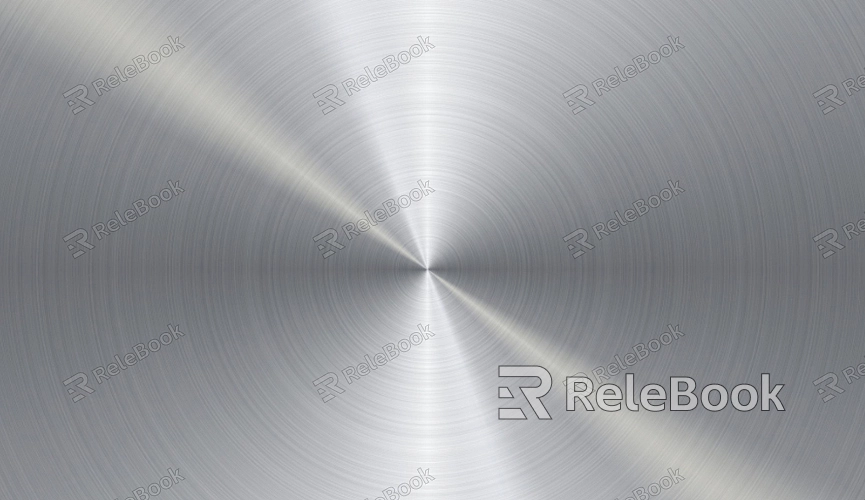
1. Create Reflection Highlights: Create another new layer for reflections. Use a soft brush with low opacity to paint white or light gray areas where reflections would naturally occur. This simulates how light interacts with the metal surface.
2. Use the Smudge Tool: For more advanced detailing, use the Smudge Tool to create subtle smudges and reflections. This tool helps blend and shape highlights to achieve a more realistic metal surface.
3. Apply a Layer Mask: To control where your reflections and highlights appear, use a layer mask. Paint black on the mask to hide areas where reflections should not be visible, and white to reveal them.
Final Adjustments and Exporting
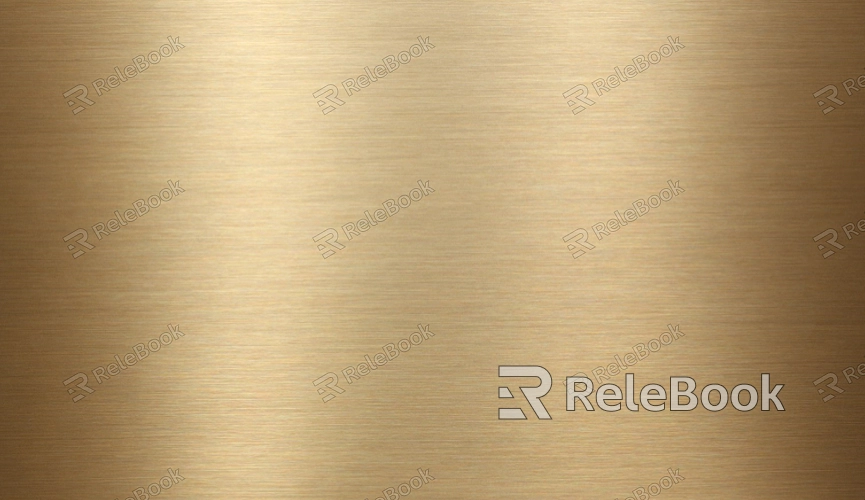
1. Adjust Levels and Contrast: Use Image > Adjustments > Levels to fine-tune the contrast of your metal texture. Adjust the input levels to enhance the dark and light areas of your texture, ensuring that it looks vibrant and realistic.
2. Check Tileability: If your texture needs to be tiled, check the tiling by offsetting the texture. Go to Filter > Other > Offset, and set the horizontal and vertical values to half of your texture size (e.g., 1024 pixels). Make sure the seams are blended or adjusted to avoid noticeable lines.
3. Save Your Texture: Save your texture map in a format that preserves quality, such as PNG or TIFF. For 3D applications, ensure that the file is saved with appropriate color profiles and settings.
That's all for this article, there are a few steps involved in creating a photorealistic metal texture map in Photoshop. By following these steps, you can generate high-quality textures that enhance the realism of your 3D models. For more 3D models and textures to make your designs better, visit the Relebook website to download high-quality models and textures to enhance your designs.
FAQ
What resolution should I use for metal texture maps?
A common resolution is 2048x2048 pixels, but you can adjust this based on your project needs and the level of detail required.
How do I ensure my metal texture tiles seamlessly?
Use the Offset filter to check for seams and make adjustments to blend them seamlessly.
Can I use metal texture brushes from online sources?
Yes, many high-quality metal texture brushes are available online and can be used to enhance your texture maps.
What file format is best for saving texture maps?
PNG and TIFF are excellent formats for preserving texture quality. They maintain high resolution and color fidelity.
