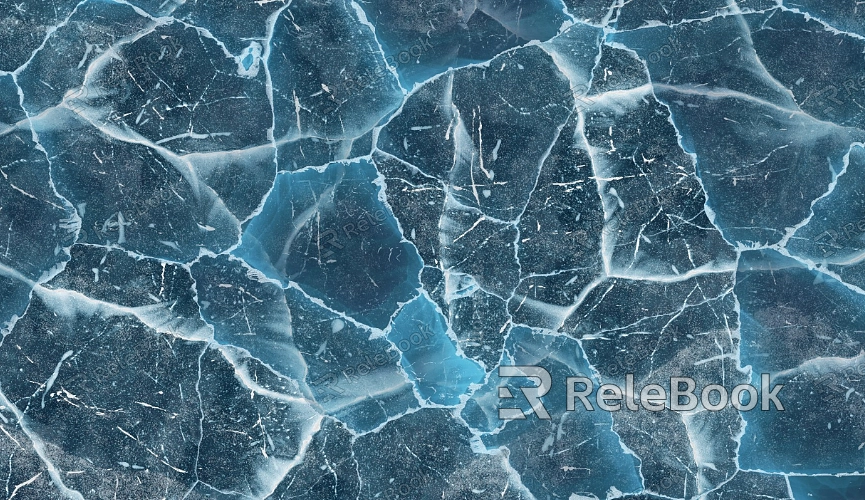
How to Apply Fractal Textures on Element 3D Objects
Fractal textures are highly favored in visual effects, motion graphics, and post-production for their intricate details and striking visual appeal. Whether you’re designing abstract sci-fi scenes or adding natural characteristics to a 3D model, fractal textures can add depth and complexity to your work. As a powerful 3D plugin for After Effects, Element 3D allows designers to apply textures and materials to objects with ease, making it an essential tool for many professionals. This guide explains how to apply fractal textures to Element 3D objects, helping you streamline your workflow and enhance your creative output.

1. Prepare Your Fractal Texture Assets
Before applying a fractal texture to a 3D object, you’ll need to gather and optimize the appropriate texture files.
Choose Suitable Fractal Textures
Select textures based on your project’s needs. You can find fractal textures on dedicated resource websites or create them using tools like Photoshop or Mandelbulb 3D. Opt for high-resolution textures with rich details to ensure they look crisp when applied.
Edit the Texture Files
If the original textures need adjustments, use Photoshop to enhance their tone, make them seamless, or create additional maps such as normal or displacement maps. These enhancements will add depth and realism to the texture.
2. Prepare Your 3D Object Model
Fractal textures require a base model in Element 3D to serve as the canvas.
Import the Model
You can use the built-in models in Element 3D or import external ones in OBJ or C4D formats. Ensure that the model has a reasonable polygon count to maintain detail without compromising performance.
Check UV Mapping
The effectiveness of fractal textures depends on proper UV mapping. Use modeling software like Blender or 3ds Max to ensure the UV layout is evenly distributed, avoiding texture distortion. Adjust UVs as needed for optimal results.
3. Create Materials and Load the Fractal Texture
Materials act as the bridge between textures and the 3D object.
Set Up a New Material
In Element 3D’s Scene Setup interface, create a new material for your model.
Load the Fractal Texture Map
Apply the fractal texture to the material’s Diffuse channel, defining the surface’s base color. For added detail, load normal or displacement maps into their respective channels to enhance surface geometry.
Adjust Texture Parameters
Fine-tune parameters like tiling, rotation, and offset to ensure the fractal texture fits seamlessly and matches your desired look.
4. Enhance with Lighting and Surface Details
Proper lighting and detail adjustments significantly elevate the visual impact of fractal textures.
Environment Lighting
Enable Element 3D’s environment lighting and load an HDR environment map. This helps the fractal texture respond to realistic lighting conditions, with accurate reflections and shadows.
Material Settings
Refine the material's reflectivity, roughness, and metallic properties to simulate realistic surface interactions. For example, use high reflectivity for smooth textures or enhance diffuse scattering for rougher surfaces.
Add Normal or Displacement Maps
Use normal maps for subtle bumps or displacement maps for dramatic surface deformations, bringing the fractal texture to life.

5. Create Dynamic Fractal Texture Effects
Static textures are captivating, but animating fractal textures can amplify the visual appeal.
Animate Texture Properties
In After Effects, use keyframes or expressions to animate the texture’s tiling, rotation, or offset values, creating dynamic and evolving effects.
Add Temporal Noise
Overlay time-based noise or masking animations to simulate natural phenomena, like flowing energy patterns or organic growth.
6. Render and Optimize
Finalize the setup by optimizing rendering settings to achieve the desired visual quality.
Use High-Quality Render Settings
Enable advanced features in Element 3D, such as anti-aliasing, ambient occlusion, and global illumination, to enhance the texture’s realism.
Minimize Repetition
When using fractal textures over large surfaces, introduce random UV offsets or layer additional detail textures to reduce visible repetition.
7. Save and Apply for Future Use
Once the texture application is complete, save your work for reuse and sharing.
Save the Scene File
Save the Element 3D scene file, including materials and textures, for future adjustments or team collaboration.
Export High-Resolution Outputs
Render high-quality stills or animations, ensuring the final output meets project requirements for presentation or client delivery.
Applying fractal textures to Element 3D objects can elevate your designs by adding unique visual layers and creative depth. By following these steps, you’ll be able to efficiently integrate fractal textures into your workflow, making your projects stand out.
If you're searching for high-quality 3D textures, SketchUp models, or 3ds Max assets to enhance your projects, Relebook offers a wide selection of resources to help you achieve exceptional visual results. Explore Relebook today to elevate your creative potential!

