How to Use HDR in Blender
Properly utilizing HDR images in Blender can significantly elevate the quality of your final renders. Whether you're working on architectural visualization, product design, or character animation, HDR images add a layer of realism and detail to your scenes. This article will walk you through the steps to use HDR images in Blender, covering setup procedures, common issues, and optimization tips.

Importing and Setting Up HDR Images
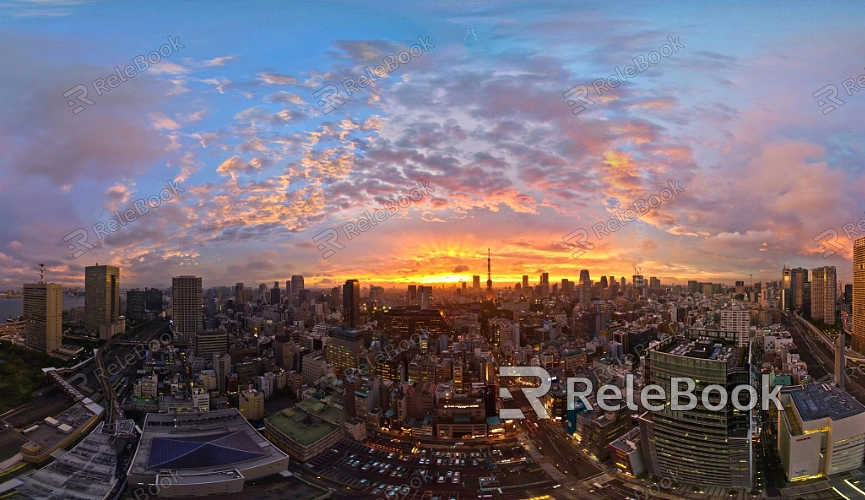
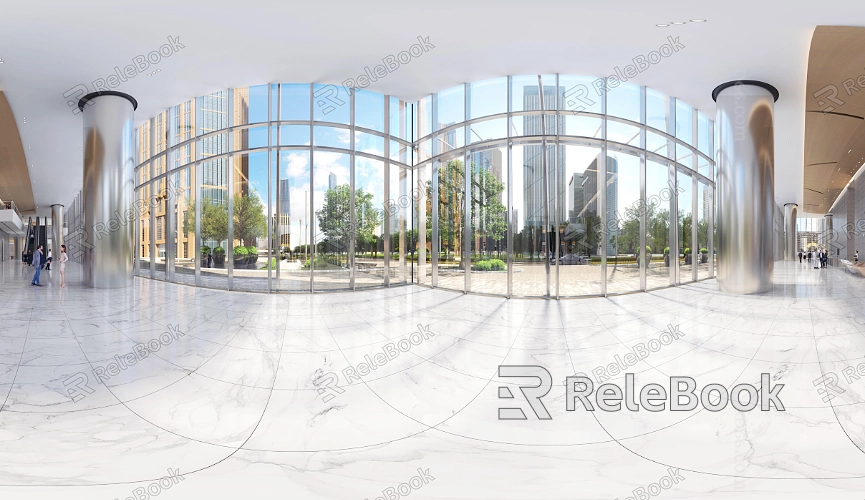
Importing HDR Images: To start, you’ll need to import an HDR image as an environment texture in Blender. If finding the right HDR images feels too time-consuming or complicated, consider visiting Relebook. At https://textures.relebook.com/, you can easily download high-quality HDR images to expedite your project. In Blender, go to the "World" settings, find the "Color" option, and choose "Environment Texture." Then, load your HDR image file, typically in .exr or .hdr format. For the best results, make sure the file has a high resolution.
Adjusting Brightness and Contrast: Once the HDR image is imported, you can further refine its brightness and contrast using the Node Editor. Utilize the "Mapping" and "ColorRamp" nodes to control the overall brightness, contrast, and color distribution of the HDR image, allowing you to achieve the desired lighting effects.
Using HDR Images for Environmental Lighting
Setting Up Environmental Lighting: HDR images are commonly used as environmental light sources, providing panoramic lighting effects. In Blender, you can adjust the strength of the environmental light by tweaking the "Strength" value. A suitable strength value ensures that the scene is neither overexposed nor too dark, offering soft and natural lighting for 3D objects.
Adjusting Light Direction: If you want to change the direction of the light source, you can adjust the orientation of the HDR image using the rotation settings in the "Mapping" node. This adjustment helps you better control the direction of shadows and the angle of the light, enabling you to achieve the expected rendering results.

Combining HDR Images with Other Light Sources
Using Additional Lights: While HDR images can provide comprehensive environmental lighting, certain areas of the scene may require extra illumination. You can add additional lights, such as point lights or spotlights, to enhance the brightness of specific areas or highlight certain details.
Reducing Noise: When using HDR images as an environmental light source, noise issues may arise. Increasing the sampling rate or using a denoising node can effectively reduce noise, resulting in a clearer render.
Optimizing Render Settings
Adjusting Sample Count: Increasing the sample count in the render settings can enhance the detail of HDR images and reduce noise in the image. However, a higher sample count will also increase render time, so you'll need to balance it based on the complexity of the scene.
Using Denoisers: Denoisers are effective in reducing noise during the post-processing stage of rendering. Blender’s built-in OptiX or OpenImageDenoise denoisers are excellent choices that can maintain image quality while reducing render times.
By effectively using HDR images, you can significantly enhance the realism and visual impact of your Blender renders. Whether you're simulating natural lighting or creating a specific atmosphere, HDR images are a powerful tool. Hopefully, this guide has helped you better understand how to apply HDR images in Blender, adding a new dimension to your 3D projects. If you're in search of high-quality HDR image resources, 3D textures, or 3D models, be sure to visit Relebook for more, where you’ll find a wealth of resources to elevate your work in 3D design.

