Why Does HDR Look Grey
HDR (High Dynamic Range) is widely used in architectural visualization, product displays, and animation to enhance the lighting and shading effects in scenes. However, many designers encounter issues with HDR rendering appearing greyish, which can diminish the depth and overall quality of their work. This article will explore common causes for this greyish effect in HDR rendering and offer practical solutions.
Improper Exposure Settings
Low Exposure Leading to Dull Scenes
The brightness and contrast in HDR rendering depend on the exposure settings. If the exposure value is too low, the entire scene can appear dim, lacking in necessary light-dark contrasts, and resulting in a greyish appearance. This issue is especially pronounced in scenes with weak lighting, where insufficient exposure can further obscure details.
Overexposure Causing Insufficient Contrast
While underexposure can make an image too dark, overexposure might lead to a lack of contrast. Excessive brightness can cause highlight areas to lose detail, making the image look flat and lacking in depth, which results in a greyish effect.
Solution
Ensure the exposure value is set properly, avoiding both too low and too high settings. By adjusting the exposure parameters repeatedly, you can find a balance that provides the best light-dark contrast, helping to prevent the greyish effect.
HDR Image Quality Issues
Insufficient Dynamic Range
The quality of HDR images directly impacts the final rendering effect. If the HDR image used has insufficient dynamic range, meaning the difference between highlights and shadows is not pronounced, the rendered scene will appear dull and lacking in depth.
Low Image Resolution Affecting Clarity
A low-resolution HDR image can fail to capture sufficient detail, making lighting effects look blurry and leading to a scene that appears greyish.
Solution
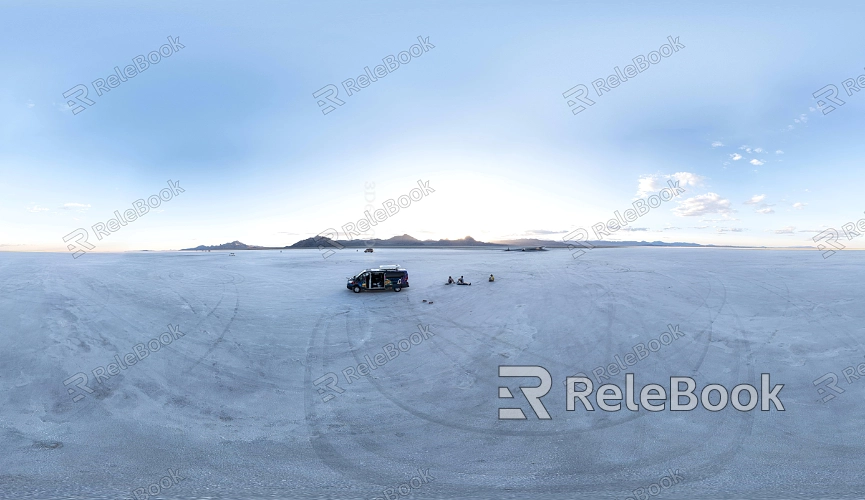
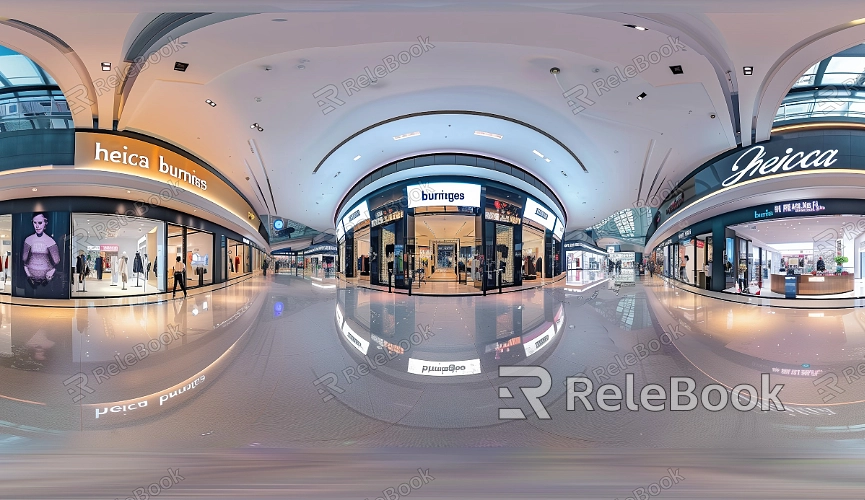
Choose HDR images with high dynamic range and high resolution to ensure clear and distinct lighting and shading details. This will significantly improve the rendering quality and enhance the visual impact of your scenes. If sourcing high-quality HDR images seems complicated or time-consuming, consider visiting Relebook. You can directly download top-notch HDR images from Relebook, easily enhancing your project’s results.
Improper Lighting Setup
Insufficient Light Source Intensity
The intensity of light sources plays a crucial role in HDR rendering. If the light source intensity is too low, objects in the scene may appear dim, giving the overall image a greyish appearance. This effect is especially noticeable in large or complexly lit scenes.
Incorrect Lighting Direction
The direction of light affects the light-dark contrast in a scene. If the lighting direction is improperly set, the light and shadow relationships in the scene can become unclear, making the scene look grey and lacking in depth.
Solution
Adjust the intensity and direction of light sources according to the scene’s needs to ensure even distribution of light. Proper lighting setup can enhance the contrast in the scene, making the rendering appear more natural and vivid.
Mismatch Between Materials and HDR Lighting
Incorrect Material Reflectance Settings
In HDR rendering, material reflectance properties significantly impact light and shadow effects. If reflectance settings are incorrect, particularly if they are too weak, objects in the scene may fail to reflect light effectively, resulting in a greyish appearance.
Color Temperature Mismatch
If the material’s color temperature does not match the HDR light source, the color balance of the scene can become discordant, leading to a dull and greyish look.
Solution
Adjust material reflectance properties and color temperature settings according to the material characteristics and light source. This ensures better compatibility between materials and light sources, enhancing the realism and depth of HDR effects.
Inadequate Rendering Settings and Post-Processing
Insufficient Sampling Causing Noise
The number of samples during rendering directly affects image quality. Low sampling can result in noise, particularly in dark areas, making the image appear blurry and greyish.
Over or Under Processing in Post-Production
Even with correct pre-rendering settings, inadequate post-processing can prevent HDR effects from fully displaying. Proper adjustment of contrast, brightness, and saturation is crucial; excessive or insufficient adjustments can lead to a greyish, distorted image.
Solution
Increase the sampling number during rendering to reduce noise and ensure a clearer image. In post-processing, carefully adjust image parameters to highlight HDR effects and avoid the greyish appearance.
By addressing these common issues and applying the provided solutions, designers can effectively enhance HDR rendering results, making scenes more vivid and detailed, and avoiding the greyish problem. Although HDR technology can be complex, proper settings and adjustments can achieve the desired results, greatly improving your projects.
If you are seeking high-quality HDR images, 3D textures, SketchUp models, or 3ds Max models, Relebook is an excellent choice. Relebook offers a vast collection of HDR images and professional 3D assets to help you achieve the best results in your projects and create stunning visual effects.
