How to Do 3D Wall Textured Paint
In interior design, architectural visualization, and game development, realistic and detailed wall textures can significantly enhance a scene's overall appeal. When a project requires highlighting a specific style, crafting the right wall textures becomes crucial. As a designer, I often work on wall textures using tools like Blender, 3ds Max, and Substance Painter. Through experimentation and refinement, I’ve developed an efficient workflow to create stunning wall textures that can elevate any project. Here’s a step-by-step guide to help you achieve similar results.

1. Define the Texture Requirements
Understand the project's style: Determine whether the wall needs an industrial concrete look or a warm painted finish. This decision sets the direction for your texture design.
Gather reference materials: High-quality photographs can serve as a valuable resource for achieving realistic textures and intricate details.
Choose the right resolution: Select an appropriate texture resolution based on your project. For most rendering scenarios, 2K or 4K textures balance detail and efficiency well.
2. Create the Base Wall Model
Divide wall sections: Break the wall into manageable areas within your modeling software to avoid overloading the entire surface with complex textures.
Optimize UV mapping: Ensure a clean UV layout to minimize stretching and distortion. A well-mapped UV is essential for maintaining texture accuracy and consistency.
3. Generate Texture Maps
Pick the right tools: Use software like Photoshop or Substance Designer to create essential texture maps, including base color, normal, and roughness maps.
Add layered details: Enhance realism by incorporating cracks, stains, and scratches through layered blending techniques.
Test the material: Use rendering software to preview the texture under various lighting conditions and ensure the intended visual outcome.
4. Apply PBR Materials
Adjust material settings: Import your texture maps into the material editor and tweak parameters like metallic, roughness, and glossiness to achieve realistic results.
Incorporate additional details: Use ambient occlusion maps or dirt masks to add subtle imperfections, enhancing the surface’s authenticity.
5. Enhance the Render Quality
Fine-tune lighting: Position and adjust light sources to emphasize the texture’s depth and intricate details.
Enable global illumination: Let light scatter naturally throughout the scene for a more realistic look.
Add depth in post-production: Use depth of field or soft focus effects during post-processing to create a sense of dimension.

6. Simulate Aging and Wear
Add natural wear effects: Employ node systems or plugins to simulate faded paint, cracks, or chipped surfaces.
Randomize wear patterns: Use tools to distribute aging effects randomly, avoiding repetitive patterns that can appear unnatural.
7. Showcase Dynamically and in Multiple Views
Create simple animations: Demonstrate the texture’s interaction with changing light conditions through animations.
Render from multiple angles: Capture the wall from various perspectives to highlight its versatility and complexity, meeting client expectations for detail.
8. Address Potential Issues
Fix texture seams: Inspect UV layouts for visible seams and apply seamless texture techniques if necessary.
Avoid repetition: On large surfaces, blend multiple textures or use randomization methods to prevent an unnatural repetitive appearance.
9. Optimize Export and Resource Management
Compress texture files: Use efficient compression algorithms to reduce file size while retaining quality.
Ensure platform compatibility: Export textures in formats suitable for your project’s platform, such as DDS for game engines or EXR for renderers.
10. Apply in Real-World Projects
Coordinate with the scene’s elements: Ensure the wall texture complements other design elements like floors and furniture for a cohesive look.
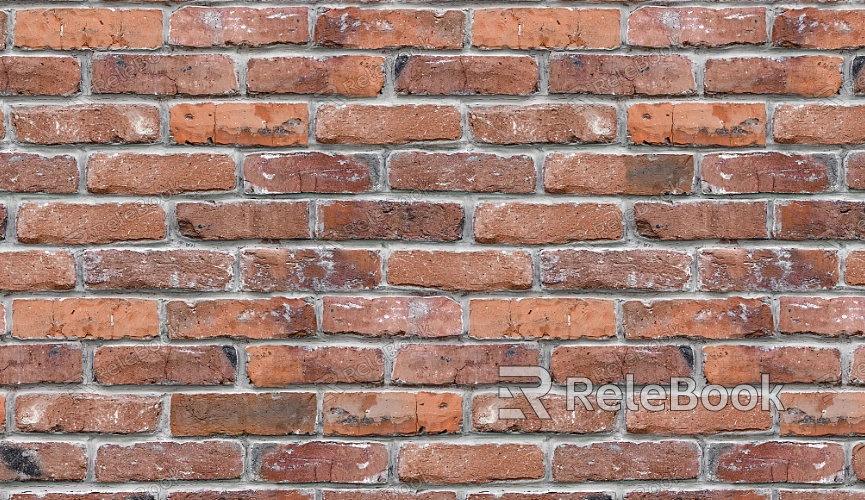
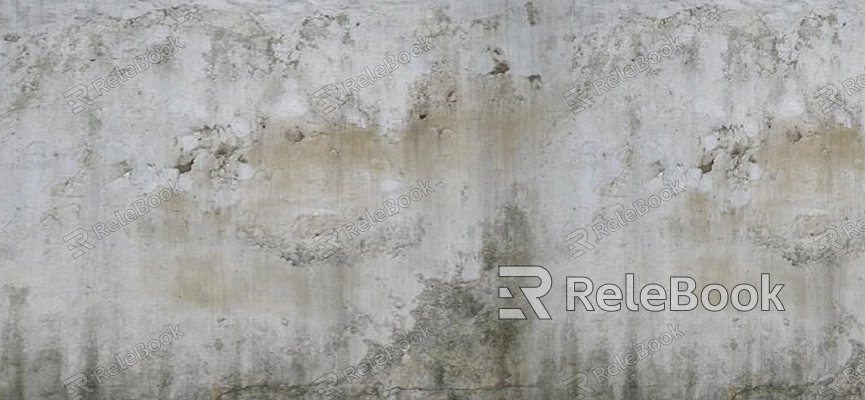
Integrate with narrative settings: Design textures that align with the project’s theme, such as distressed walls for an industrial backdrop or cozy brick textures for a café.
By following these steps, both beginners and experienced designers can efficiently create 3D wall textures that add depth and realism to their work. If you're searching for premium 3D texture assets, SketchUp models, or 3ds Max resources, visit Relebook. Explore their extensive library to find inspiration and resources for your next project.

