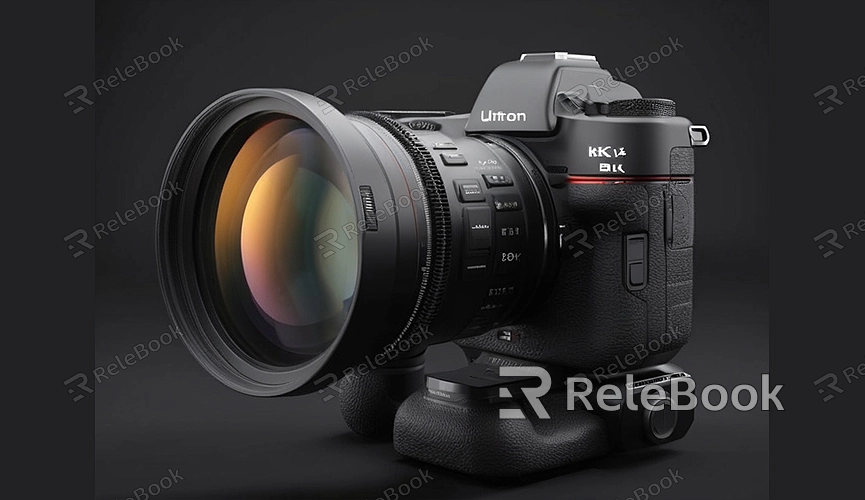
How to render a objective lens in blender
Blender is a powerful 3D modeling and rendering software widely used for various creative projects. This article will guide you through the process of rendering an objective lens in Blender. By following these steps, you'll learn how to create and render a realistic objective lens model.
Preparation
Before starting, ensure you have the latest version of Blender installed. If you're new to Blender, take some time to familiarize yourself with the basic interface and operations. This will help you navigate through the following steps more smoothly.
Creating the Objective Lens Model
First, we need to create the 3D model of the objective lens. Here’s how:
1. Add a Basic Shape: Open Blender and start a new project. Select the “Add” menu, choose “Mesh,” and then select a basic shape, such as a cylinder. This will serve as the base shape for the objective lens.
2. Adjust Dimensions: In Edit Mode, use the scale tool (press “S”) to adjust the cylinder’s dimensions to resemble an objective lens. Stretch and scale to achieve the desired shape.
3. Add Details: To make the objective lens look more realistic, add details such as rounded edges or decorative rings on both ends of the cylinder.
Materials and Textures
With the base model created, the next step is to apply materials and textures to the lens.
1. Set Up Material: In the Properties panel on the right, find the “Materials” tab, click “New,” and add a new material. Name it “Objective Lens Material.”
2. Adjust Material Properties: In the material properties, set the color and glossiness of the lens. Since lenses are usually made of glass or plastic, increase its transparency and reflectivity to make it look more like a real lens.
3. Add Texture: If you want more detail on the lens surface, add a texture. In the Materials tab, find the “Textures” section, click “New,” and choose an appropriate texture type, such as a cloud texture or image texture.
Lighting and Background
To enhance the realism of your render, set up appropriate lighting and background.
1. Add Lighting: Place one or more light sources in the scene. You can choose point lights, spotlights, or ambient light. Adjust the position and intensity of the lights to illuminate key parts of the lens.
2. Set Background: To add depth to the scene, add a simple background. Choose the “Add” menu, select “Mesh,” then “Plane,” and position it behind the lens.
Rendering Settings
Next, adjust the rendering settings to achieve a high-quality final image.
1. Choose a Render Engine: In the top menu, find the “Render Engine” option and select a suitable render engine, such as Cycles or Eevee. Cycles usually provides higher quality render results.
2. Adjust Render Parameters: In the Render tab, set parameters like resolution, sample rate, and ray tracing. Higher resolution and sample rates improve image quality but increase render time.
3. Start Rendering: Once all parameters are set, press F12 to begin rendering. After rendering is complete, view the final result in the Image Editor.
Post-Processing
To further enhance your render, you can perform some basic post-processing.
1. Adjust Colors: In Blender’s Image Editor, you can adjust the brightness, contrast, and saturation of the rendered image to better fit your expectations.
2. Add Effects: If needed, add effects like lens flares or blur. These can be achieved using Blender’s Compositor nodes.
If you need high-quality 3D textures, HDRIs, or 3D model downloads for creating models and virtual scenes, you can get them from Relebook. Downloading these resources will significantly improve your workflow and the quality of your models. By following these steps, you should be able to create and render a realistic objective lens model in Blender.
