How to Make a 3D Earth Model with Paper
Creating a 3D Earth model is a fun and educational project. Whether for a school science display or a family craft activity, making a 3D Earth model is a great way to learn and enjoy. In this article, we’ll guide you through the steps to create a realistic 3D Earth model using paper.
Materials Needed
First, gather the following materials:
- Blue and green construction paper or colored paper
- White paper (for clouds and ice caps)
- Scissors
- Glue or a glue stick
- A pencil
- Colored pencils or markers
Creating the Base Sphere
To make a 3D Earth model, start with creating a base sphere. Follow these steps:
1. Print or Draw a Template: Search online for a paper sphere template and print it, or draw one yourself. The template should include a polyhedron net, such as an icosahedron or dodecahedron.
2. Cut Out the Template: Carefully cut out all the faces along the edges using scissors.
3. Fold and Glue: Fold each face along the lines and glue the adjacent edges together to form a sphere.
Drawing the Earth’s Surface
With the base sphere ready, proceed to draw the Earth’s surface:
1. Outline Continents and Oceans: Lightly draw the outlines of continents and oceans on the sphere’s surface with a pencil. You can use a globe or map as a reference.
2. Color: Cover the ocean areas with blue paper and the continents with green paper. Cut out appropriately shaped pieces and glue them to the surface of the sphere.
3. Add Details: Cut out clouds and ice caps from white paper and glue them to the poles and near the equator to add realism. You can use colored pencils or markers to add details such as mountains, rivers, and other features.
Adding Earth Features
To make your Earth model more realistic, add some Earth features:
1. Draw the Equator and Latitude/Longitude Lines: Use colored pencils or markers to draw the equator and major latitude and longitude lines on the sphere. This helps showcase different regions of the Earth.
2. Mark Major Countries and Cities: Label the locations of major countries and cities on the sphere. This not only adds educational value but also makes the model more interesting.
Displaying Your Model
Once your 3D Earth model is complete, you can display it at home or school. Here are some display ideas:
1. Create a Stand: Use cardboard or wooden sticks to make a stand that will hold the Earth model upright.
2. Hang It: Punch a small hole at the top of the Earth model, thread a string through it, and hang it in a room.
3. Add Lighting: If you have small LED lights, place them inside the Earth model to make it glow in the dark for a cool effect.
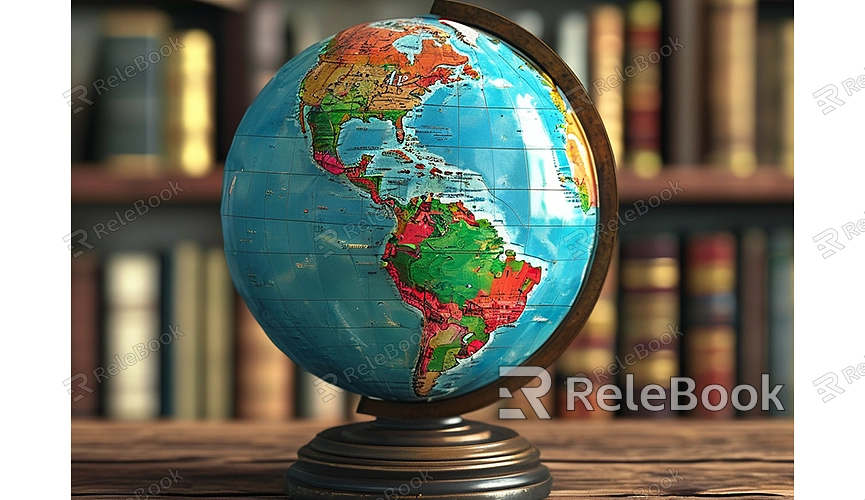
Making a 3D Earth model is not only a hands-on activity but also a great way to learn about Earth and geography. If you need high-quality 3D textures, HDRIs, or 3D model downloads for creating models and virtual scenes, you can get them from Relebook. Downloading these resources will enhance your work efficiency and improve the quality and effects of your models.
