How to Convert JPG to HDR?
In 3D modeling and rendering, designers often need to work with various image file formats. While JPG is popular due to its high compression and broad compatibility, there are times when converting a JPG image to HDR is necessary to create more realistic lighting effects. HDR images provide a higher dynamic range and richer color information, which are crucial during the rendering process. This article outlines how to convert JPG to HDR, helping 3D modeling and rendering designers enhance their workflow and output quality.
1. Understanding the Difference Between JPG and HDR Formats
Characteristics of JPG
JPG is a lossy compression format primarily used for storing photos and other static images. It’s known for its small file size and fast loading speed. However, because of the compression process, JPG images have limited dynamic range and color detail. While this makes JPG efficient for displaying final results, it may not meet the demands of scenarios requiring precise lighting and color adjustments.
Characteristics of HDR
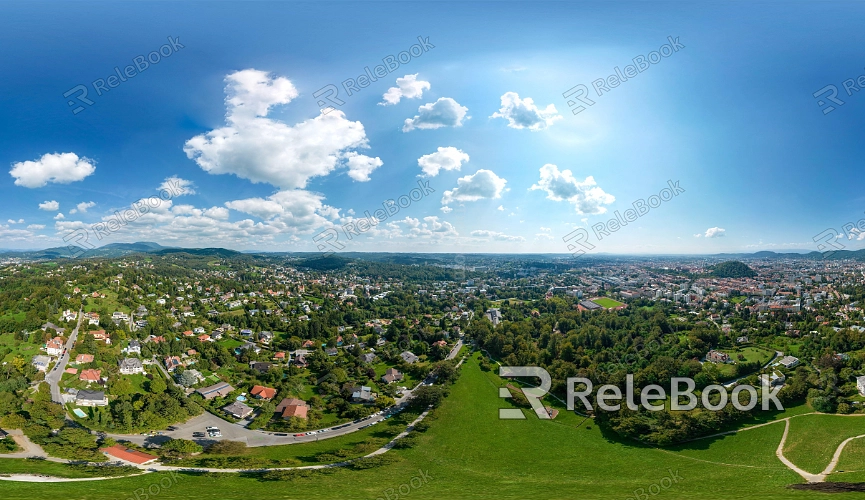
HDR, or High Dynamic Range, is designed to capture and store a wider range of brightness and color information, especially in scenes with significant contrast between light and dark areas. HDR files typically contain more detail than JPG files, making them ideal for complex lighting effects in rendering and simulation. This increased information capacity is crucial for achieving realistic results in 3D environments.
2. Why Convert JPG to HDR?
Enhancing Image Quality
Converting JPG to HDR allows for an expanded dynamic range and deeper color depth during post-processing. This is particularly beneficial when handling lighting effects in 3D software such as Blender, 3ds Max, or Cinema 4D. With HDR images, designers can achieve more accurate light simulations and reflections.
Creating Realistic Scenes
When rendering complex scenes, HDR images provide richer lighting data, making the light and shadow effects in the scene more lifelike. For example, when rendering transitions between day and night, HDR can better represent the changes in lighting, while JPG might struggle to capture these subtle differences.
Supporting Multiple Post-Processing Adjustments
The high dynamic range of HDR formats allows them to retain more detail and color information even after multiple rounds of post-processing. This means designers can make several adjustments to the image without a significant loss in quality, whereas JPG might degrade noticeably after similar edits.
3. Steps to Convert JPG to HDR
Choosing the Right Software
Before starting the conversion, select the appropriate software tool. Commonly used image editing software like Photoshop, Photomatix Pro, or HDR Efex Pro supports converting JPG to HDR. Using a tool you’re familiar with can improve efficiency and ensure the conversion meets your expectations.
Loading the JPG Image
Open the JPG image you want to convert in your chosen software. Given that JPG has a lower dynamic range, you might need to adjust brightness, contrast, and color settings to optimize the image before converting it to HDR. This step lays the groundwork for a successful conversion.
Applying Tone Mapping
Due to the limited dynamic range of JPG images, tone mapping is necessary when converting to HDR. Tone mapping helps extend the color and brightness information of the JPG image to fit within the HDR range, making the image more suitable for rendering with enhanced lighting effects.
Generating the HDR Image
After applying tone mapping, choose the "Generate HDR" option or a similar command to save the adjusted image in HDR format. During this process, the software may merge multiple images or calculate an extended dynamic range to create an HDR file with richer detail.
Saving the Image as HDR
Once the steps are complete, save the image in HDR format. Make sure to choose the correct file format (such as Radiance or OpenEXR) to ensure compatibility with subsequent rendering processes.
4. Optimizing and Validating the HDR Image
Reviewing the Conversion Results
After generating the HDR file, review the image to ensure it meets your expectations. Compare the converted HDR image with the original JPG, paying attention to differences in brightness, contrast, and color. If necessary, adjust the tone mapping or other settings and generate the HDR image again.
Testing in Rendering Software
Before finalizing the image, import the converted HDR image into your 3D software and test how it performs under various lighting conditions. This helps ensure that the HDR image works as intended in your project, delivering the desired light and shadow effects across different scenes.
Saving and Archiving
Once you’ve confirmed the HDR image is satisfactory, save it in your project folder for future use. Proper archiving will allow you to quickly access these converted HDR images for use in rendering and light simulation in upcoming projects.
By converting JPG to HDR, designers can take advantage of the wider dynamic range and richer color information in rendering, ultimately enhancing the realism and quality of the final image. For designers seeking high-quality HDR images, 3D textures, SketchUp models, or 3ds Max models, Relebook offers a wide selection of resources to help you achieve outstanding visual effects in your projects.
