How to Import HDR Textures into Unity
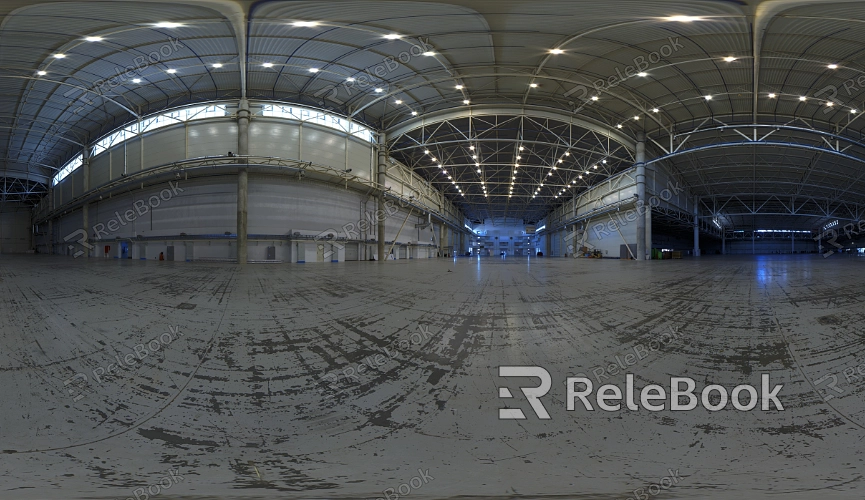
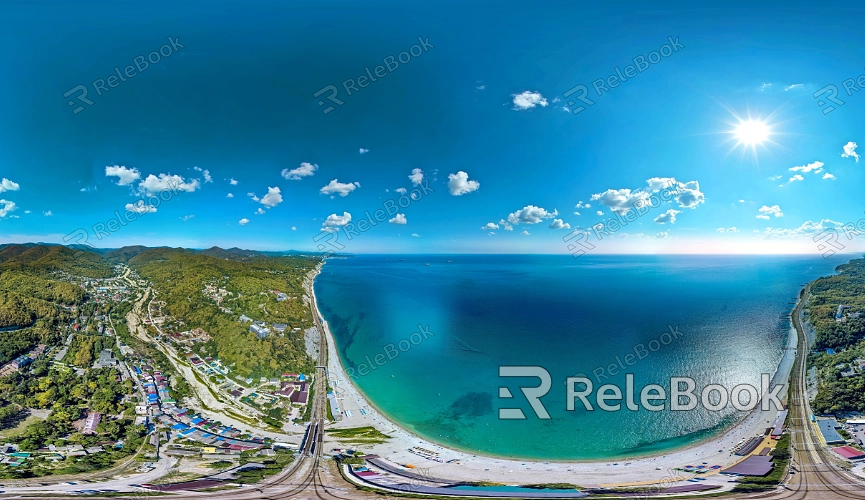
HDR textures are widely used in game development, architectural visualization, and visual effects. These textures enhance scene realism and visual impact by providing richer lighting and color information. While HDR textures play a crucial role in these fields, this guide will walk you through how to effectively import HDR textures into Unity to help optimize your project's visual quality.

1. Prepare HDR Texture Files
Before importing HDR textures into Unity, it's essential to ensure that the file format and content meet Unity's requirements.
Choose the Right File Format: Unity supports various HDR formats, including HDR and EXR. Ensure your HDR texture files are in one of these formats to ensure proper display after import.
Check Texture Resolution: High-resolution HDR textures offer more detail but also increase computational and memory demands. Choose a texture resolution that matches your project needs and hardware capabilities.
2. Import HDR Textures into Unity
Importing HDR textures into Unity is relatively straightforward, but it requires specific steps to ensure proper display.
Drag and Drop the File: In Unity, drag the HDR texture file directly into the “Project” window. This action will automatically import the file into your project.
Adjust Import Settings: Select the imported HDR texture file and review its import settings in the “Inspector” panel. Set the “Texture Type” to “HDR” or “Default” so that Unity can correctly process the texture data.
Configure sRGB Settings: Check and adjust the “sRGB” option as needed. If your HDR texture requires high dynamic range processing, make sure the “sRGB” option is disabled.

3. Set HDR Texture Properties
After importing HDR textures, some configuration is necessary to ensure they perform as expected in your scene.
Adjust Filtering Mode: In the “Inspector” panel, set an appropriate “Filter Mode” to control the texture’s filtering effect. For HDR textures, “Bilinear” or “Trilinear” modes are typically used for smoother display.
Set Compression Format: Choosing the right compression format can optimize texture performance and quality. For HDR textures, it’s advisable to use high-quality compression settings to preserve texture details.
Configure Export Settings: In the “Inspector” panel, review “Wrap Mode” and “Mipmap” settings. Based on your project needs, select the appropriate “Wrap Mode” (e.g., “Repeat” or “Clamp”) and decide whether to enable “Mipmaps.”
4. Apply HDR Textures to Materials and Lighting
Once the HDR textures are imported and configured, you can apply them to materials and lighting in Unity to enhance the scene's effect.
Apply to Materials: In Unity’s “Material” panel, create or select a material and drag the HDR texture into the material’s “Albedo” or “Base Map” slot. Adjust other material settings as needed to ensure the texture’s effect is optimal.
Set Up Environmental Lighting: If you’re using HDR textures as environmental lighting, set them as Unity’s “Skybox” or “Reflection Probe.” In the Lighting panel, choose the HDR texture as an environmental map for more realistic lighting effects.
Adjust Lighting Settings: Ensure that the lighting settings in your scene match the HDR texture to maximize its visual impact. Check the intensity and color temperature of light sources to ensure they correctly reflect the HDR texture’s properties.
Importing HDR textures into Unity can significantly enhance your project's visual quality, though it may involve various challenges. By ensuring correct file formats, adjusting import settings, configuring texture properties, and applying textures to materials and lighting appropriately, you can effectively address these issues and improve your project’s performance.
If you’re looking for high-quality HDR image resources, 3D textures, SketchUp models, or 3ds Max models, Relebook offers an excellent selection. Downloading textures and models from Relebook and integrating them into your projects can greatly enhance your work's quality.

