How to Make a 3D Landscape Model
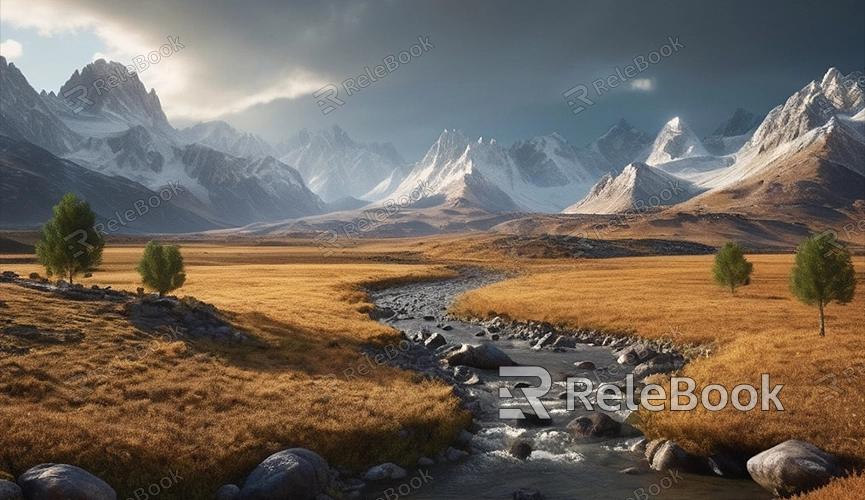
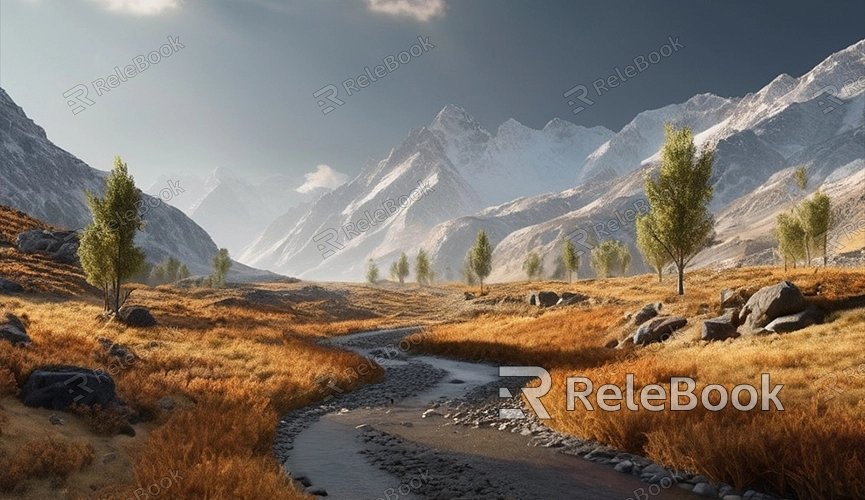
Creating a stunning 3D landscape model is one of the most challenging yet rewarding tasks in 3D modeling. Whether you’re a game developer, animator, or 3D art enthusiast, designing a landscape model can bring a vibrant and realistic dimension to your projects. This guide will walk you through the steps of creating an impressive landscape model in 3D modeling software, helping you turn your creativity into breathtaking visual effects.
Choosing the Right Tool
Before you start creating a 3D landscape model, selecting the appropriate modeling tool is crucial. There are many powerful 3D modeling software options available, such as Blender, 3ds Max, Maya, and Cinema 4D. These tools can help you efficiently create complex landscape models. If you haven’t chosen a tool yet, consider trying out a few to find the one that best suits your needs.

Preparation Stage
1. Set Up the Scene
Before modeling, you should define the landscape scene you want to create. This includes deciding on the type of landscape, such as mountains, lakes, forests, etc. Sketching the layout and major elements of the scene can help guide you during the modeling process.
2. Gather Reference Materials
Collecting high-quality reference images and textures is a critical step in creating a 3D landscape model. These references will help you capture the details and features of the landscape accurately. You can find relevant images online or take your own photos as references.
Modeling Process
1. Create Basic Shapes
Start by building your landscape model from basic geometric shapes in your modeling software. You can use terrain generation or sculpting tools to create mountains, hills, and other landforms. These tools allow you to design the initial shapes and set the stage for adding more details later.
2. Add Details
Once you have the basic shapes, you can start adding finer details. Use sculpting tools to refine the terrain, adding elements like ridges, rivers, and rocks. Continuously adjust and optimize the model to make the landscape appear more natural and realistic.
3. Apply Textures and Materials
To make your landscape model more vivid and realistic, you need to apply textures and materials. In your modeling software, use UV mapping to apply 2D textures to the 3D model. Choosing high-quality textures can significantly enhance the visual effect of the model. You can use existing texture materials or create custom textures by taking photos.

Rendering Setup
1. Set Up Lighting and Camera
Proper lighting and camera setup are crucial for rendering your landscape model. Choose appropriate light sources based on the type of landscape, such as sunlight or ambient light. Adjust the camera angle to highlight the best view of the landscape. Good lighting and camera settings will help your landscape model look its best.
2. Adjust Render Parameters
Before rendering, make sure to adjust the necessary render parameters. This includes resolution, sampling rates, and render quality. Higher sampling rates can improve render quality but will increase render time. Adjust these settings according to your needs and project requirements.
Post-Processing
After rendering, you may need to perform post-processing to enhance the final effect. Use image editing software to adjust color, contrast, and sharpness. Post-processing can help you further refine the image and make the landscape model more appealing.
Creating a 3D landscape model requires patience and skill, but with the right techniques and tools, you can achieve impressive visual effects. If you need high-quality 3D textures, HDRIs, or models for your projects, remember you can download them from Relebook and import them directly into your modeling software for use.

