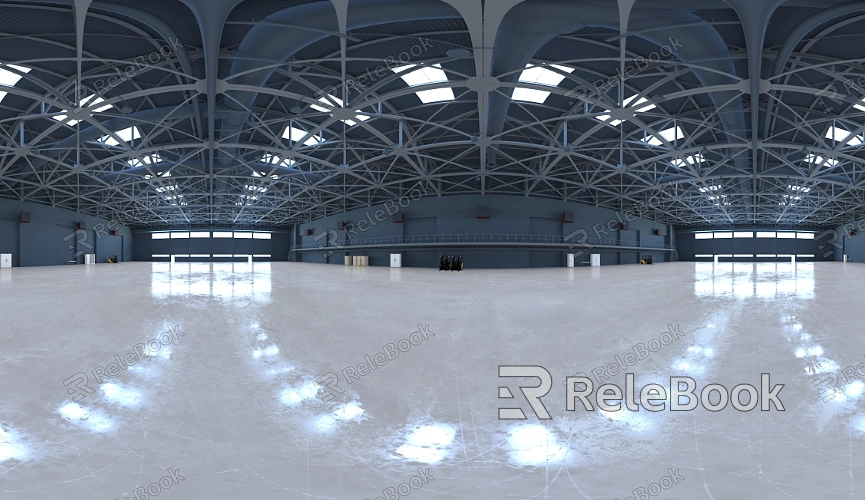
How to Remove HDR from an Image
In the workflow of 3D rendering, HDR (High Dynamic Range) images are commonly used to enhance the realism of scenes in software like 3ds Max and Blender. However, there are instances when you might want to create a more flat-rendered image or emphasize specific details in an area. In such cases, HDR can sometimes make lighting too complex, interfering with the desired final effect. This is when removing HDR becomes necessary. In this article, we’ll explore different methods to remove HDR effects within popular 3D software.

1. Using Image Editing Software
One of the most straightforward ways to remove HDR effects is through image editing software like Photoshop. This approach is particularly useful when the workflow involves significant post-processing.
Open the HDR Image: Begin by opening the HDR file in your chosen image editing software. Most professional tools support HDR formats.
Adjust Exposure Settings: By modifying the exposure settings, you can increase or decrease the brightness, gradually removing excessive lighting information to bring the image closer to a standard dynamic range.
Convert the Format: After removing the HDR effect, export the image as a standard JPG or PNG file. This ensures that the image won’t retain HDR information in subsequent processing.
2. Adjusting HDR Intensity in 3D Software
Many 3D applications provide options to tweak the intensity of HDR effects, allowing you to reduce their impact effectively.
Lower Environmental Lighting Intensity: In 3D software, environmental lighting often utilizes HDR images to enhance the scene. By reducing the intensity of this environmental light, you can minimize the effect of the HDR image.
Modify Exposure Controls: Most 3D applications offer exposure control options. Adjusting these values can soften the HDR effect, resulting in a more balanced appearance.
3. Color Correction with LUTs (Look-Up Tables)
LUTs are a powerful color correction tool used to modify the tone and brightness of images. Applying LUTs can effectively diminish the pronounced lighting effects typically found in HDR images.
Apply Preset LUTs: Many software packages come with preset LUTs that can be applied directly to adjust the image, bringing it closer to a standard dynamic range.
Create Custom LUTs: For more precise control, you can create custom LUTs tailored to the specific needs of your image, helping to achieve a specific HDR removal effect.

4. Adjusting Render Settings
In the rendering process, tweaking certain settings is another effective way to remove HDR effects.
Use Standard Light Sources: Instead of using an HDR image as the light source during rendering, opt for standard lights. This approach avoids the excessive lighting that HDR might introduce.
Modify the Render Engine Settings: Some render engines have dedicated HDR settings. By disabling or adjusting these settings, you can effectively eliminate HDR effects.
5. Converting to Standard Dynamic Range (SDR)
Another approach is to convert the HDR image directly to a Standard Dynamic Range (SDR) image. This is particularly useful when you need to apply the image on devices or platforms that don’t support HDR.
Select the Right Conversion Tool: Tools like Adobe Lightroom offer direct conversion from HDR to SDR. Choosing the right tool ensures that the converted image retains as much detail as possible.
Adjust Conversion Parameters: During the conversion process, adjust parameters like brightness, contrast, and saturation to ensure the converted image meets your expectations.
6. Utilizing Multi-Pass Rendering
Multi-pass rendering allows you to render different lighting and reflection passes separately, which can then be manually combined during post-processing to reduce HDR effects.
Render Separate Passes: During the rendering process, opt to render different lighting and reflection passes independently. This gives you better control over each element’s effect.
Combine Passes in Post-Processing: Import the separate passes into post-processing software, where you can manually blend and adjust them to remove unwanted HDR effects.
By employing these methods, you can effectively remove HDR effects across various software and scenarios. Whether through image editing tools, 3D software settings, LUTs, or multi-pass rendering, these strategies will help you achieve your design goals more efficiently. We hope these techniques prove useful in your daily work.
If you’re looking for high-quality HDR image resources, 3D textures, SketchUp models, or 3ds Max models to download for creating models and virtual scenes, Relebook is an excellent resource. Downloading textures and models from Relebook and importing them into your software can significantly elevate the quality of your work.

