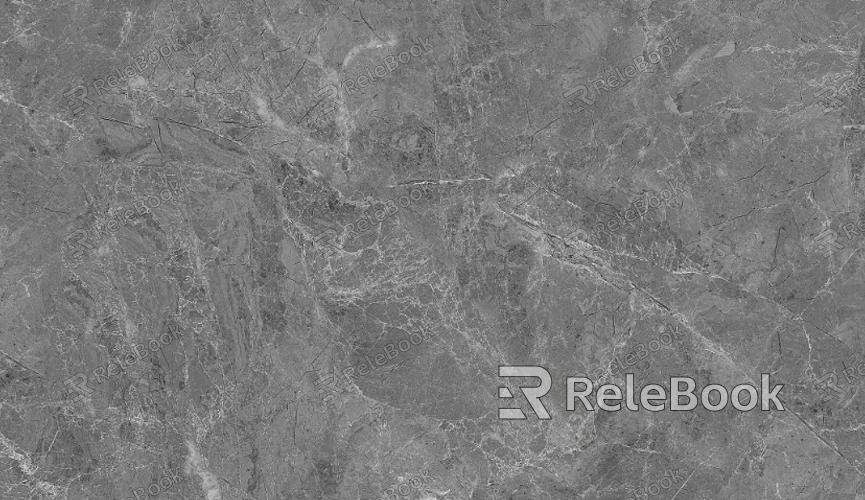
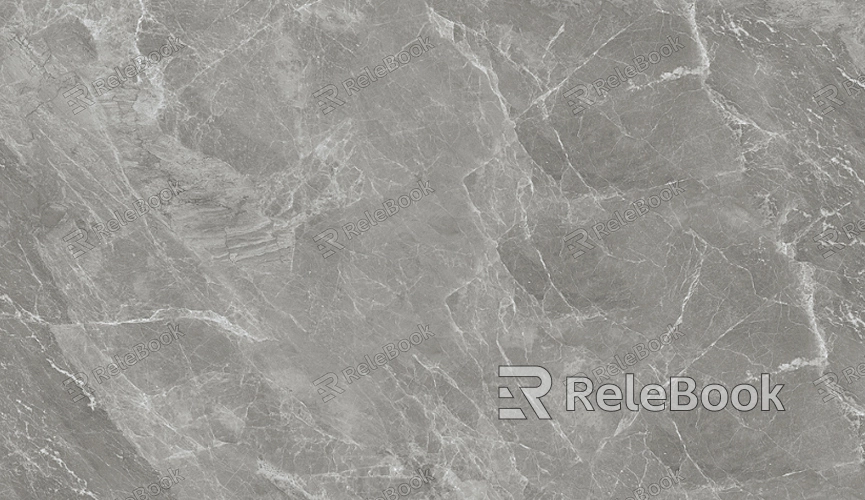
How to Create Marble Texture in Illustrator?
Creating realistic textures in Adobe Illustrator can be a challenging yet rewarding task for graphic designers. Marble texture, with its intricate swirls and patterns, is an iconic and elegant look that can elevate any design project. Whether you're working on a logo or website, the ability to create marble effects without relying on photos is a skill worth mastering. In this article, we’ll walk through the process of creating a convincing marble texture using Illustrator’s powerful vector tools.

Understanding the Nature of Marble Textures
Before diving into the technicalities, it's important to understand the characteristics of marble. Marble is a metamorphic rock that forms from limestone under heat and pressure. Its texture is often marked by irregular, organic veins, varying in color from pure white to deep gray, beige, and even green or purple. These veins are what give marble its unique, luxurious appearance. To replicate this in Illustrator, it's essential to create a vector texture that mimics these swirls and color variations while maintaining the fluid, natural look that is characteristic of marble.
Marble's veins typically flow in sweeping, unpredictable patterns, and these need to be simulated with the right combination of shapes, gradients, and blending techniques in Illustrator. The challenge lies in creating these organic patterns without relying on bitmap images or photographs. The result will be a fully scalable, editable texture that looks and behaves like real marble.
Setting Up Your Illustrator Document
The first step in creating any texture is to set up your document correctly. Start by creating a new document in Illustrator with the dimensions that suit your project. If you are making a pattern or texture for a website, the resolution might be set to web standard (72 PPI), while for print materials, you would work with higher resolution (300 PPI).
Once your document is ready, select the area where the marble texture will be placed. You can create this texture as a standalone element or integrate it into other artwork, such as a logo or background design. The choice is yours.

Creating the Base Texture with Gradient Mesh
To create the foundational texture of marble, you can use the Gradient Mesh tool in Illustrator. This tool allows you to define a complex gradient across a shape, mimicking the soft color transitions seen in marble veins.
Start by creating a large rectangle or ellipse that will serve as the base of your marble texture. With the shape selected, go to Object > Create Gradient Mesh. In the options that appear, set the rows and columns based on how detailed you want the texture to be. A higher number of rows and columns will give you more control but can be more complex to edit.
Once the mesh is created, start adjusting the gradient points. Change the colors of the mesh points to create subtle transitions that resemble marble. Typically, you’ll use soft grays, whites, and even beiges or off-whites for the color transitions. Adjust the gradient handles to create a fluid flow across the mesh, mimicking the soft veins and color shifts typical of marble. This step will lay the foundation for the color and tone of the marble texture.
Creating Veins with the Pen Tool
After you have established the basic color layout, it's time to add the veins that are characteristic of marble. To do this, the Pen Tool (P) will be your best friend. Start by drawing organic, irregular curves across the surface of your mesh. The veins should not be symmetrical or predictable; their natural flow is key to making the texture appear realistic.
Once your veins are drawn, you can adjust their stroke properties. Change the stroke weight and color to match the tonal quality of the veins in real marble. Use darker shades of gray, brown, or even gold depending on the type of marble you're trying to replicate. For example, classic Carrara marble typically has fine gray veins, while marble like Calacatta may have bold, darker veins that contrast sharply with the white background.
Refining the Texture with Blending Modes
To add depth and realism to your marble texture, you can experiment with different blending modes. Select the veins you've drawn and adjust their blending mode to something like Multiply or Overlay, which allows the veins to interact with the background, adding depth and subtle transparency to the final texture.
Additionally, you can adjust the opacity of the veins and experiment with different colors to create highlights and shadows. The key to making the veins look natural is variation: some veins should be sharp and bold, while others should be more subtle, almost hidden within the background.
Using the Liquify Tool for Organic Movement
One of the hallmarks of marble is the flowing, organic movement of the veins. To enhance this, Illustrator offers a Liquify Tool, which can distort the mesh and veins to create more natural movement. You can access the Liquify Tool by going to Effect > Distort & Transform > Liquify.
With the Liquify Tool, you can push, pull, and warp areas of your texture to create the swirling patterns typical of marble. This can give your texture the random and organic feel that is so important when trying to replicate the natural flow of real marble veins.
Final Adjustments and Adding Detail
Once you're happy with the base texture and the flow of the veins, you can add more details. This could include subtle color variations, scratches, or small imperfections that marble often has. You can use the Brush Tool (B) to paint subtle details or add more irregularities to the veins, which will help create a more authentic look.
Make sure to zoom in and refine any rough edges or areas that seem too uniform. In nature, marble veins rarely follow a consistent pattern, so breaking up uniformity is key to achieving a realistic texture.
Saving and Exporting the Marble Texture
Once your marble texture is complete, it’s time to save and export the file. You can save your Illustrator file in the native .ai format for future editing, or you can export it as a vector-based file such as .svg or .eps to use in other programs or projects. If you need a raster version, you can export the texture as a high-resolution .png or .jpg file.
To export the texture, go to File > Export and choose the appropriate settings based on how you plan to use the texture. If you're planning to use it in web or design, a .png with a transparent background can be ideal. If you're using it for print, a high-resolution .jpg will give the best results.
Creating a marble texture in Illustrator requires a blend of creative techniques and a good understanding of the natural flow and patterns of marble. By utilizing tools like the Gradient Mesh, Pen Tool, and Liquify, you can craft realistic marble textures that can be used in a variety of design projects. The process can be time-consuming, but the results are well worth the effort, giving your projects a professional and luxurious look. If you are looking for ready-made textures to save time, you can explore a range of 3D models and textures available for download on the Relebook website.
FAQ
Can I create marble textures with Illustrator without using the mesh tool?
Yes, you can use simpler techniques like gradients and the Pen Tool for veins, but the Gradient Mesh tool offers more control over color transitions, which is crucial for creating a realistic marble effect.
How can I make my marble texture more dynamic or realistic?
To make your texture more dynamic, experiment with different blending modes and opacity levels. Also, adding subtle color variations and imperfections and using the Liquify Tool can help mimic the irregularities found in real marble.
Is there a faster way to create marble textures?
For quicker results, you can use pre-made marble textures and patterns available online. However, creating your textures in Illustrator will give you complete control over the design and allow for more customization.
Can this technique be used for creating other textures, like granite or onyx?
Yes, the same principles can be applied to other stone textures. By adjusting the color scheme and patterning, you can create textures for a variety of materials, such as granite or onyx.
Are there any shortcuts to speed up the process of creating marble textures?
Using symbols, layers, and graphic styles in Illustrator can help you streamline the process and ensure consistency across multiple textures. You can also save your textures as swatches or patterns for quick reuse.

