How to Make Textures in Element 3D?

Understanding Textures in Element 3D
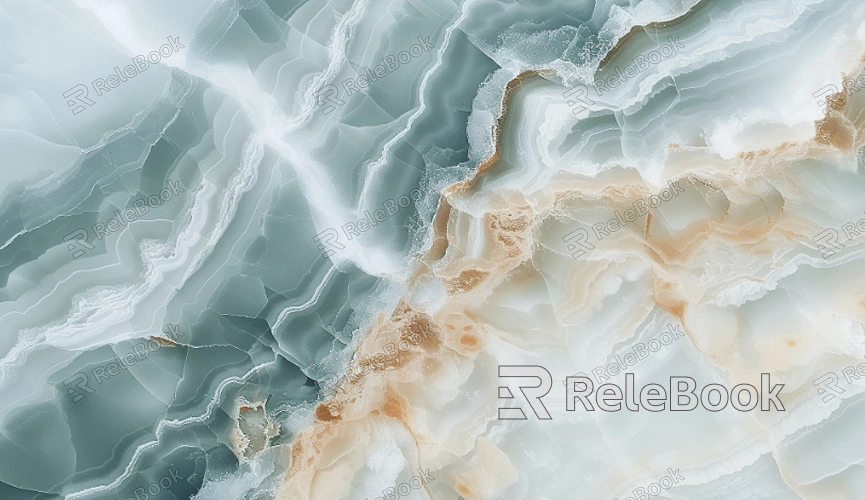
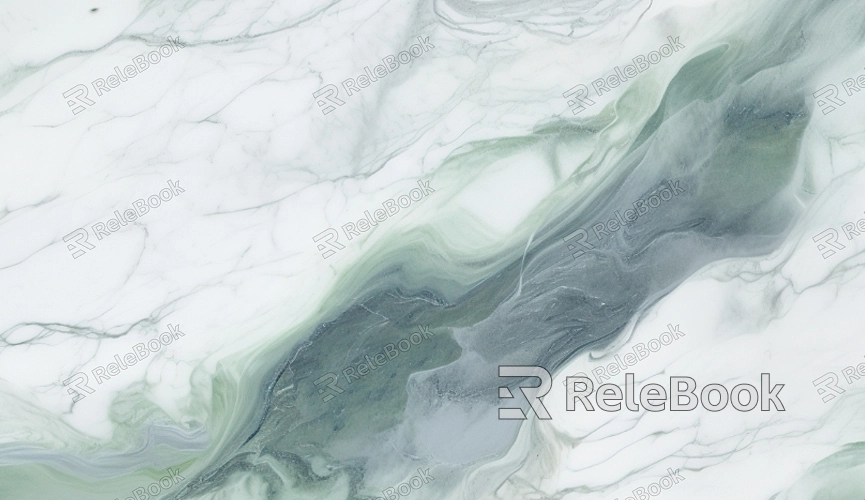
Before diving into texture creation, it is important to understand what textures are and their role in 3D design. Textures are images applied to 3D models to give them a more detailed and realistic appearance. They can represent various surface details such as color, bumpiness, and shininess. In Element 3D, textures are applied through materials, which can be customized to achieve different visual effects. This flexibility allows you to create anything from simple color overlays to complex surface details that mimic real-world materials.
Preparing Your Textures
To start creating textures for Element 3D, you first need to prepare your texture files. Here’s a step-by-step process:
1. Choosing Your Source Images: Begin by selecting or creating the images you want to use as textures. These could be photographs,paintings, or procedural textures generated in software like Photoshop or Substance Painter.
2. Editing Textures: Use an image editing tool to adjust the colors, contrast, and resolution of your textures. Ensure that the images are high-quality and suitable for your project’s needs. Common formats for textures include JPEG, PNG, and TIFF.
3. UV Mapping (Optional): If you're working with custom 3D models, you might need to perform UV mapping to ensure that your textures are applied correctly. UV mapping involves unwrapping a 3D model's surface into a 2D plane, so your textures align properly.
Importing Textures into Element 3D
Once your textures are ready, the next step is to import them into Element 3D:
1. Launch After Effects and Open Element 3D: Start by opening After Effects and creating a new composition. Add an Element 3D layer by selecting the Element 3D plugin from the Effects & Presets panel.
2. Access the Scene Setup: Click on the "Scene Setup" button in the Element 3D effect control panel to open the Element 3D interface.
3. Import Your Textures: Within the Element 3D interface, go to the "Custom Layers" section and import your texture files by clicking on the "Load Textures" button. You can organize your textures into different layers for better management.

Applying Textures to 3D Models
With your textures imported, you can now apply them to your 3D models:
1. Select Your Model: Choose the 3D model you want to texture from the Element 3D library or import your own.
2. Assign Materials: Go to the "Materials" tab in the Element 3D interface. Here, you can create new materials and assign textures to them. Use the "Diffuse" channel for color textures, the "Bump" channel for surface details, and the "Specular" or "Reflection" channels to control the material’s shininess and reflectivity.
3. Adjust Material Settings: Fine-tune the material properties to achieve the desired look. Adjust parameters such as color, reflectivity, bump strength, and transparency to match your vision.
Previewing and Refining Textures
After applying textures, it’s crucial to preview and refine them to ensure they look as expected:
1. Preview in After Effects: Return to After Effects and preview your composition to see how the textures interact with your 3D model in a real-world context.
2. Make Adjustments: If necessary, go back to the Element 3D interface to make adjustments to your textures. This might involve tweaking material settings or editing texture images.
3. Test Render: Perform a test render to check how the textures appear in a final output. This helps identify any issues that might not be visible during real-time previews.
Advanced Techniques for Texturing
For more advanced texturing techniques, consider exploring the following:
1. Procedural Textures: Use procedural textures to create complex patterns and effects that are not possible with static images. Element 3D supports various procedural texture settings that can add unique characteristics to your materials.
2. Layering Textures: Combine multiple textures to achieve complex materials. For example, you can layer a dirt texture on top of a base texture to simulate wear and tear.
3. Using Bump and Displacement Maps: Enhance the detail of your textures by using bump maps or displacement maps. Bump maps add surface detail without changing the model's geometry, while displacement maps alter the geometry based on texture information.
Creating and applying textures in Element 3D can greatly enhance the visual impact of your 3D models, bringing them to life with realistic details and effects. By following the steps outlined above, you can efficiently prepare, import, and apply textures to achieve stunning results. For those looking to expand their library of textures and 3D models, visiting Relebook for high-quality downloads could be a valuable next step in your creative journey.
FAQ
Can I use textures from other 3D software in Element 3D?
Yes, you can import textures from other 3D software as long as they are in a compatible format (e.g., JPEG, PNG, TIFF). Ensure that the textures are properly adjusted and mapped for use in Element 3D.
How do I create custom textures for Element 3D?
To create custom textures, use image editing software like Photoshop to design your textures. You can also use procedural texture generators to create unique patterns. Once created, import these textures into Element 3D as described in the guide.
What should I do if my textures look distorted on my 3D model?
Distortion can occur due to incorrect UV mapping or texture resolution issues. Check your UV mapping and ensure your textures have a high enough resolution. Adjust the texture coordinates in Element 3D if needed.
Can I animate textures in Element 3D?
Yes, you can animate texture properties such as color, transparency, and bump strength using keyframes in After Effects. This allows for dynamic changes in your textures over time.
Are there any plugins or tools that can help with texturing in Element 3D?
Several third-party plugins and tools can enhance your texturing workflow, such as texture libraries, procedural texture generators, and advanced UV mapping tools.

