How to Apply HDR Skybox Textures in Blender
When creating virtual scenes, many 3D designers face the common challenge of applying HDR skybox textures to enhance realism. HDR skyboxes not only offer more natural lighting effects but also provide detailed illumination that adds depth to the scene. This technique is widely used in various 3D software, including Blender, 3ds Max, and Cinema 4D. This guide will walk you through how to effectively apply HDR skybox textures in Blender to improve your project’s quality.
1. Preparing the Right HDR File
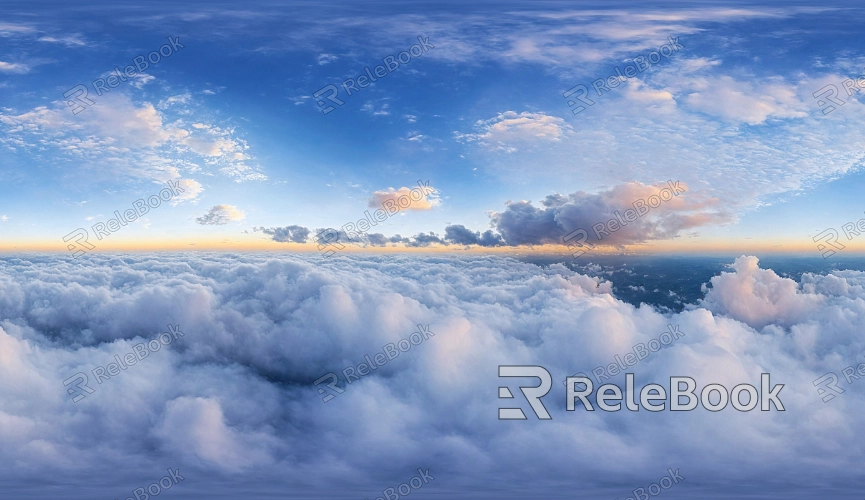
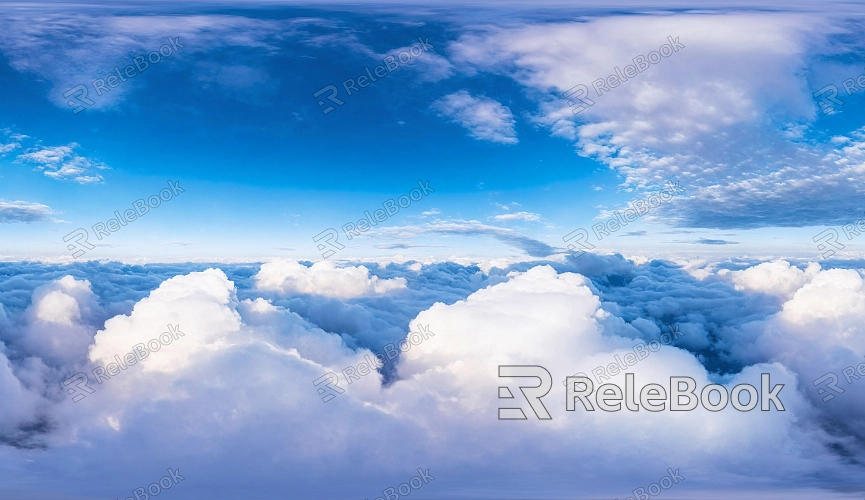
To properly apply an HDR skybox texture in Blender, you first need to source an appropriate HDR file. These files typically consist of panoramic images that capture a wide range of lighting details, helping simulate realistic lighting conditions. Make sure to select a high-resolution HDR file for finer rendering. Low-resolution images may result in blurry skies, affecting the overall visual quality of the scene.
If sourcing high-quality HDR textures seems time-consuming or complex, you can visit Relebook at https://textures.relebook.com/ to download high-quality HDR textures that will elevate your project.
2. Setting the World Background in Blender
Once your HDR file is ready, open Blender and set up the world background using the HDR skybox texture. Blender’s "World" settings allow users to add a background light source to the entire scene, and applying an HDR texture can significantly enhance the realism of the lighting.
To do this:
Go to the “World Properties” panel.
Find the “Color” option and choose “Environment Texture.”
Import your prepared HDR file. Blender will automatically apply it as the scene’s skybox.
Ensure that the “Node Editor” is enabled for further adjustments to the HDR texture.
3. Adjusting Brightness and Contrast
To ensure that the HDR texture integrates well with other elements in the scene, you may need to adjust its brightness and contrast. Different HDR files can create varying lighting intensities, and tweaking these settings ensures your objects receive the correct amount of illumination.
In the node editor, you can add a “Brightness/Contrast” node to the HDR texture.
Adjusting brightness alters the overall light intensity in the scene.
Changing contrast enhances or reduces the difference between light and shadow, allowing for more natural transitions.
4. Positioning and Rotating the HDR Skybox
In Blender, you can rotate the HDR skybox to change the light’s direction, affecting how shadows, reflections, and highlights appear in the scene. This is crucial for achieving the right lighting effects.
In the “World Properties” node editor:
Add a “Texture Coordinate” and “Mapping” node to control the HDR texture's positioning.
Adjust the Z-axis rotation to rotate the skybox, helping you find the best lighting angle for your scene.
5. Enhancing Details with Ambient Occlusion
While HDR skyboxes provide natural global lighting, additional techniques can enhance the detail. Ambient Occlusion (AO) is a common method that enhances shadow areas, adding depth to the scene.
To enable AO in Blender:
Go to the “World Settings” and activate the “Ambient Occlusion” option.
Adjust the strength and distance settings to ensure the details are well-represented but not exaggerated, maintaining a realistic look.
6. Rendering Preview and Adjustments
After setting up the HDR skybox texture, it’s time to preview the scene and make any necessary adjustments. In Blender, you can use different rendering engines like Cycles or Eevee to check how the HDR effects appear.
Cycles: This engine produces more realistic results, especially when dealing with complex lighting calculations like global illumination and path tracing.
Eevee: Although simpler, Eevee can still provide efficient real-time previews with the right settings.
Through the rendering preview, you can quickly assess how the HDR skybox affects shadows and highlights, making real-time adjustments to brightness, contrast, or rotation to ensure the final outcome meets your expectations.
7. Optimizing Rendering Performance
Using HDR skyboxes can sometimes lead to longer render times. To maintain efficiency, consider the following optimizations:
Lower the resolution of the HDR file if super high precision is unnecessary, as this will reduce processing load.
Use Blender’s “Denoise” function to minimize noise caused by high dynamic lighting, ensuring a cleaner image and faster render times.
8. Final Rendering and Output
Once everything is set, you can proceed with the final rendering. During rendering, ensure you select appropriate output settings that suit post-production and presentation needs.
Choose output formats like EXR or PNG for high-quality results, preserving the lighting details.
If further editing or special effects are needed, you can import the rendered image into post-production software for additional tweaks.
By following these steps, designers can easily apply HDR skybox textures in Blender to create realistic lighting effects and add rich visual depth to their scenes.
Learning how to use HDR skybox textures in Blender not only enhances your rendering results but also speeds up your workflow. If you’re looking for high-quality HDR images, 3D textures, SketchUp models, or 3ds Max models, Relebook offers excellent resources. Download textures and models from Relebook and import them into your projects to significantly improve the quality of your work.
