What Are the Best HDR Texture Settings in Blender?
Whether you're rendering intricate indoor scenes or vast outdoor environments, HDR textures offer realistic lighting effects that reduce the need for extensive post-processing. This technology is widely used in 3D software like Blender, 3ds Max, and Maya, especially in projects that require high fidelity in replicating real-world lighting. In this article, we’ll explore the best practices for setting up HDR textures in Blender, along with some practical tips to help you achieve the perfect lighting effects in your work.
1. Choosing the Right HDR Texture
Selecting the appropriate HDR texture is crucial for achieving the best lighting effects in Blender. Depending on your scene, you might opt for different types of HDR images:
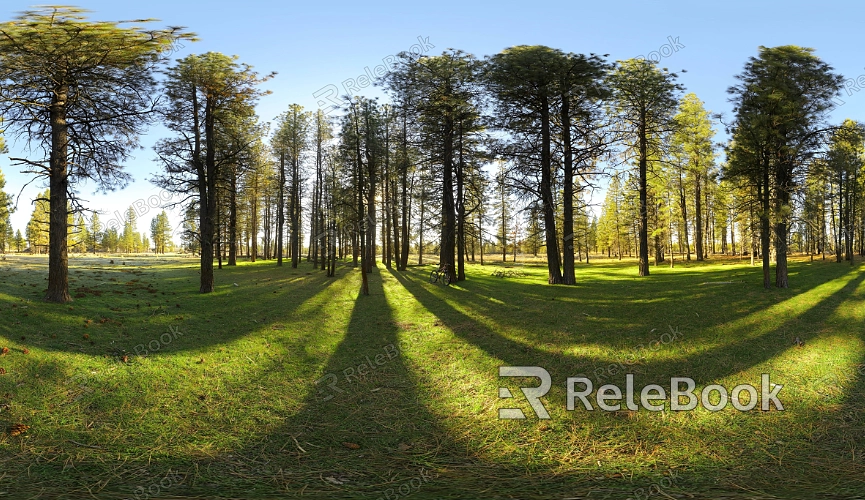
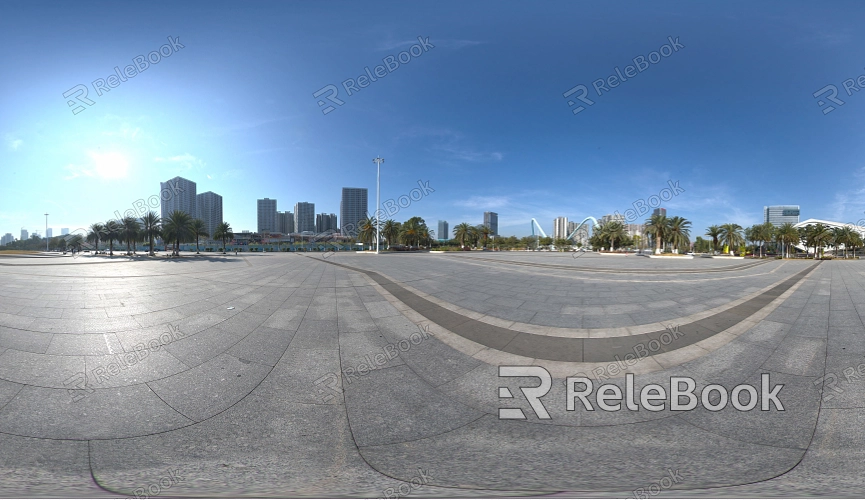
Outdoor Scenes: For outdoor environments that require natural lighting, it’s essential to choose an HDR image that accurately captures details of the sky, sunlight, and clouds. High-quality outdoor HDR textures can significantly enhance the sense of depth and realism in your scenes.
Indoor Scenes: In indoor renderings, HDR textures are typically used to simulate light sources from windows. Choosing the right HDR image can recreate realistic indoor lighting effects, especially in sunlit environments where HDR lighting can perfectly showcase the soft transitions of light through windows.
2. Adjusting HDR Texture Intensity and Exposure
Once you’ve imported your HDR texture, adjusting the intensity and exposure is key to achieving the best results:
Intensity Adjustment: You can control the strength of the HDR light source by tweaking the "Strength" parameter. In scenes that require strong lighting, increasing the intensity can enhance the contrast between light and shadow, but be cautious not to overexpose the image.
Exposure Control: Blender allows you to fine-tune the exposure of the HDR light source using the "Exposure" parameter. This setting is vital for balancing the highlights and shadows in your scene. For high-contrast environments, adjusting the exposure can help you achieve a more balanced lighting effect.
3. Enhancing HDR Lighting with the Node Editor
Blender’s Node Editor provides more flexibility in controlling HDR textures, enabling you to create more complex lighting effects:
Color Correction Node: By adding a "Color Correction" node, you can fine-tune the colors of your HDR texture to better match your scene’s needs. For example, you can adjust the color temperature to make the lighting warmer or cooler, helping to set the desired mood.
Mix Shader Node: With the "Mix Shader" node, you can blend HDR lighting with other light sources like point lights or area lights. This combination can add depth to the lighting effect, especially in complex scenes where you can utilize both HDR and local light sources to create a more dynamic lighting environment.
4. Addressing Potential Issues with HDR Textures
While HDR textures can greatly enhance your renders, there are potential issues to watch out for:
Rendering Noise: The high dynamic range of HDR lighting can sometimes introduce noise in your renders. To address this, you can increase the sample count during rendering or enable denoising features in Blender to reduce noise and improve image quality.
File Size and Performance: HDR files are usually large, which might lead to longer render times or high system resource usage. To mitigate this, consider using lower-resolution HDR files or compressing the HDR image without compromising too much on visual quality.
5. Application Tips for Different Scene Types
The way you use HDR textures can vary depending on the specific needs of your scene. Here are some tips for different scenarios:
Simulating Sunrise or Sunset: In scenes that depict sunrise or sunset, select an HDR image that corresponds to the specific time of day. Adjust the exposure and intensity to capture the soft transitions of light, creating a more realistic lighting effect.
Product Rendering: For product renders, especially those involving materials with high reflectivity like metal or glass, HDR lighting can help highlight the product’s texture and details. By carefully setting up your HDR texture, you can showcase the unique qualities of your product, enhancing its visual appeal.
Architectural Visualization: In architectural renders, HDR textures can be used to simulate natural light sources both indoors and outdoors, adding a realistic touch to the architectural space. This is particularly effective when showcasing indoor spaces where HDR lighting can accurately depict sunlight distribution through windows.
Setting up and optimizing HDR textures in Blender can significantly enhance your renders, helping you achieve more realistic lighting effects. By selecting the right HDR images, adjusting intensity and exposure, using the Node Editor creatively, and addressing potential issues, you can achieve ideal lighting in various scenes. If you're searching for high-quality HDR textures, Relebook offers a wide range of options. You can download and use various HDR textures, along with other 3D design assets like Sketchup models and 3ds Max models, to further elevate the quality of your design projects.
