Why Is My HDR Texture Not Working in Blender?
Whether you're working on architectural visualization, product design, or visual effects for film, accurate lighting can significantly enhance the realism and immersion of a scene. HDR textures, with their rich lighting information, have become a go-to tool for designers looking to create realistic lighting effects in 3D software. In Blender, HDR textures can help designers easily achieve complex lighting, saving time and effort on manual adjustments. This article explores how to effectively use HDR textures in Blender to create realistic lighting effects, providing detailed steps and practical tips.
1. Choose the Right HDR Texture
Identify the Scene Type and Requirements
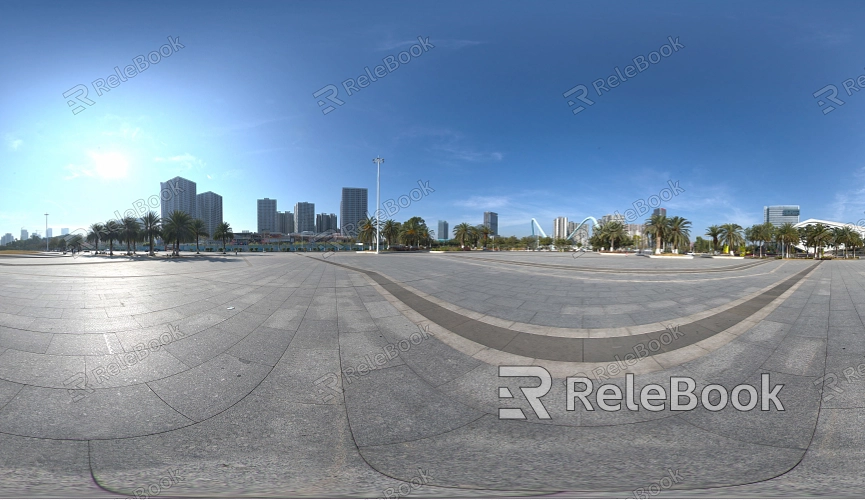
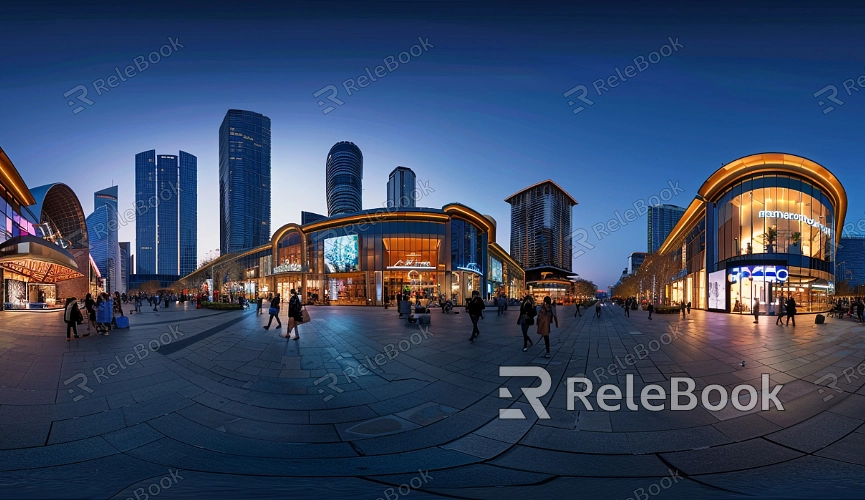
Before selecting an HDR texture, it's essential to determine the type of scene you're creating. For instance, indoor scenes might require softer lighting and precise shadows, while outdoor scenes may need a higher dynamic range to handle complex lighting variations. Choosing the right HDR image based on your scene's needs will better simulate real-world lighting conditions.
Source HDR Textures from Reliable Providers
The quality of your HDR texture directly affects the final render. Therefore, it's crucial to obtain high-quality HDR textures from trustworthy resources. Many websites offer both free and paid HDR texture libraries, allowing designers to select textures that best fit their project requirements.
2. Import HDR Textures into Blender
Create a New Scene or Import an Existing Project
In Blender, open or create a new 3D scene, then navigate to the "Shader Editor" window, where you can manage materials and textures.
Add an Environment Texture Node
In the "Shader Editor," add an "Environment Texture" node—this step is key to applying the HDR image to the entire scene. Go to the "Add" menu, choose "Texture" > "Environment Texture," and connect it to the "Color" input of the "World Output" node.
Load the HDR Image
Click the "Open" button to select and load the HDR image you previously downloaded. At this point, you should see the initial lighting effects of the HDR texture reflected in Blender's viewport.
3. Adjust HDR Texture Parameters
Control Exposure and Brightness
The lighting effect of the HDR texture may need adjustment depending on the scene. The "Strength" parameter allows you to control the brightness of the HDR image for more precise lighting effects. Typically, start with a lower value and adjust until you achieve the desired effect.
Adjust the Rotation Angle
Use the "Mapping" node to rotate the HDR texture, thereby changing the direction of the light source. This is particularly useful for scenes that require a specific light source position, such as the angle of sunrise or sunset to achieve the best effect.
4. Combine Other Light Sources to Optimize Lighting
Add Supplementary Light Sources
While HDR textures provide natural lighting, additional light sources may be necessary to highlight specific details. In Blender, you can add point lights or spotlights to complement the HDR lighting, ensuring every detail in the scene is adequately illuminated.
Use Light Groups
In complex scenes, using light groups can help you manage different combinations of light sources more flexibly. By grouping various light sources, you can easily adjust their intensity and position to achieve the ideal effect.
5. Adjust Material Response to HDR Lighting
Set Material Reflectivity
When using HDR textures, the reflectivity of an object’s material will directly influence the final render. Adjust the material nodes in the "Shader Editor" to control how the object's surface responds to HDR lighting. For example, metallic materials may require higher reflectivity, while matte materials will need lower reflectivity.
Use PBR Materials
Physically-Based Rendering (PBR) materials can better simulate real-world lighting reactions. In Blender, combining PBR materials with HDR textures can significantly enhance the realism of a scene. Ensure that parameters like "Base Color," "Roughness," and "Metallic" in the material align with the HDR texture's lighting to achieve optimal results.
6. Preview and Render the Final Effect
Real-Time Preview
After adjusting the HDR texture and light sources, use Blender's real-time preview feature to check if the lighting effects meet your expectations. View the scene from different angles to ensure that the lighting and shadows are consistent throughout.
High-Quality Render Output
Finally, use Blender's high-quality render settings to output the final result. Before rendering, ensure that all light sources and material parameters are fine-tuned, and that the sampling rate and resolution are high enough to capture the details of the HDR texture.
By following these steps, you can effectively use HDR textures in Blender to create lighting effects that enhance the realism of your scenes. This not only improves the quality of your work but also adds a stronger visual impact to your projects. If you're looking to explore more high-quality HDR textures, 3D textures, SketchUp models, or 3ds Max models, Relebook offers a wide selection to help you achieve even better results in your designs.
