How to Create Realistic Lighting with HDR Textures in Blender
Whether you're working in architectural visualization, product design, or movie special effects, HDR textures are widely used to achieve complex and realistic lighting effects. Especially in 3D software like Blender, the use of HDR textures has become an essential tool for designers. This article will delve into how to use HDR textures in Blender to create realistic lighting, providing practical steps and tips along the way.
1. Choosing the Right HDR Texture
Understanding Your Scene's Requirements
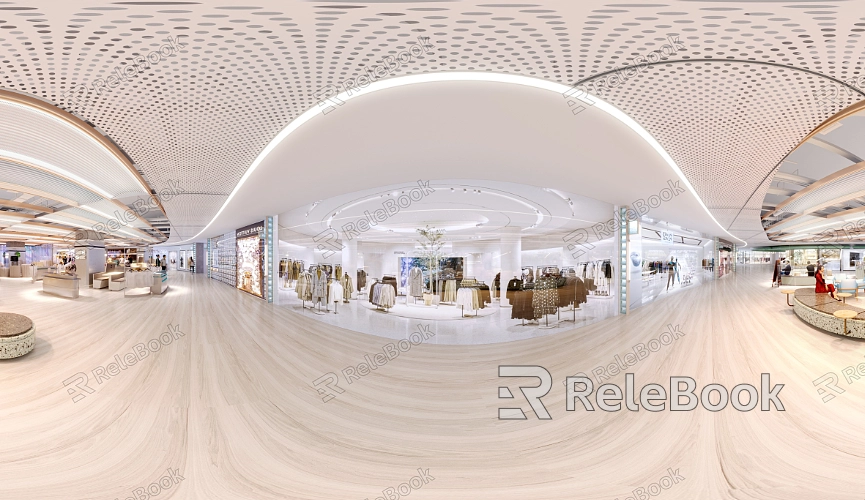
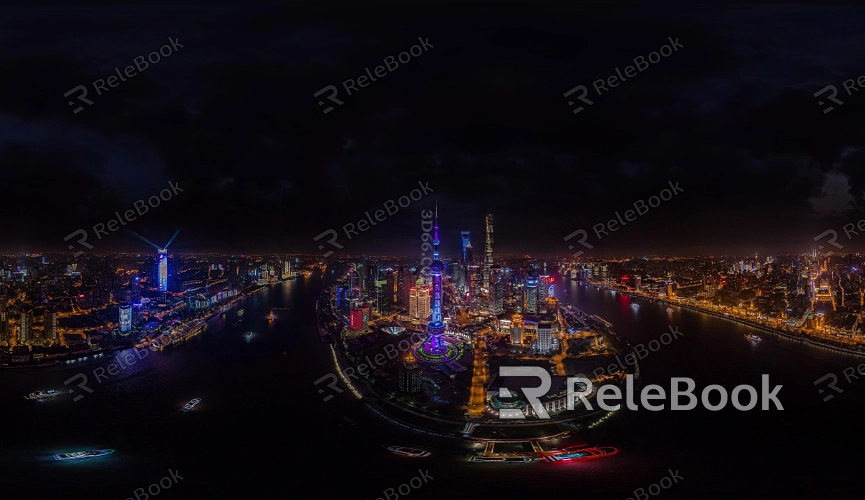
Before you begin working with HDR textures, it's crucial to understand the specific needs of the scene you're designing. For instance, an indoor scene might require soft lighting and accurate shadows, while an outdoor scene needs a higher dynamic range to handle the complexities of natural light. Each scenario demands different lighting effects, so selecting the appropriate HDR texture is vital.
Sourcing High-Quality HDR Textures
The quality of your HDR texture directly impacts the final rendered result. Therefore, obtaining high-quality HDR images from reliable sources is essential. Designers can explore both free HDR texture libraries and premium HDR resources to find the best fit for their project needs.
2. Importing HDR Textures into Blender
Starting or Opening an Existing Scene
In Blender, after starting a new project or opening an existing one, head to the Shader Editor, which is where materials and textures are managed. Ensure that the scene is ready for lighting adjustments.
Adding the Environment Texture Node
In the Shader Editor, use the "Add" menu to select "Texture" > "Environment Texture" and connect it to the "Color" input of the World Output node. This step applies the HDR image to the entire scene.
Loading the HDR Image
Click the "Open" button to select and load the HDR image you previously downloaded. At this point, you should see an initial lighting effect in Blender’s viewport brought about by the HDR texture.
3. Adjusting HDR Texture Settings
Controlling Light Intensity
Depending on your scene's needs, you can adjust the brightness of the HDR image using the "Strength" parameter. This allows designers to fine-tune the intensity of the light source to achieve the desired lighting effect.
Tweaking HDR Orientation
Using the Mapping node, you can rotate the HDR texture to change the direction of the light source. This is particularly useful in scenes where specific light angles are required, such as simulating sunrise or sunset.
4. Enhancing with Additional Light Sources
Adding Fill Lights
Although HDR textures provide natural lighting, additional light sources may be necessary to highlight specific details. In Blender, adding point lights or spotlights can enhance the effect of HDR lighting, making the scene more dimensional and realistic.
Using Light Groups
In complex scenes, utilizing light groups allows designers to manage multiple light sources more effectively. By grouping and adjusting different light combinations, you can easily control the intensity and direction of lighting.
5. Adjusting Materials for HDR Lighting
Controlling Material Reflectivity
The impact of HDR lighting is greatly influenced by the reflectivity of the materials in your scene. By adjusting the material nodes in Blender, designers can control how surfaces react to light. For example, metallic materials require higher reflectivity, while matte materials need lower reflectivity.
Utilizing PBR Materials
Physically-based rendering (PBR) materials can more accurately simulate real-world lighting reactions. Combining PBR materials with HDR textures in Blender can significantly enhance the realism of your scene. Ensure that parameters such as "Base Color," "Roughness," and "Metallic" are well-coordinated with the HDR lighting.
6. Previewing and Rendering the Final Result
Real-Time Lighting Preview
After adjusting HDR textures and light sources, use Blender’s real-time preview function to check if the lighting meets your expectations. View the scene from different angles to ensure that every part of the lighting and shadows aligns with your design goals.
High-Quality Rendering Output
Finally, use Blender’s high-quality rendering settings to export the final result. Before rendering, verify that all light sources and material parameters are properly adjusted, and that the render settings include a high enough sampling rate and resolution to capture the details of the HDR textures.
By following these steps, designers can fully leverage HDR textures in Blender to create realistic lighting effects. This approach not only enhances the visual quality of your work but also reduces the time and effort spent on lighting adjustments. If you're looking to explore and acquire high-quality HDR textures, 3D models, and other design resources, Relebook offers a wide range of options and professional support to help you achieve better results in your projects.
