How to make a 3d model of an animal cell
Creating a 3D model of an animal cell not only helps in understanding biological structures better but also serves as an excellent teaching tool, providing a more visual representation for classrooms or research presentations. Whether you're a student, teacher, or 3D modeling enthusiast, learning how to build a realistic animal cell model in 3D software is both fun and meaningful. This guide will walk you through the basic steps to create a lifelike 3D model of an animal cell, helping you get started quickly and complete a detailed project.
Preparation
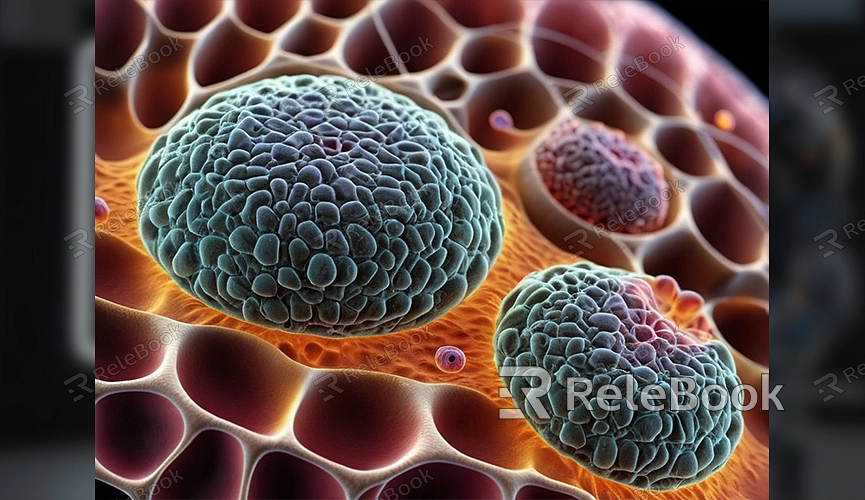
Before you start modeling, it’s important to understand the structure of an animal cell. A typical animal cell includes several key components: the cell membrane, cytoplasm, nucleus, mitochondria, Golgi apparatus, and endoplasmic reticulum. Each organelle has distinct shapes and functions, so attention to their appearance and placement is crucial during modeling.
You’ll need a powerful 3D modeling software such as Blender, Maya, or Cinema 4D. Blender is a free and open-source software that is ideal for beginners, yet it offers professional-level modeling, rendering, and animation capabilities.
Creating the Cell Membrane
The cell membrane is the outer shell of the animal cell, flexible and encasing all internal structures. Start with a simple sphere to represent the cell membrane. In Blender, create a sphere through the “Add” menu under “Mesh” and then adjust its size using the scaling tool.
The cell membrane is typically semi-transparent, so apply a material with high transparency to make it look more realistic. If needed, add a subtle bump map to simulate the cell membrane’s fine textures.
Building the Nucleus
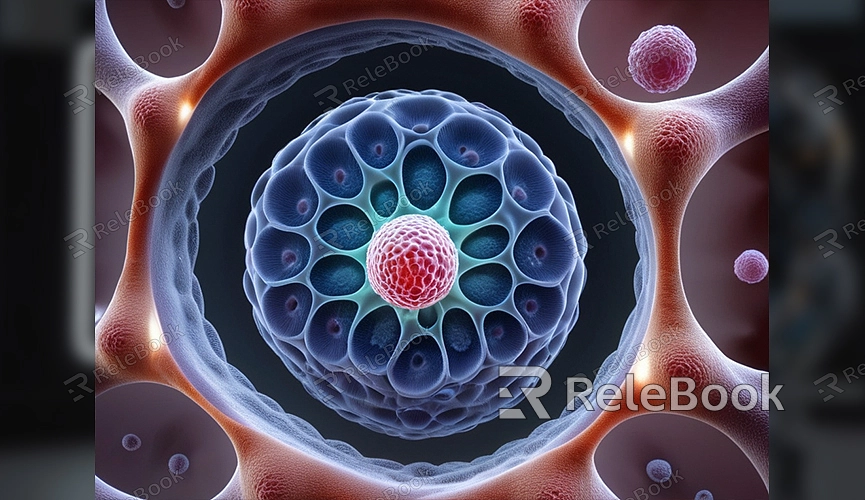
The nucleus is the control center of the animal cell, usually located at the center. You can represent the nucleus with a slightly smaller sphere placed inside the cell membrane. Similar to the cell membrane, add an appropriate material to the nucleus, such as a semi-transparent one with slight color variations to showcase the internal structure.
Inside the nucleus, there are chromatin and the nucleolus. Simulate these microscopic structures with small spheres or simple geometric shapes and position them accurately.
Adding Mitochondria
Mitochondria are the cell’s powerhouses and typically appear as oval or rod-shaped structures under a microscope. For modeling mitochondria, use ellipsoids or elongated cylinders as base shapes. After creating these shapes, use the subdivision surface tool to smooth out the mitochondria’s shape. Add internal details, such as folded inner membrane structures, using textures or simple geometries.
If you need high-quality 3D textures and HDRIs for modeling, you can download them for free from [Relebook](https://textures.relebook.com/). These resources can help you add more details and textures to mitochondria and other organelles.
Simulating the Endoplasmic Reticulum and Golgi Apparatus
The endoplasmic reticulum (ER) is divided into rough and smooth types. Rough ER has ribosomes attached, giving it a slightly uneven appearance. You can use a subdivided plane model or curve tools to build the ER's shape. Then, duplicate and arrange these planes to create a complex network structure.
The Golgi apparatus usually appears as stacked, flat membrane sacs, resembling a stack of irregular plates. Model several simple plate-like geometries and stack them, adjusting the shape and curvature of each plate to make it look more natural.
Assembling All Organelles
After modeling the nucleus, mitochondria, endoplasmic reticulum, and Golgi apparatus, position all the organelles correctly within the cell membrane. Ensure the proportions of each organelle are accurate and that their arrangement reflects biological reality.
At this point, your animal cell model should be taking shape. To make the model more vibrant, apply high-quality textures to each organelle. For detailed 3D models, visit [Relebook](https://3dmodels.relebook.com/), which offers a wide range of premium 3D resources to help you complete complex modeling tasks quickly.
Rendering and Presentation
Once modeling is complete, add lighting and environmental backgrounds to enhance the render. In Blender, you can choose between Eevee or Cycles render engines, suited for real-time rendering and high-quality ray tracing respectively. Using suitable HDRI maps for environmental lighting can significantly improve the realism of your model.
After adjusting lighting and materials, start the rendering process. Once rendering is finished, you’ll have a high-quality 3D model of an animal cell, ready for teaching, presentation, or personal projects.
With the guidance provided, you should now be able to create a comprehensive 3D model of an animal cell. From the cell membrane and nucleus to mitochondria and the endoplasmic reticulum, each detail requires patience and precise modeling skills. Using high-quality 3D resources and HDRIs from Relebook can further enhance your model's visual appeal.
