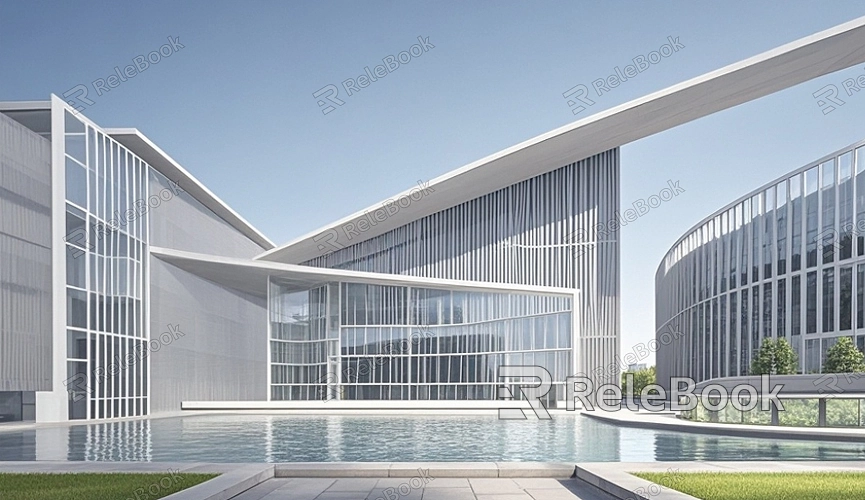
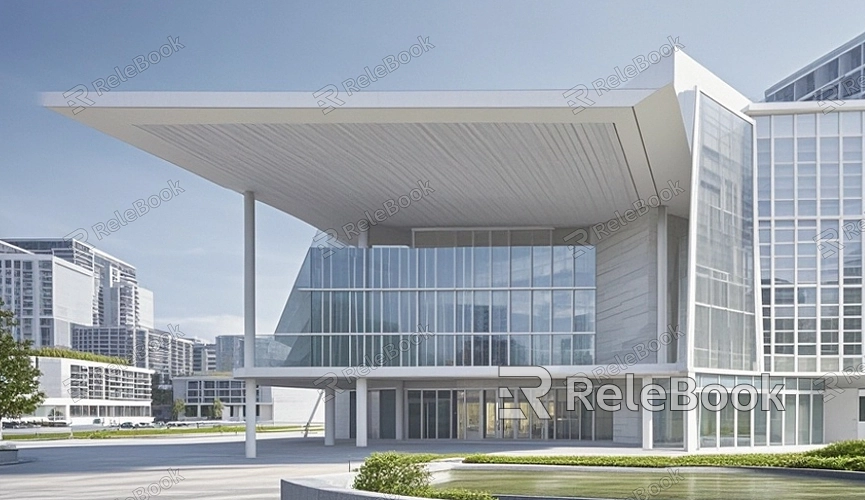
How to Create 3D Models of Buildings?
3D modeling technology has fundamentally changed how architectural designs and visual presentations are crafted. Whether you're designing a new building project, planning a renovation, or exploring creative architectural ideas, 3D modeling transforms abstract design concepts into visual and interactive three-dimensional models. Mastering the method of creating 3D models of buildings is crucial for anyone looking to enter the field of architectural visualization. In this article, we will delve into how to effectively create 3D models of buildings, covering the key steps and techniques from initial planning to final detailing.
Determine Design Goals and Requirements
Before beginning the 3D modeling process, it’s essential to clarify the project’s design goals and requirements. The focus at this stage is understanding the function and aesthetic demands of the building. Consider the purpose of the building—is it a residential structure, a commercial building, or a public facility? Additionally, clarify the level of detail needed for the model—do you need highly detailed internal structures, or is it enough to show the exterior outline? The answers to these questions will determine the complexity of the model and the choice of modeling method.
After defining your design goals, gathering all necessary reference materials is crucial. These materials include architectural drawings, floor plans, elevations, and sections, as well as photographs or other visual references of the building site. These references provide the basic information needed to create an accurate model.
Choose the Right Software Tools
Choosing the right 3D modeling software is key to successfully creating a building model. There are many different software tools available, each with its unique advantages and suitable use cases. Commonly used software includes SketchUp, Revit, AutoCAD, and Blender.
SketchUp: Known for its ease of use and intuitive interface, making it particularly suitable for beginners and designers who need to model quickly.
Revit: Primarily used for Building Information Modeling (BIM), making it ideal for professional architects who need to accurately construct and manage complex buildings.
AutoCAD: Suitable for creating precise architectural drawings, and can be combined with other 3D modeling tools.
Blender: While more commonly used in animation and game development, its powerful modeling capabilities also apply to architectural design.
When choosing software, decide based on the complexity of the project, the technical skill level of the team, and the output requirements.
Construct the Basic Shape of the Building
Once you have chosen the software tools and gathered reference materials, you can begin constructing the basic shape of the building. This step typically starts with establishing the building’s exterior outline. Define the overall height, width, and depth of the building in 3D space, ensuring the model adheres to real-world proportions.
Use the basic geometric tools in the software (such as blocks, cylinders, etc.) to build the primary structural components of the building. Then, use the "push-pull" tool or similar functions to extrude these geometries to the required height and shape. For buildings with slopes or irregular shapes, you may need to use more advanced modeling tools to accurately capture these features.
When constructing the basic shape, try to keep the model simple. Adding details too early can complicate the model and make subsequent adjustments more difficult.
Add Architectural Details
After completing the basic shape of the building, the next step is to add details. Details significantly enhance the realism and visual appeal of the model. This step includes creating doors, windows, staircases, columns, roof structures, and any other architectural elements.
When adding details, pay particular attention to accuracy and proportion. For example, ensure that the size of doors and windows is in proportion to the overall building and that their placement is accurate. Most 3D modeling software provides specific tools to help you precisely position and adjust these elements.
Additionally, consider using components or modular modeling methods to improve efficiency. Save frequently repeated elements (such as windows or doors) as components, so you can use them multiple times throughout the model without having to model them from scratch each time.
Apply Materials and Textures
Once the structure and details of the building are modeled, you can start applying materials and textures. Applying materials and textures is a critical step in making the model more realistic and visually appealing. Through proper material application, you can simulate different surface effects such as brick walls, wood, glass, or metal.
When selecting materials, refer to real-world materials to ensure the color, gloss, and texture match the actual conditions. Most 3D modeling software provides an extensive material library from which you can directly use preset materials or import custom textures.
Also, consider the impact of lighting and shadows on the materials. Use the software’s rendering function to preview how the model will look under different lighting conditions to ensure the application of materials and textures meets your expectations.
Render and Export the Model
When all details and materials are in place, you can render the model. Rendering is the process of generating the final image, which can add realistic lighting and shadow effects to your model, making it look more lifelike. The rendered result is often used for client presentations or as the final presentation material for the project.
When rendering, choose the appropriate rendering settings based on the project’s needs. Consider factors such as resolution, lighting effects, and whether to add environmental backgrounds. Some advanced rendering software also supports global illumination and reflection calculations, which can significantly enhance the quality of the image.
After rendering, export the model in the appropriate file format based on the project’s needs. This could be a format for further editing or an image or animation file for presentation.
By following the steps outlined in this article, you can gradually master the process of 3D modeling for buildings. From defining design goals to choosing the right software, constructing the basic shape of the building, adding details, applying materials, and finally rendering and exporting the model, each step is crucial. If you need more 3D models or textures to enrich your modeling projects, visit the Relebook website, where you can find a wide range of high-quality resources to help you complete your designs.
FAQ
Which 3D modeling software is recommended for beginners?
Beginners are typically recommended to use SketchUp because it is easy to learn and has an intuitive user interface, making it suitable for getting started quickly.
How can I ensure the accuracy of a 3D building model?
Use detailed architectural drawings and reference materials, maintain precise proportions in the model, and utilize the measurement tools in the software to verify the dimensions of each part.
How detailed should a 3D model be?
This depends on the model’s purpose. If the model is for viewing from a distance or large-scale presentations, details can be simplified. If it is for close-up viewing or high-precision presentations, more detail should be added.
How can I avoid making the model too complex when applying materials?
Use appropriately sized textures and choose the complexity of materials wisely. For smaller areas of the model, using simple materials can effectively reduce the computational load.
