How to Apply Textures to SketchUp Models?
In 3D modeling, applying textures not only gives your models a realistic appearance but also significantly enhances visual appeal, making models more vivid and tangible. For users working with SketchUp, mastering the technique of applying textures is a crucial skill. This article will provide a comprehensive guide on how to add textures to your SketchUp models, covering everything from selecting the right textures to applying and adjusting them.
Choose the Right Textures
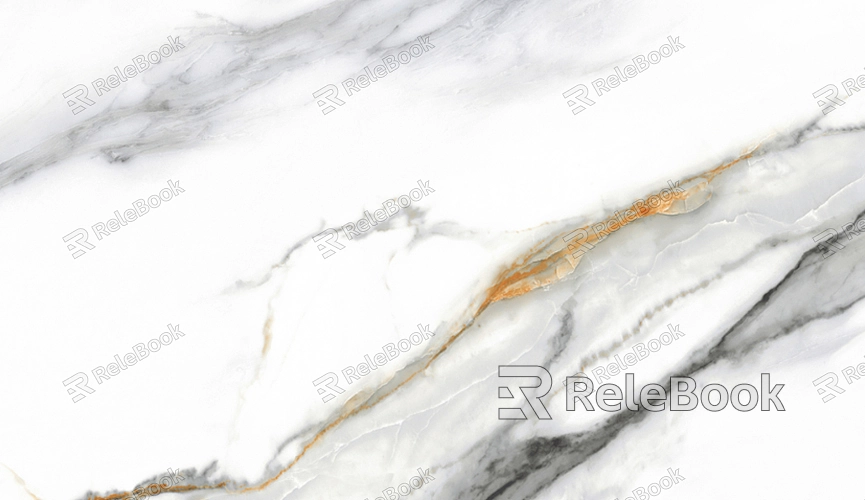
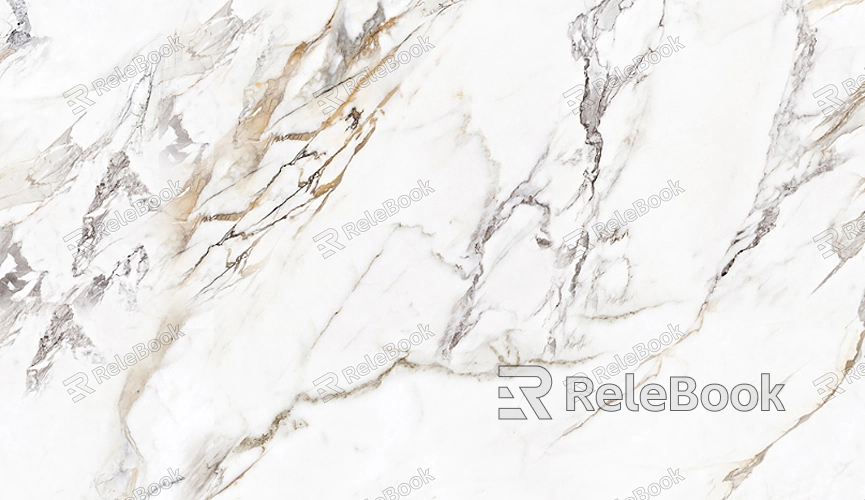
The first step in adding textures to your SketchUp model is selecting the appropriate textures. The choice of textures should be based on the model's purpose and design style. For architectural models, common textures include brick, wood, metal, glass, and more. When selecting textures, pay attention to color, pattern, and material realism to ensure the final look meets your expectations.
SketchUp comes with a basic set of texture libraries that you can use directly. Additionally, you can download high-quality custom textures from external sources and import them into SketchUp. When choosing textures, opt for high-resolution images that tile seamlessly to avoid noticeable repetitions or unnatural seams when applied over larger areas.
Import Textures into SketchUp
Once you have selected your textures, the next step is to import them into SketchUp. The process is straightforward:
Open your SketchUp model and select the face where you want to apply the texture.
Go to the “Materials” panel and click on the “Create Material” option.
In the dialog box that appears, click the “Browse” button and select the texture image you prepared.
Set the material’s size and scale according to your needs, then click “OK.”
After importing, your texture will appear in the materials library, ready to be applied to various parts of your model.
Apply Textures to Your Model
With the texture imported, you can now start applying it to different parts of your model. Follow these steps:
Select the face or object where you want to apply the texture.
Open the “Materials” panel and choose the texture you want from the materials library.
Use the “Paint Bucket” tool to apply the selected texture to the surface of the model.
If you need to apply the same texture to multiple faces, you can use the “Shift” key to select multiple faces at once and apply the texture in one go. Make sure the texture’s scale and orientation are correct for each face to avoid distortion or misalignment.
Adjust and Optimize Textures
After applying textures, you may need to make some adjustments to achieve a better result. SketchUp provides tools to help you adjust the texture’s orientation, scale, and position.
Adjust Scale: If the texture size doesn’t fit well with the model, use the “Scale” tool to adjust the texture’s dimensions to match the real-world material proportions.
Adjust Orientation: Sometimes, the texture may appear misaligned, such as incorrect wood grain direction. Use the “Rotate” tool to correct the texture’s orientation.
Move Texture: Use the “Move” tool to adjust the texture’s position on the face, avoiding any discontinuities or asymmetries.
During adjustments, utilize the preview feature to see how textures perform under different lighting conditions, ensuring the final look meets your design requirements.
Handle Textures on Complex Shapes
Applying textures to complex shapes can be more challenging. For example, textures on cylinders, spheres, or irregular surfaces might experience stretching or distortion.
To address this, you can use SketchUp’s “Project Texture” feature. This function allows you to project a texture from a simple plane or shape onto a complex surface, helping to avoid stretching or distortion. Additionally, consider using SketchUp’s UV mapping plugins for more precise texture adjustments, ensuring natural texture application on complex shapes.
Rendering and Exporting
After applying and adjusting all textures, rendering is the final step. Rendering adds realistic lighting and shadow effects to your model, making textures appear more lifelike. SketchUp offers basic rendering features, but for higher quality results, consider using third-party rendering plugins like V-Ray or Enscape.
Once rendering is complete, export the model in the appropriate file format for your project needs. This could be an image or animation file for presentation, based on your requirements. Adjust rendering settings such as resolution and light intensity to ensure the final output meets your expectations.
By following the steps outlined in this article, you can master the process of adding textures to your SketchUp models. From choosing the right textures, importing them, and applying them to your model, to adjusting and optimizing, each step helps create a more realistic and visually appealing 3D model. With these skills, you will be able to handle a variety of design projects more effectively. If you need additional high-quality 3D models or texture resources to enhance your projects, visit the Relebook website, where you can find a wealth of premium resources to support your design needs.
FAQ
What should beginners consider when selecting textures?
Beginners should focus on the texture’s resolution and seamless tiling. High-resolution textures provide clearer details, and seamless textures prevent noticeable seams over large areas.
How can I avoid texture stretching or distortion during application?
To prevent texture stretching or distortion, use SketchUp’s “Project Texture” feature or UV mapping plugins to accurately apply textures to complex surfaces.
How can I ensure the correct orientation and scale of textures?
Use SketchUp’s “Scale” and “Rotate” tools to precisely adjust the texture’s scale and orientation, ensuring it aligns with design requirements.
What’s the best way to apply the same texture to multiple faces?
Use the “Shift” key to select multiple faces simultaneously and apply the texture in one action, saving time and maintaining consistency.
