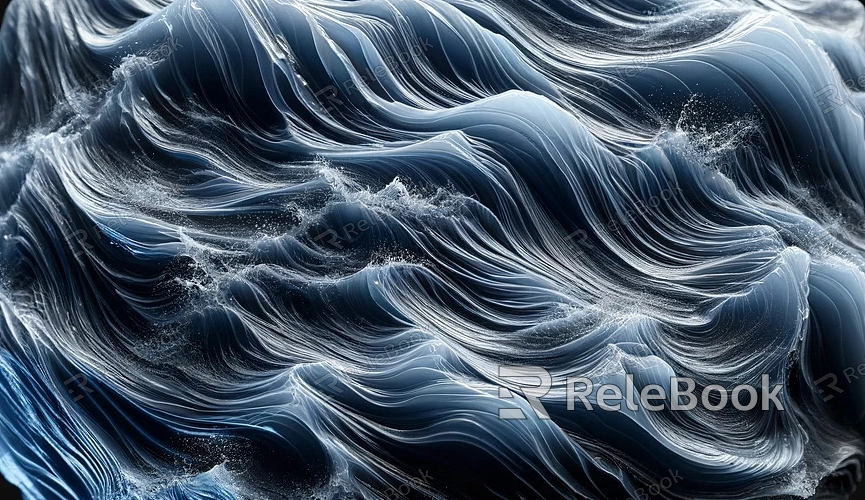
How to Apply Water Texture in Blender?
Water texture is a type of 3D texture that can be easily applied in Blender, a powerful 3D modeling software with a plethora of tools and features. Blender allows users to apply various textures, including water textures, to models, creating dynamic three-dimensional scenes. For those unfamiliar with the process, today we'll introduce how to apply water texture in Blender, enabling the creation of vivid water surface effects in 3D scenes.

One: Preparations
Before getting started, ensure that your Blender software is installed and open. Import or create a model suitable for applying water texture – this could be a water cup, a pool, a mountain range, or any other 3D model. Ensure that the model's geometry and UV mapping are completed.
Two: Import Water Texture
1. In Blender's "Shader Editor," create a new material. Make sure to open "Use Nodes" to enable node editing.
2. Add an "Image Texture" node and select the prepared water texture image in the node settings. Water textures can be created in advance, sourced from Relebook, or downloaded from other websites.
Three: Connect Texture to the Model
1. Connect the "Color" output to the "Base Color" input to apply the water texture to the model's color surface.
2. (Optional) If the water texture image includes transparency information, add a "Shader" node and connect the "Alpha" output to the "Alpha" input of the "Principled BSDF" node to ensure transparent effects.
Four: Adjust Texture Mapping
1. In the "3D Viewport," switch to "Texture Paint" mode to finely adjust the mapping of the water texture on the model's surface.
2. Use the "UV Mapping" tool to adjust UV mapping to fit the water texture, ensuring it unfolds correctly along the model's surface.
Five: Fine-Tune Texture Effects
1. In the Shader Editor, experiment with adjusting parameters in the "Mapping" node, such as rotation and scaling, for better alignment with the visual effect of water.
2. Utilize other nodes in the Shader Editor, such as "Bump" or "Displacement," to add depth and details to the water texture.
Six: Render and Preview
1. Under the "Render" tab, click "Render" for the final render, or use "Material Preview" mode to view the applied water texture effects in real-time.
2. Adjust lighting, environment, and other parameters to achieve the desired water surface effect.
By following these steps, you can successfully apply water texture in Blender, creating lifelike water surface effects for your 3D scenes. This approach can also be used to apply various 3D textures to different models or virtual scenes in Blender for rendering and processing.

