Rendering a Wooden Cabin with Wood Texture in Blender
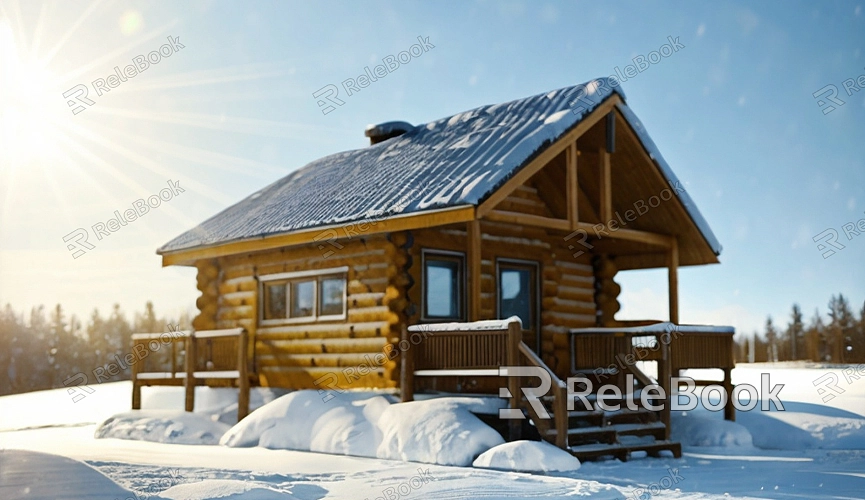
Creating a virtual game scene with a wooden cabin in Blender—how can you make the rendering of the cabin more realistic using wood texture? Blender, being a versatile 3D modeling software, provides users with rich tools and features, making the application of wood texture relatively straightforward during the modeling and rendering process. Using 3D wood texture in Blender to give a realistic appearance and a cozy atmosphere to a small wooden cabin model is not difficult, and we hope this guide proves helpful.
One: Prepare the Wooden Cabin Model
Before starting, ensure that you have created the model of the wooden cabin in the virtual scene or independently designed a 3D model of a small wooden cabin. This may include basic elements such as walls, roof, windows, and more. Ensure the model's geometry and UV mapping are completed for better texture application.
Two: Import Wood Texture
1. Open Blender and load the model of the wooden cabin.
2. Enter the "Shader Editor," click "New" to create a new material, and ensure "Use Nodes" is activated to enable node editing.
3. Add an "Image Texture" node and select the prepared wood texture image. It's recommended to obtain high-quality, high-resolution 3D textures from Relebook in advance.
Three: Connect Texture to the Model
1. Connect the "Color" output to the "Base Color" input to apply the wood texture to the model's color surface.
2. (Optional) If the wood texture image includes transparency information, add a "Shader" node and connect the "Alpha" output to the "Alpha" input of the "Principled BSDF" node to ensure transparency effects.
Four: Adjust Wood Texture Mapping
1. In the "3D Viewport," switch to "Texture Paint" mode to finely adjust the mapping of the wood texture on the model's surface.
2. Use the "UV Mapping" tool to adjust UV mapping to fit different parts of the small wooden cabin, ensuring the texture mapping corresponds to the model's surface.
Five: Add Details and Variations
1. Utilize other nodes in the "Shader Editor," such as "Bump" or "Displacement," to add depth and details to the wood texture.
2. In "Texture Paint" mode, use layers and different brush tools to add more details, such as window frames or door textures.
Six: Render and Preview
1. Under the "Render" tab, click "Render" for the final render, or use "Material Preview" mode to view the wood texture rendering effects on the small wooden cabin in real-time.
2. Adjust lighting, environment, and other parameters to ensure the wood texture effect matches the atmospheric setting you envision for the scene.
By following the above techniques, you can successfully apply wood texture in Blender, creating a more realistic rendering effect for your small wooden cabin model.
