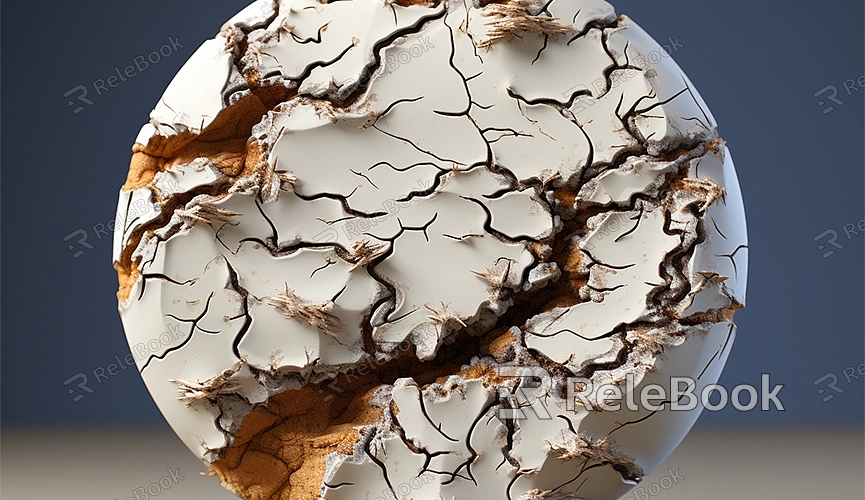
Applying Clay Texture in Blender
How to achieve a realistic clay effect in Blender rendering? Blender is a powerful 3D modeling software that provides rich tools and features, allowing users to apply various textures, including clay texture, to enhance the details and structure of models. This article will guide you on how to apply clay texture in Blender to highlight the details and shapes of your model.

One: Prepare the Model
Before you start, ensure you have a suitable model, such as a sculpture or any object that requires showcasing shapes and structure. Make sure the model's geometry and UV mapping are completed.
Two: Import Clay Texture
1. Open Blender and load your model.
2. Enter the "Shader Editor," a node editor for creating and editing materials.
3. Click "New" to create a new material, ensuring "Use Nodes" is enabled for node editing.
4. Add an "Image Texture" node and select your prepared clay texture image. Clay textures can be downloaded from Relebook or other websites, or you can create your own if you have the time.
Three: Connect Texture to the Model
1. Connect the "Color" output to the "Base Color" input to apply the clay texture to the model's color surface.
2. If the clay texture image includes transparency information, add a "Shader" node and connect the "Alpha" output to the "Principled BSDF" node's "Alpha" input for transparency effects.
Four: Adjust Clay Texture Mapping
1. In the "3D Viewport," switch to "Texture Paint" mode to finely adjust the clay texture mapping on the model's surface.
2. Use the "UV Mapping" tool to adjust UV mapping to fit the clay texture, ensuring it unfolds correctly along the model's surface.
Five: Add Details and Variations
1. Utilize other nodes in the "Shader Editor," such as "Bump" or "Displacement," to add depth and details to the clay texture.
2. In "Texture Paint" mode, use layers and different brush tools to add more details, emphasizing the model's shapes and structure.
Six: Render and Preview
1. In the "Render" tab, click "Render" for the final render or use "Material Preview" mode to preview the applied clay texture.
2. Adjust lighting and rendering settings to ensure the clay texture aligns with your design and scene requirements. Fine-tune parameter values for a more realistic rendering effect.

