How to Add a Wood Texture in Blender?
Adding realistic wood textures in Blender is an essential skill for creating lifelike 3D models of furniture, architectural elements, or even stylized props. Wood has a unique texture that varies in grain patterns, color, and surface irregularities, making it a challenging but rewarding material to recreate in a 3D environment. In this article, we will explore various methods to add wood textures to your models, from using image textures to creating procedural wood materials that can be customized for any project.

Understanding Wood Textures
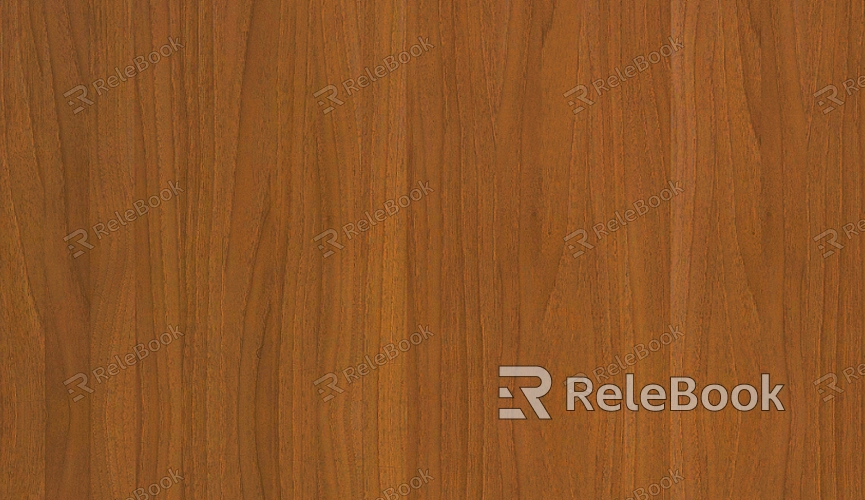
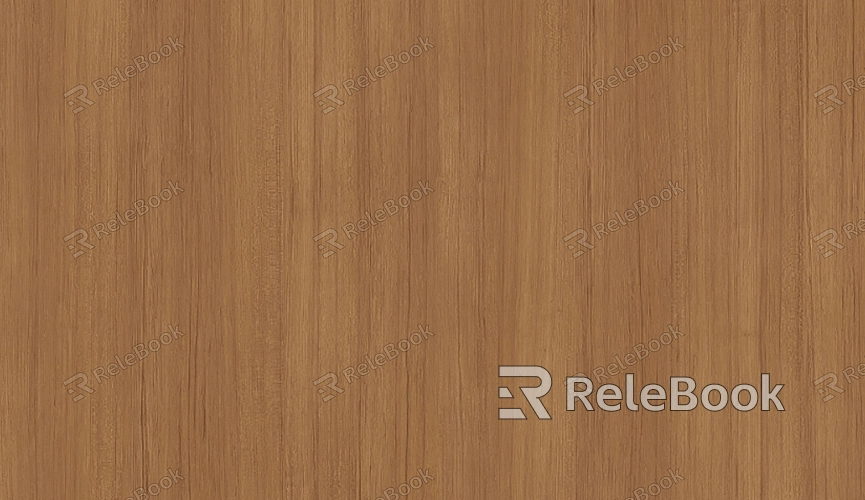
Wood textures consist of a combination of features that make each type of wood unique: grain pattern, knots, color variation, and surface details. These elements are what give wood its natural appeal and can significantly affect the appearance of a 3D model. When applying wood textures in Blender, you’ll need to consider both the diffuse color and the surface roughness, which can be controlled using different maps. Additionally, wood can have varying degrees of glossiness or shininess depending on the finish, such as lacquered wood or matte rustic wood.
Blender offers multiple ways to add wood textures: you can use high-resolution image textures or create entirely procedural textures. Procedural textures offer the advantage of scalability and flexibility, as they are not dependent on image resolution, making them useful for larger scenes or real-time rendering. In the following sections, we’ll go through both image-based and procedural approaches.

Adding a Wood Texture Using Image Textures
One of the easiest ways to add a wood texture is by using an image file of a wood surface. Many websites provide high-quality, seamless wood textures that can be directly applied to your model. Here's a step-by-step guide on how to use image textures in Blender:
1. Preparing Your Model
Before applying any texture, ensure your model has proper UV mapping. The UV map defines how the 2D image is wrapped around your 3D model. You can unwrap your model by selecting it in Object Mode, entering Edit Mode, and pressing U to choose a suitable unwrapping method, such as “Unwrap” or “Smart UV Project.”
2. Importing the Wood Texture Image
Once your model is unwrapped, you can import the wood texture. In the Shader Editor, add an Image Texture node by pressing Shift + A, navigating to the “Texture” menu, and selecting Image Texture. Next, click on the open button in the Image Texture node and select your desired wood texture from your files.
3. Mapping the Image Texture
The next step is to map the image texture to the model. If the texture doesn't look correct, you might need to adjust the UV mapping. The Texture Coordinate node and the Mapping node can help you adjust the positioning, rotation, and scaling of the texture. These nodes allow for fine-tuning the way the wood grain flows across your model. For example, you can use the “UV” output from the Texture Coordinate node to drive the Image Texture node.
4. Shading the Wood Texture
After applying the texture, connect it to the Principled BSDF shader. The color of the wood texture will go into the base color of the shader. To make the wood look more realistic, adjust other settings like roughness and specularity. For example, reduce the roughness to create a shiny, polished wood surface or increase it for a matte finish. The final result will give you a wood texture that responds to lighting and shadows, adding realism to your model.
Creating Procedural Wood Textures in Blender
If you want more control or need a texture that can scale infinitely without losing detail, procedural textures might be the way to go. Blender’s node-based system allows you to create highly customizable wood textures using only procedural methods. Here’s how to create a simple wood texture using procedural nodes:
1. Using the Noise Texture
Start by adding a Noise Texture node. This node will serve as the base for your wood grain pattern. By adjusting the scale, detail, and distortion of the noise, you can start shaping the basic look of the wood texture.
2. Adding a ColorRamp for Control
To fine-tune the appearance of the wood grain, connect the output of the Noise Texture node to a ColorRamp node. The ColorRamp will allow you to control the contrast and coloration of the texture. For wood, you typically want darker lines or knots with a lighter overall color. By adjusting the ColorRamp’s sliders, you can create the classic look of wood grain.
3. Adding Stripes and Rings
To simulate the appearance of wood grain more accurately, you can use a Voronoi texture in combination with the noise texture. The Voronoi Texture node can create cell-like patterns that resemble the growth rings in wood. Adjust the scale and randomness of the Voronoi texture, and combine it with the noise texture to create more complex and realistic grain patterns.
4. Refining the Wood Look
You can further refine the wood texture by adding a bump or normal map to simulate surface irregularities. This will give the wood a more tactile, 3D feel by simulating small bumps and imperfections in the surface. Connect a Bump node to the Normal input of the Principled BSDF shader to make the texture more interactive with light, enhancing the illusion of depth.
5. Coloring and Final Adjustments
Finally, adjust the colors using the ColorRamp node to achieve the desired wood color. Whether you're going for light oak, rich walnut, or dark mahogany, the ColorRamp node can help you achieve a broad range of wood tones. Additionally, tweak the roughness of the material to match the type of wood finish you're going for, whether it’s shiny and polished or dull and rustic.
Advanced Tips for Realistic Wood Textures
1. Adding Imperfections
No wood surface is perfect, and adding imperfections will make your texture more realistic. You can create small scratches, dents, or variations in color by combining different procedural textures, like noise and Voronoi, to simulate wear and tear over time. Use a Multiply or Add node to blend these imperfections with the base wood texture.
2. Using Additional Maps
For enhanced realism, consider using additional maps such as displacement maps or ambient occlusion maps. These can simulate small details like pores, crevices, and the effect of light interaction with the wood’s surface. A displacement map can push the geometry slightly to create actual surface detail, while an AO map helps simulate shadowed areas where light doesn’t hit as easily.
3. Fine-Tuning the Lighting
The way your wood texture reacts to light can make or break the realism. Wood surfaces can be glossy, matte, or anywhere in between. Experiment with the Principled BSDF shader settings, particularly the Specular and Roughness sliders, to simulate the right type of wood finish. Additionally, use environment lighting or HDRIs to achieve the best lighting conditions for your scene.
Whether you opt for using high-quality image textures or prefer the flexibility of procedural textures, mastering the techniques described in this article will give you the skills to create authentic wood materials. By understanding the structure of wood and how light interacts with it, you can achieve lifelike surfaces that elevate your 3D projects. To further enrich your designs, explore high-quality 3D models and textures available on Relebook, where you can find a wide variety of resources to complement your work.
FAQ
Can I use real-world wood textures for my models?
Yes, you can use real-world wood textures by importing image files of wood surfaces. However, it’s important to ensure the texture is seamless and properly mapped to your model using good UV unwrapping.
Is it better to use procedural or image textures for wood in Blender?
It depends on your project. Image textures provide realistic details, but procedural textures offer more flexibility and scalability without worrying about resolution. Procedural textures are ideal for large scenes or when you need customizable patterns.
How can I make my wood texture look worn or aged?
You can use a combination of noise, scratches, and dirt maps to add wear and age to your wood texture. Adding small bumps, scratches, or discoloration using procedural textures will create a more realistic, weathered look.
Why is my wood texture stretching or misaligned?
This could be due to improper UV mapping. Make sure your model has been unwrapped correctly and that the UVs are laid out properly before applying the texture.

