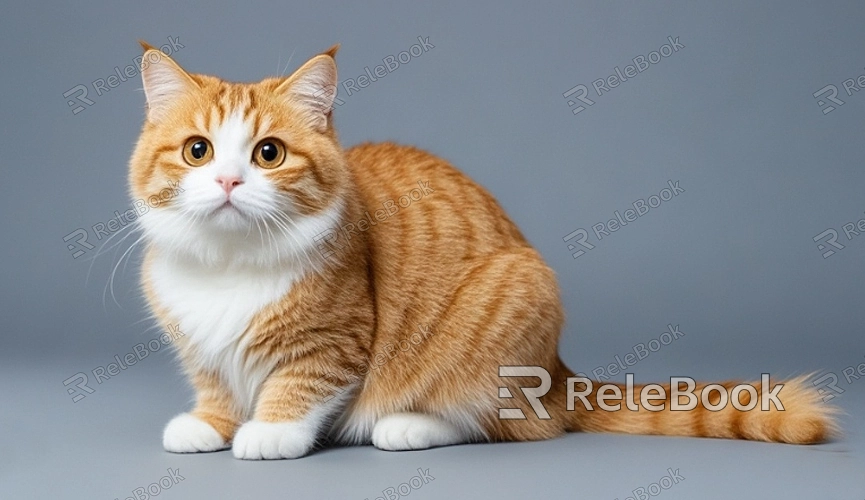
How to Create a 3D Model of a Cat?
Now, creating 3D models has become a crucial skill. Whether for game design, animation, or virtual reality projects, crafting a vibrant and realistic 3D model of a cat can significantly enhance the quality and appeal of your work. This article will walk you through the process of creating a 3D cat model, covering everything from modeling and texturing to rendering, to help you master every aspect of this process.
Preparation
Before diving into creating a 3D model of a cat, it's essential to do thorough preparation. Understanding the cat's structure and appearance is key. You can gather inspiration and reference by looking at pictures, videos, and anatomical diagrams of cats. Additionally, choosing the right modeling software is crucial. Popular options include Blender, Maya, and 3ds Max.
Start by creating a basic reference image of the cat. These images should include front, side, and back views of the cat. Reference images will help you maintain accuracy and proportion in the model during the modeling process.
Creating the Basic Shape
The first step in modeling is to create the basic shape of the cat. You can start with a simple cube or sphere and gradually refine its shape. Use modeling tools to stretch, scale, and deform these basic shapes until they roughly match the cat's body outline.
During this phase, focus on the proportions of the cat's limbs, head, and tail. Ensure that each part's proportion and placement are consistent with a real cat. At this stage, there's no need to add too much detail; just make sure the model’s basic structure is accurate.
Refining the Model
Once the basic shape is established, the next step is refining the model. This includes adding details like the cat’s ears, eyes, nose, and paws. Sculpting tools can help you define these details more effectively, making the model look more lifelike.
As you refine the model, use reference images to guide you and ensure each detail aligns with real cat characteristics. You can also use Boolean operations to handle complex details, such as the inside of the ears and the claws.
Adding Textures and Materials
Textures and materials are crucial for making the 3D model look realistic. You can create and apply various textures to the cat model, such as skin texture, fur texture, and eye texture. By using UV mapping, you can unfold the model's surface into a flat plane and paint texture images on it.
When creating textures, pay special attention to the fur texture. You can use dedicated texture painting software or manually paint the fur texture to ensure it looks natural and realistic. Material settings are also very important; appropriate glossiness, reflection, and refraction can make the model look more vivid.
Rigging and Animation Setup
If your cat model requires animation, the next step is to add a rigging system. Rigging helps control the model's movements, allowing it to perform natural animations. By adding a skeleton to the model and binding it, you can create various actions for the cat, such as walking, running, and stretching.
In the animation setup, focus on the cat's movement patterns and poses. Refer to real cat movements to ensure the animation is smooth and natural. Keyframe animation techniques can help transition between different actions and fine-tune the details.
Rendering and Output
The final step is rendering and outputting your 3D cat model. Rendering converts your 3D model into 2D images or animations, presenting them to your audience. Choosing the right rendering engine and settings ensures the best possible outcome for your model.
Before rendering, check the lighting and camera settings to make sure the model looks good under different lighting conditions. After rendering, you can output high-quality images or animation files for your project or further editing.
Creating a 3D model of a cat is a complex yet rewarding process, involving everything from basic modeling to detail sculpting, texturing, and animation setup. With careful planning and practice, you can produce a realistic and engaging 3D cat model. We hope this guide has provided valuable insights. For further exploration and to download professional 3D models and textures, visit the Relebook website for more resources.
FAQ
How long does it take to create a 3D model of a cat?
The time required to create a 3D cat model varies depending on skill level and project complexity. Beginners might need several days to weeks, while experienced modelers could complete it in a few days.
What software can I use to create a 3D cat model?
Commonly used software includes Blender, Maya, and 3ds Max. These programs offer powerful modeling, texturing, and rendering features suitable for different skill levels.
How do I add fur textures to the cat model?
You can use texture painting software or create fur materials within the modeling software. Ensure that the texture detail is rich enough to make the fur look natural and realistic.
My cat model's animation isn’t smooth; how can I fix it?
Check the rigging and animation curves to ensure the skeleton setup and weight assignments are correct. Refer to real cat movements and adjust keyframes and transitions to improve animation smoothness.
How should I choose lighting settings for rendering the cat model?
Use multiple light sources to simulate natural lighting effects and ensure the model’s details are visible. Experiment with different lighting setups to find the best result for your model.
