How to Add Textures to Your SketchUp Model?
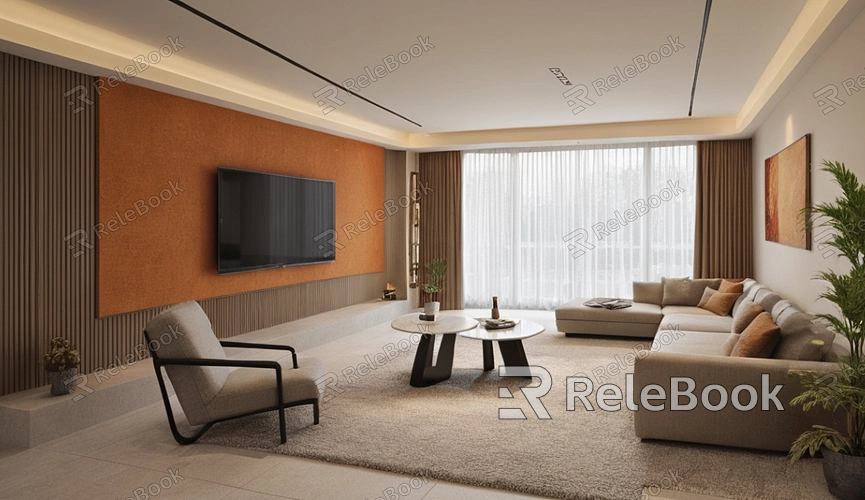
Adding textures to your SketchUp model can greatly enhance its realism and visual appeal. Textures not only give your model a more tangible look but also help convey your design intentions more effectively. In this article, we'll walk you through the process of adding textures to your SketchUp model and address some common questions to help you make the most of this feature. Let's dive into the steps and tips for adding textures.
Open Your SketchUp Model
First, launch SketchUp and open the model you want to edit. If you don’t have a model yet, you can create a new one or choose from a template. Make sure your model is ready for texturing, with its design mostly complete.
Access the Materials Panel
In SketchUp, locate the "Materials" panel. This panel is usually found in the right-hand toolbar. Click on the "Materials" panel icon to open a library of pre-set textures. This library provides various texture options, such as wood, brick, metal, and more.
Browse and Select a Texture
In the Materials panel, browse through the different texture options available. You can explore various patterns, colors, and effects. If you have a specific texture in mind, use the search function to find it. Click on the texture you like to preview its effect.
Apply the Texture to Your Model
Once you've selected a texture, you can apply it to your model. Use the "Paint Bucket" tool to drag and drop the texture onto the surfaces of your model. Keep in mind that textures will apply correctly only if the faces of your model are oriented toward you. If the texture doesn’t apply as expected, use the "Select" tool to choose the surface first, then use the "Paint Bucket" tool.
Adjust Texture Settings
After applying the texture, you can make adjustments to its settings. Through the Materials panel’s "Edit" options, you can change the texture’s color, scale, transparency, and more. Fine-tuning these settings will help you match your design requirements and achieve the desired visual effect.
Customize Textures
If the pre-set texture library doesn’t have what you need, you can create custom textures. Click the "Create New Material" button and upload your texture image. Choose a file from your computer and adjust its display settings. This method is particularly useful for unique texture needs in your projects.
Use a Texture Library
SketchUp allows you to create and use your texture libraries. You can save frequently used textures into a library for easy access across multiple projects. By clicking on the "Texture Library" option, you can create new libraries and add your favorite textures to them.
Texture Application Tips
When applying textures, try to ensure an even coverage to avoid inconsistent patterns. If you need to apply the same texture to multiple surfaces, select those surfaces first, then apply the texture in one go. This will improve your workflow and maintain consistency in your model.
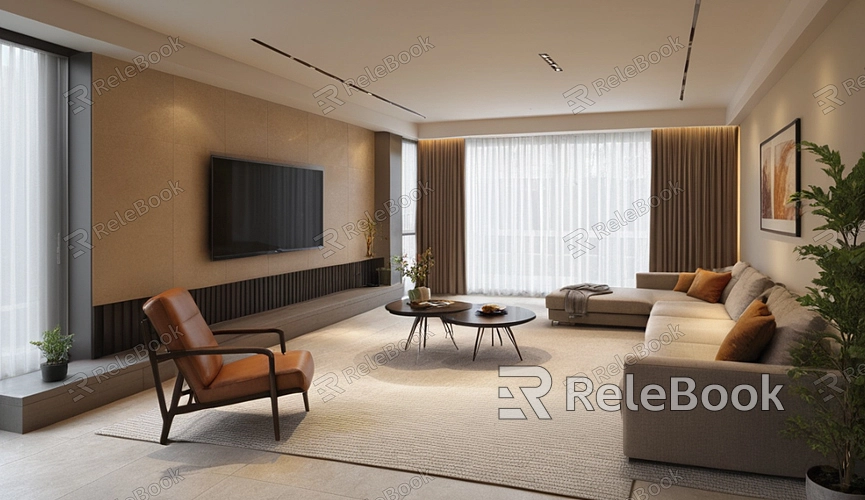
Adding textures to your SketchUp model can significantly enhance its visual appeal and better communicate your design ideas. This article has covered the steps for selecting, applying, and adjusting textures, as well as addressing common issues. Hopefully, these tips and tricks will help you work more efficiently on your models. For more high-quality 3D models and texture resources, visit the Relebook website to download what you need.
FAQ
Why do textures sometimes appear incorrectly on certain surfaces?
This might be due to incorrect face orientation or improper texture scaling settings. Make sure your model’s faces are facing the correct direction and check the texture’s scaling and alignment settings.
How do I change the color and texture of an existing material?
You can modify the color and texture settings through the "Edit" options in the Materials panel. Select the material and adjust its color and texture settings to meet your design needs.
How do I apply a custom texture to my model?
Use the "Create New Material" button to upload your texture image. Apply it to your model and adjust the settings as needed to achieve the desired effect.
How can I save frequently used textures?
You can create a texture library and add frequently used textures to it. This allows you to easily use these textures across different projects.
What should I do if the texture application is uneven?
Uneven texture application might be due to discontinuous surface selection or inconsistent texture coverage. Manually adjust the texture application area to ensure each surface is covered correctly.
