How to Pose Models in SketchUp 2017
In the world of 3D modeling, SketchUp is undoubtedly one of the most popular design tools. With its intuitive interface and powerful features, it has become an indispensable tool for professionals such as designers, architects, and engineers. When working with SketchUp to create models, adjusting the model's pose is an inevitable part of the process. This is especially important when you need to precisely adjust a human figure, mechanical components, or architectural structures. Knowing how to effectively pose models, adjust the position and angle of model components, can significantly increase your workflow efficiency and optimize your design outcomes.
Basic Operations in SketchUp
As a powerful 3D modeling tool, SketchUp has a very intuitive and easy-to-use operating system. Whether it’s architectural design, interior design, or product modeling, SketchUp offers great convenience. However, to effectively operate the pose of a model and ensure flexibility and accuracy in design, there are several key tools and techniques you should know.

First, it’s essential to understand the concepts of components and groups in SketchUp. Every model in SketchUp can be treated as either a component or a group. A component is an instance of an object that can be replicated multiple times; if you modify one instance, all instances will change accordingly. A group, on the other hand, combines multiple objects into a single entity, but modifying one group will not affect other identical objects.
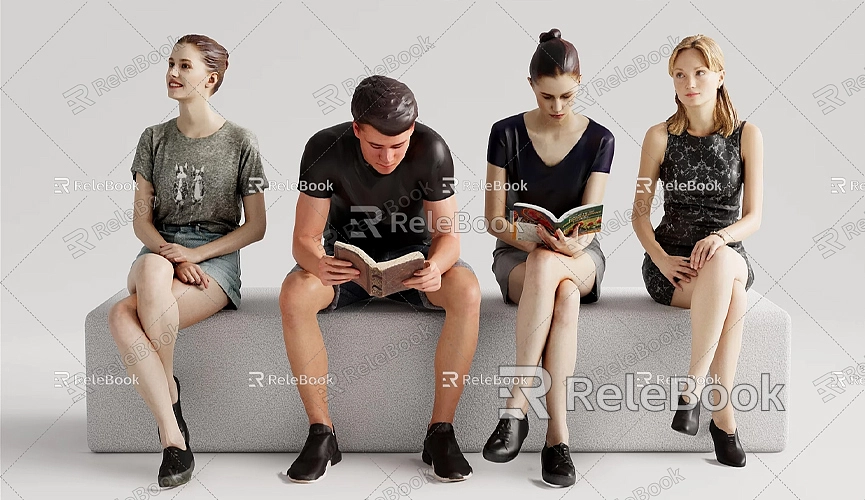
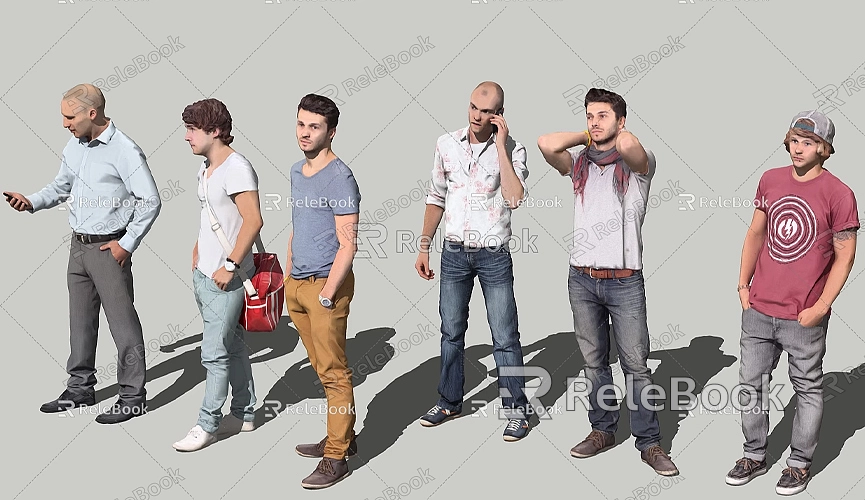
When adjusting poses, it’s helpful to set each independent part (such as arms, legs, joints, etc.) as individual components or groups, making it easier to move and adjust their positions. For mechanical models, joint parts are typically treated as separate components, allowing you to adjust them without affecting other parts. Similarly, in character modeling, using independent components helps designers maintain flexibility and accuracy when adjusting poses.
Using the Rotate Tool for Pose Adjustments
Rotation is one of the most common ways to adjust the pose of a model. In SketchUp, the Rotate Tool helps users rotate a model or component around a point or axis, changing its angle and orientation. This is especially important for character modeling, where you may need to adjust body parts such as limbs or the head. The Rotate Tool allows you to accurately position each part’s direction.
When using the Rotate Tool, you first need to choose a rotation center. For adjustments to arms or legs, the rotation center is typically placed at the joint, while for a whole object, the rotation center can be positioned at the base or the center of mass of the object. Afterward, use the Rotate Tool to rotate the selected part around the center, and you’ll see the model gradually change its angle. By dragging the mouse, you can adjust the angle and precisely control the direction and extent of the rotation.
Additionally, when using the Rotate Tool, SketchUp supports multiple alignment options, such as inputting specific angle values to ensure the rotation of each model or part is precise. For designs that require fine-tuning, the accuracy and flexibility of the Rotate Tool are essential tools for improving efficiency.

Using the Move Tool for Positional Adjustments
When adjusting poses, the Move Tool is another indispensable tool. It allows you to precisely move a model or its components along the X, Y, and Z axes. This is especially useful for adjusting overall positions or making small positional changes between components.
To use the Move Tool, first select the model or part you want to move. Then, by clicking and dragging the mouse, you can move the selected object to a new location. If you want to control the direction of movement with precision, hold down the arrow keys to switch between the X, Y, or Z directions, ensuring that you move the object along just one axis.
In addition, SketchUp allows users to use the “Move To” command to input displacement values precisely. For example, you can enter “10m” or “5ft” to ensure that the object is moved accurately along the three axes, avoiding unnecessary deviations.
Using Plugins to Improve Posing Efficiency
While SketchUp provides several effective tools for adjusting the pose of models, some complex poses and detailed adjustments may require plugins. Fortunately, SketchUp has a vast plugin ecosystem, and many plugins can extend its basic functionality, helping users perform modeling and pose adjustments more efficiently and accurately.
For instance, the Pose plugin is specifically designed for character modeling, allowing you to adjust different parts of a human model such as the arms, legs, spine, etc. This makes it easier to create natural poses. For tasks that require detailed adjustments, the Pose plugin offers strong assistance.
Another common plugin is Animator, which helps you create animations for models. In addition to simple rotations and movements, you can use Animator to create more complex animation effects. This plugin is especially useful for users who need to switch between different poses or model states. It allows you to easily create expressive animations and display various poses of a model.
These plugins not only help users improve workflow efficiency but also make model pose adjustments more natural and precise. If you want to pose models more effectively in SketchUp, trying out these plugins will significantly enhance your design quality.
Using the Scene Feature to Save Different Poses
When adjusting model poses, the Scene feature is a crucial tool. By creating multiple scenes, you can save different poses and model states for easy viewing and comparison. The Scene feature is particularly useful for projects that require frequent pose switching, as it allows you to quickly switch between different perspectives and states.
You can create a scene for each different pose or model state, and set various perspectives, lighting, and rendering effects for each scene. This allows you to easily switch between different scenes when viewing or presenting the model, showcasing different angles of poses or comparing different design variations.
Scenes not only save poses but also store views, layers, backgrounds, and other elements. This is particularly useful for designs that require frequent adjustments and presentation of different views.
Using High-Quality 3D Models and Textures
To make your model look more lifelike and realistic during display, selecting high-quality 3D models and textures is essential. When adjusting poses in SketchUp, applying textures and fine details properly will make the model appear more natural and have more depth. This is especially true for character modeling, scene design, and architectural exterior rendering, where details and materials often determine the quality and expressiveness of the model.
Relebook is an excellent 3D resource platform that provides a large selection of high-quality 3D textures, HDRI materials, and beautiful 3D models. By using resources from Relebook, you can add exquisite textures and materials to your SketchUp models, improving the visual effect of your designs. Whether you’re working on architectural design, interior design, or character and mechanical modeling, Relebook can provide ample resources to support you in creating high-quality works.
For models that require intricate details, choosing the right textures and 3D models will greatly enhance the final result. The Relebook resource library not only contains a wealth of models and textures but can also save you a significant amount of time, letting you focus on creation instead of searching for materials.
Adjusting poses in SketchUp is a fundamental yet crucial process. By mastering the use of the Rotate Tool, Move Tool, and plugins, you’ll be able to adjust model components more precisely, leading to more refined designs. Additionally, utilizing the Scene feature and high-quality textures and 3D model resources will make your designs more lifelike and detailed.
Whether you’re an architect, interior designer, or another type of 3D modeler, mastering the tools and techniques in SketchUp will significantly improve your design efficiency and the quality of your work. If you need high-quality 3D textures or HDRI materials, you can download them for free from Relebook. If you require high-quality 3D models, visit the Relebook 3D model library, where you'll find a vast selection of premium 3D resources to enhance your designs and help you achieve better results.

