How to Render Jewelry in Blender
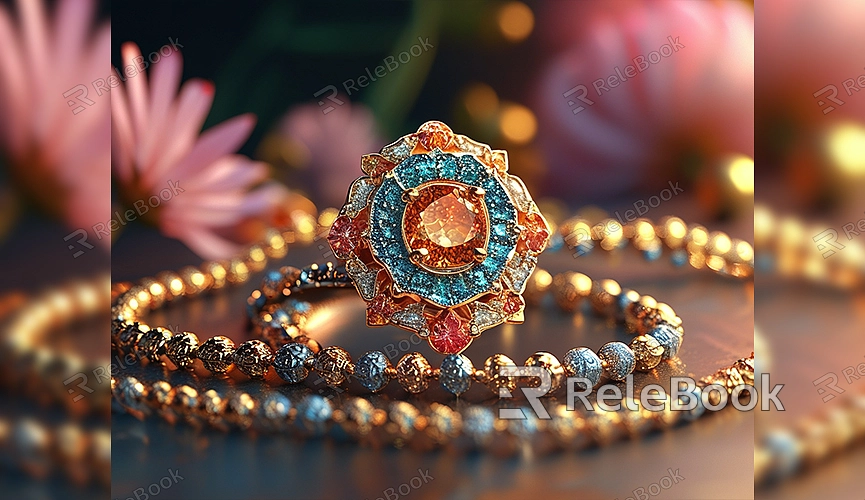
Jewelry rendering is a task that requires precision and expertise. High-quality rendering not only showcases the stunning appearance of the jewelry but also highlights its unique materials and design details. Blender, as a powerful open-source 3D software, offers a range of tools to help you realistically present jewelry in a virtual environment. This guide will provide a detailed overview of how to render jewelry in Blender, assisting you in creating more realistic visual effects.
Selecting and Preparing Jewelry Models
Before rendering jewelry, you need a high-quality 3D model. You can either model it yourself or download a pre-made jewelry model from a resource library. If you need exquisite 3D models, you can download them from [Relebook](https://3dmodels.relebook.com/), which offers a wide range of premium 3D resources, ensuring a high standard for your project.
After importing the model, make sure the mesh is clean and free of unnecessary polygons to reduce the computational load during rendering and improve the overall rendering quality.
Setting Up Materials and Textures
The material settings of jewelry are crucial for rendering, especially the glossiness and transparency of metals and gemstones. Blender’s material node system provides great flexibility to simulate various complex physical material effects.
Metallic Materials
The gloss and reflection of metal surfaces are key to their appeal. Here’s how to set up metallic materials:
- Use the Principled BSDF Node: This is the most commonly used material node in Blender. For metals, set the Metallic value to 1, and adjust the Roughness to control the surface smoothness.
- Add Reflections and Highlights: By adjusting the "Specular" and "Clearcoat" parameters, you can enhance the metal’s reflective quality, making it look more realistic.
Gemstone Materials
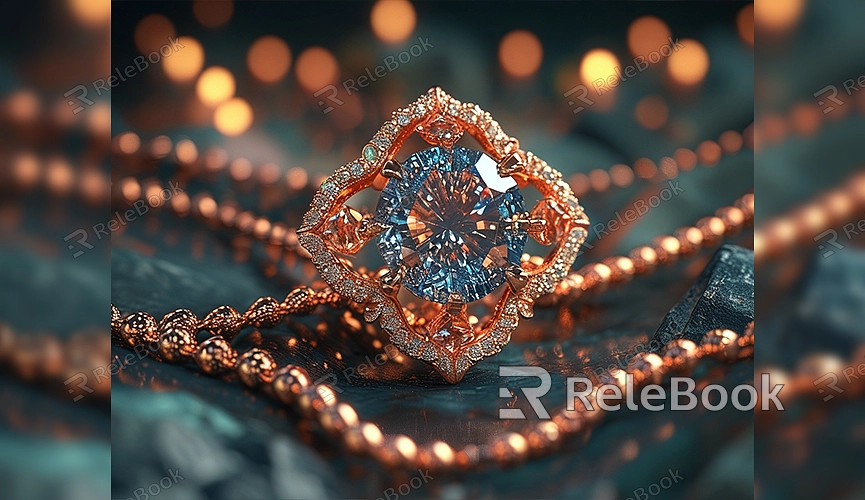
The complexity of gemstone materials lies in their translucency and refraction effects, which can be achieved through Blender’s node system.
- Use the Glass Shader Node: The Glass BSDF node effectively simulates the transparency and refraction of gemstones. Set the IOR (Index of Refraction) between 1.5 and 2.5, depending on the type of gemstone; for example, diamonds have an IOR of 2.42.
- Add Color and Transparency: Use the Mix Shader node to blend colors and the Transparent BSDF node to control the transparency of the gemstone.
To enhance material details, you can download high-quality 3D textures and HDRIs for free from [Relebook](https://textures.relebook.com/). These textures can add more realism to your jewelry materials.
Lighting Setup
Lighting plays a crucial role in jewelry rendering. Proper lighting setup can highlight the jewelry’s shine and enhance its three-dimensionality and visual appeal.
Using HDRI Environment Lighting
HDRI (High Dynamic Range Imaging) can provide realistic environmental lighting effects, ideal for jewelry rendering. HDRI helps simulate natural light or complex studio lighting environments, making the jewelry sparkle in the virtual scene.
- Load HDRI: In Blender’s "World" properties, select the "Background" node and connect the "Environment Texture" node to the Background node’s color input. Load your chosen HDRI file.
- Adjust Brightness: Adjust the HDRI’s brightness according to the scene’s needs to ensure the jewelry appears in optimal lighting.
Setting Up Additional Lighting
In addition to HDRI, you can add additional lighting, such as spotlights and point lights, to further control the jewelry’s brightness and shadows.
- Add Spotlights: Spotlights can emphasize specific parts of the jewelry, such as the highlight areas of gemstones. Adjust the spotlight’s position and intensity to create more dramatic lighting effects.
- Use Point Lights: Point lights are suitable for simulating small light sources, such as those in a jewelry display case. Multiple point lights can illuminate the jewelry from different angles, highlighting its details.
Rendering Settings
Once all materials and lighting are set, the final step is rendering. Blender offers various rendering engines, such as Eevee and Cycles, each with its advantages.
Choosing a Render Engine
- Eevee: Suitable for quick previews and real-time rendering. While it offers lower quality compared to Cycles, it is extremely fast, making it ideal for projects with tight deadlines.
- Cycles: Best for high-quality rendering, especially for jewelry scenes requiring detailed light and reflection. Cycles uses path tracing technology to produce highly realistic effects.
Setting Sampling and Resolution
- Increase Sampling: To reduce noise and improve image quality, it’s recommended to increase the sampling rate in the render settings. Typically, 300 to 500 samples provide a good balance.
- Choose High Resolution: Detail is crucial in jewelry rendering, so opting for 4K or higher resolution ensures clarity in the final output.
Rendering and Output
Once all settings are complete, save and start rendering. Ensure you select the appropriate output format, such as PNG or EXR, to preserve image detail and quality.
With meticulous material setup, precise lighting arrangement, and appropriate rendering settings, you can achieve extremely realistic jewelry renderings in Blender. This is beneficial not only for product showcases but also for advertisements and personal portfolios. If you need high-quality 3D textures and HDRIs for your models and virtual scenes, download them for free from [Relebook](https://textures.relebook.com/). For beautiful 3D models, visit [Relebook](https://3dmodels.relebook.com/). Relebook offers a wealth of premium 3D resources to help you create stunning jewelry renderings with ease.
