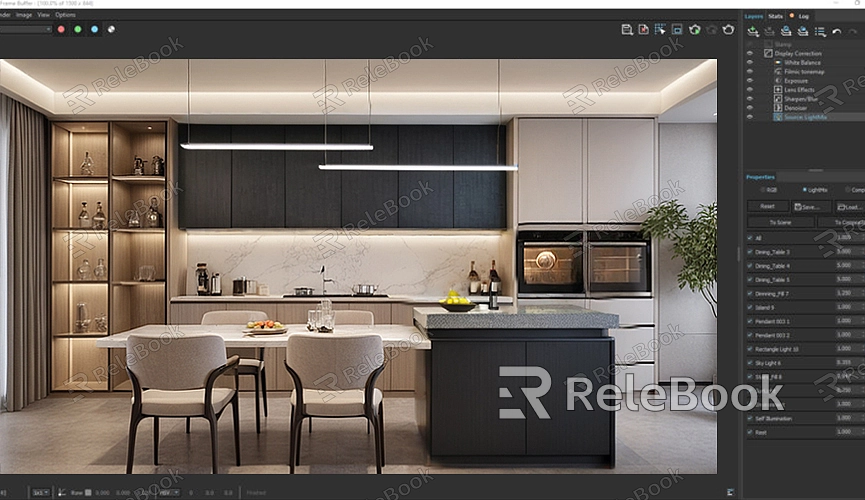
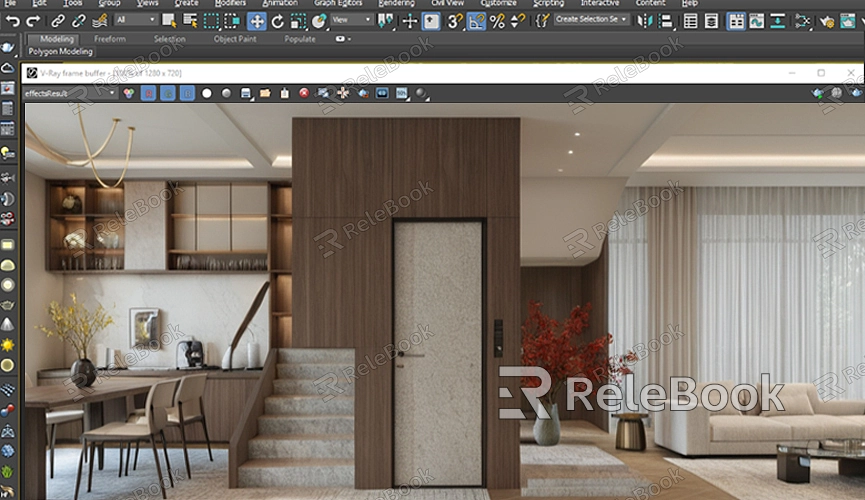
How to Render SketchUp Models in Vray?
In the fields of architectural design and interior rendering, SketchUp and Vray are two commonly used tools. SketchUp is great for modeling, while Vray provides high-quality rendering results. Combining these two tools allows users to easily transform their designs into realistic visualizations. This article will guide you through the process of rendering SketchUp models in Vray, helping you master the workflow and achieve perfect rendering results.

Preparation
Before you start rendering, make sure your SketchUp model is complete and meets the rendering requirements. Begin by checking the details and material settings of your model. Follow these steps to prepare your model:
1. Optimize the Model: Ensure that unnecessary elements are removed to avoid impacting the rendering. Simplify the model to improve rendering efficiency.
2. Organize Layers: Classify and place elements into different layers for better management and selection. This makes it easier to hide or show parts during rendering.
3. Check Materials: Set up materials in SketchUp and use simple textures to prevent rendering issues.
4. Adjust Lighting: Properly position and type light sources to ensure natural rendering results. Add light sources in SketchUp and check their positions.
Importing the Model into Vray
Once your SketchUp model is ready, you can start rendering in Vray. Here’s how to import the model:
1. Launch Vray: Start the Vray plugin within SketchUp. If you haven’t installed Vray yet, download and install it from the Vray website.
2. Set Vray as Renderer: In the Vray toolbar, select “Vray Renderer” as your current renderer. This allows you to use Vray’s rendering capabilities.
3. Adjust Scene Settings: Open the “Scene Settings” panel in Vray to adjust global settings such as lighting, exposure, and rendering quality. These settings will affect the final render.
4. Import the Model: Choose the “Import” option to bring your SketchUp model into Vray. Make sure to select the correct file format to avoid import issues.

Setting Up Materials
Material settings are crucial for rendering. Follow these steps to set up materials in Vray:
1. Open the Material Editor: Find and open the Material Editor in the Vray toolbar. This is where you’ll adjust material properties.
2. Apply Materials: Select parts of the model and apply appropriate materials. You can use materials from Vray’s built-in library or create custom ones.
3. Adjust Material Properties: Fine-tune the color, reflection, and refraction properties of materials. Detailed material settings will directly impact the rendering outcome.
4. Texture Settings: If your model uses textures, ensure that texture paths and scales are correctly set in Vray. This helps achieve more realistic results.
Setting Up Lights
Lighting settings significantly influence rendering results. Here’s how to set up lighting:
1. Choose Light Source Type: Vray offers various light sources, such as point lights, spotlights, and environmental lights. Select the type that fits your needs.
2. Position Light Sources: Place light sources in appropriate positions to ensure even light distribution. Adjust the angle and intensity of lights for the best effect.
3. Adjust Light Parameters: In the light source properties panel, adjust the intensity, color, and shadow settings. These parameters affect the realism and quality of lighting.
4. Test Render: After setting up lights, perform a test render to check if the lighting effects meet your expectations. Make further adjustments if needed.
Rendering Settings
The final step is to configure the rendering parameters and start rendering. Follow these steps:
1. Adjust Rendering Quality: In the Vray rendering settings panel, select the desired rendering quality. Higher-quality renders take longer but provide better results.
2. Set Rendering Resolution: Define the resolution of the rendered image based on your needs. Higher-resolution images offer more detail but increase rendering time.
3. Choose Rendering Mode: Vray offers different rendering modes, such as progressive rendering or path tracing. Choose the mode that suits your requirements.
4. Start Rendering: Click the render button to begin generating the final image. Rendering time may vary depending on the model’s complexity and settings.
Rendering SketchUp models in Vray involves a series of detailed steps. By optimizing your model, correctly setting materials and lights, and adjusting rendering parameters, you can achieve high-quality renderings. Once you master these steps, you’ll be able to create realistic visualizations of your designs. For more 3D models and textures, visit Relebook to download what you need.
FAQ
How can I speed up Vray rendering?
You can speed up rendering by simplifying the model, lowering rendering quality, and reducing the number of light sources. Additionally, using Vray’s “progressive rendering” mode can improve efficiency.
What if my rendered image is blurry?
Blurriness may result from low-resolution settings or improper material reflection settings. Try increasing the rendering resolution and checking the material settings.
How can I fix unnatural lighting and shadows?
Check the position and settings of light sources to ensure natural light distribution. Using Vray’s light tracing features can improve lighting and shadow effects.
Why does my render not match my expectations?
The issue might be due to improper material settings, lighting, or model details. Carefully review and adjust these settings to achieve better rendering results.

