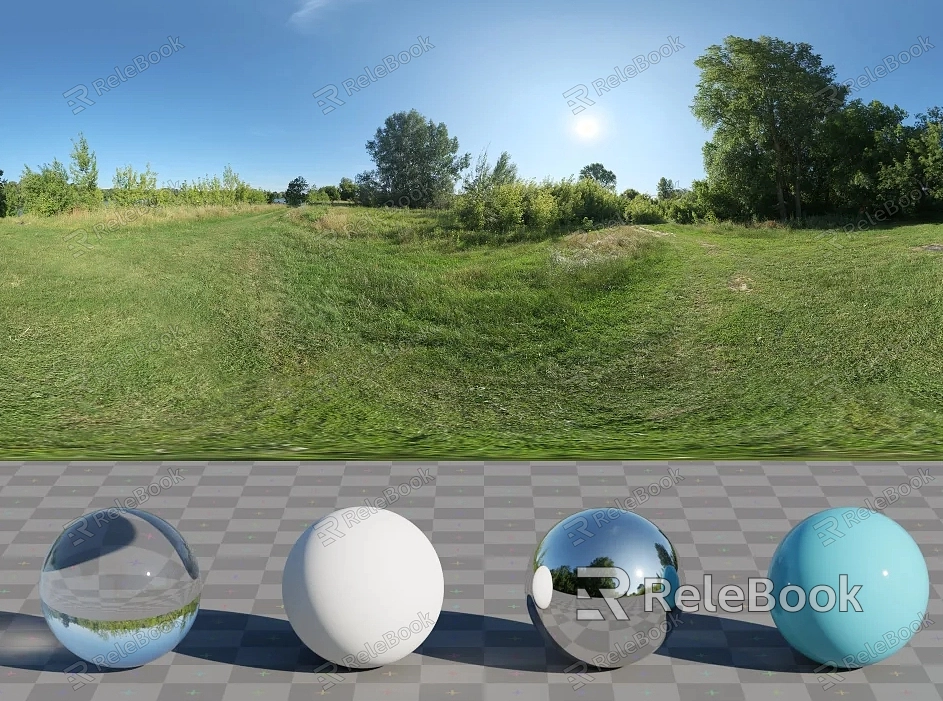
Adding HDRI in 3ds Max
3ds Max is a powerful and versatile 3D design software known for its robust modeling, animation, and rendering capabilities. HDRI (High Dynamic Range Image) is a crucial tool in 3ds Max for creating realistic lighting and environments. By adding HDRI, you can bring more lifelike lighting and shadow effects to your virtual scenes or 3D models.

1: Prepare HDRI Images
Start by gathering high-quality HDRI texture materials. You can find suitable HDRI images on various free or paid platforms. Alternatively, you can download high-quality 3D textures, including HDRI, from Relebook. Ensure the selected images have the resolution and quality to meet your project's requirements.
2: Launch 3ds Max
Open the 3ds Max software and load your project file, or create a new scene. Import or open your 3D models or virtual scenes.
3: Access "Render" Settings
In the top menu bar of 3ds Max, select the "Render" option. From the drop-down menu, choose "Render Setup."
4: Add HDRI in the "Environment" Options
In the "Render Setup" dialog that appears, click on the "Environment" option on the left. In the "Environment" settings on the right, locate the "Environment Map" or "Environment Texture" option – the specific name may vary depending on the version.
5: Import HDRI Image
Click on the texture icon next to "Environment Map" or "Environment Texture" to import your HDRI image. 3ds Max will automatically apply the image to the scene's environment.
6: Adjust HDRI Settings
As needed, adjust the brightness, contrast, and other parameters in the "Environment" settings. This helps ensure the overall look of the scene aligns with your expectations.
7: Render the Scene
Finally, in 3ds Max, click the "Render" button to preview or generate the final image. By adjusting the camera, lighting, and other settings, you can further optimize the rendering results to achieve a more realistic appearance.

