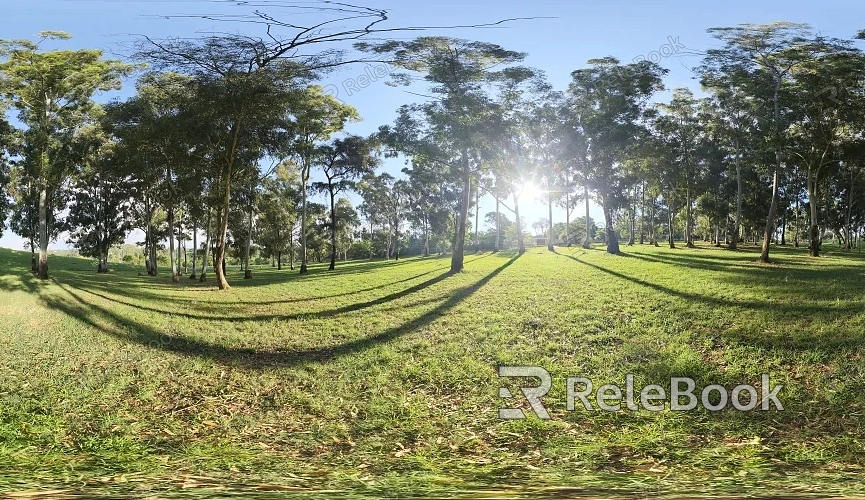
Adding Outdoor Park HDRI in Cinema 4D
Cinema 4D is a widely used software for 3D modeling and rendering, and by utilizing High Dynamic Range Images (HDRI), you can bring more realistic lighting and environmental effects to your projects. This article will guide you through the process of adding Outdoor Park HDRI in Cinema 4D to enhance the natural ambient lighting effects for 3D models or virtual scene renderings. If you're interested, read on for more details.

1: Obtain High-Quality Outdoor Park HDRI Images
Firstly, make sure to choose high-quality HDRI images suitable for outdoor park scenes. You can find appropriate images on both free and paid platforms, ensuring their resolution and quality meet your requirements. I recommend checking out Relebook for high-quality Outdoor Park HDRI textures.
2: Launch Cinema 4D and Create a New Scene
Open Cinema 4D and start a new project or open your existing scene file, placing your 3D models or virtual scene models within.
3: Create a New HDRI Material
In Cinema 4D, go to the "Material Manager," right-click, and select "New Material." This will be your basic material to contain the HDRI.
4: Import HDRI Image
In the newly created material, find the "Color" or "Reflection" options and click on the corresponding texture icon. Import the Outdoor Park HDRI image you selected, ensuring it aligns with the theme of your scene.
5: Adjust HDRI Parameters
In the material editor, adjust the brightness, contrast, and other parameters of the HDRI to better fit your scene. This may require iterative adjustments based on specific needs.
6: Apply HDRI Material to Environment
Apply the created HDRI material to your scene's environment. You can find the environment or sky object in Cinema 4D's "Object Manager" and drag the material onto the corresponding location.
7: Fine-Tune Scene and Render
Optimize your project by adjusting the camera position, lighting, and other scene settings. Finally, click the "Render" button on the Cinema 4D interface to preview or generate the final image.

