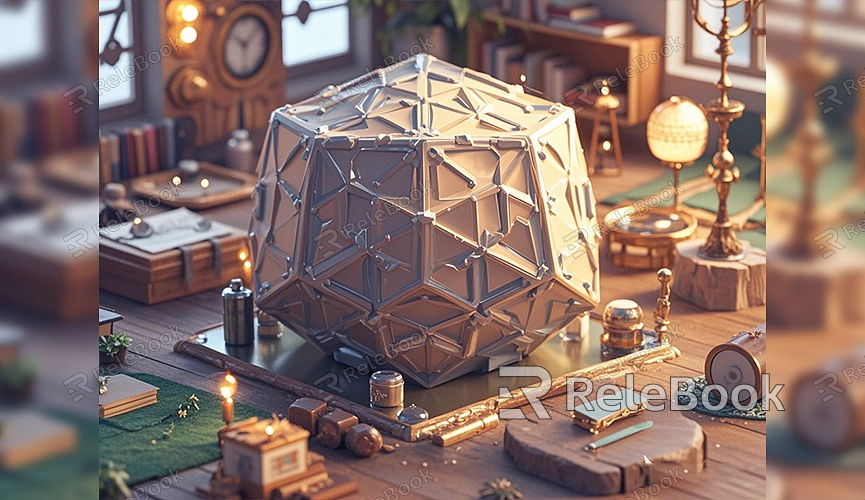
How to Make Icosahedron 3D Model
In the world of 3D modeling, the icosahedron is a popular geometric shape. It’s widely used in fields such as mathematics, science, art design, game development, and virtual scene construction. If you're looking to learn how to create an icosahedron 3D model, this article will guide you through detailed steps and helpful tips.
What is an Icosahedron?
An icosahedron is a type of polyhedron with 20 triangular faces, 30 edges, and 12 vertices. It is one of the five Platonic solids, which are known for their mathematical symmetry. The icosahedron’s symmetry and complexity make it a challenging yet rewarding shape to master in 3D modeling.

Choosing the Right 3D Modeling Software
Before starting, it’s crucial to choose the right 3D modeling software. There are many different options available, such as Blender, Maya, and 3ds Max. Each has its own advantages, but for beginners, Blender is a great choice because it’s open-source and has a strong community for support.
Creating the Base Shape of the Icosahedron
Once you've selected the right software, you can begin creating the base shape of the icosahedron. Most 3D modeling programs offer the icosahedron as a preset geometric shape. If your software supports it, you can simply select the icosahedron from the shape library and add it to your scene.
If you’re using Blender, follow these steps:
1. Open Blender and start a new project.
2. Delete the default cube, then press “Shift + A” to open the Add menu.
3. Choose the “Mesh” option and then select “Icosphere.” You’ll be prompted to set the subdivision level. For a standard icosahedron, set the subdivision level to 1.
With this, you’ve successfully created the base icosahedron model.
Refining the Model
While you've now created a basic icosahedron model, you may want to refine and modify it to fit your project. You can adjust the size and proportions of the icosahedron as needed or add more details for a polished look.
To smooth the surface of the icosahedron, you can use the "Subdivision Surface" tool, which will further refine the model's appearance. However, be mindful that excessive subdivision can increase the polygon count, potentially affecting rendering performance.
Additionally, you can apply textures and materials to enhance the visual appeal of the icosahedron. If you need high-quality 3D textures and HDRIs while creating models or virtual scenes, you can download them for free from [Relebook’s texture site](https://textures.relebook.com/). For beautifully crafted 3D models, you can visit [Relebook’s model site](https://3dmodels.relebook.com/), which offers a vast selection of premium 3D resources.
Rendering Your Model
After finishing the modeling and refining process, the next step is to render the icosahedron. Rendering is the process of converting your 3D model into a 2D image, determining the final visual output. Before rendering, you need to set up the lighting, camera angles, and background environment.
When setting up the lighting, consider using an HDRI environment map to increase realism. HDRI provides detailed lighting information, giving the model realistic shadowing and reflections.
For camera angles, experiment with different positions to find the best angle that showcases the features of the icosahedron. The camera's position and focal length will affect the composition of the final image, so adjust accordingly based on the specifics of your project.
Finally, choose a render engine and start rendering. Blender offers two primary engines: Eevee and Cycles. Eevee renders faster and is suitable for real-time previews, while Cycles provides more realistic lighting and shadows, making it ideal for final output.
Exporting and Saving
Once you're satisfied with the rendered result, you can export the image in your preferred format. Common formats include PNG and JPEG. Depending on the project, you can also choose different resolutions and quality settings.
If you’re planning to use the icosahedron model for animation or game development, you may need to export it as a 3D model file such as OBJ or FBX. Make sure to select the appropriate export settings to ensure the model is properly loaded in other software.
Creating an icosahedron 3D model may seem complex, but with the right tools and steps, it’s an achievable task. From selecting the right software and creating the base shape to refining the model and rendering, each step requires careful attention and practice. With continued learning, you’ll be able to advance your skills in 3D modeling.
If you're looking for high-quality 3D textures and HDRIs, visit [Relebook’s texture site](https://textures.relebook.com/), and for stunning 3D models, check out [Relebook’s model site](https://3dmodels.relebook.com/). These resources can greatly enhance your modeling projects.

