How to Add Stone Texture to Face in Photoshop?
Adding a stone texture to a face in Photoshop can create unique and striking visual effects. Whether you want to add a subtle texture or create a more dramatic transformation, Photoshop offers powerful tools that allow you to manipulate and blend textures seamlessly with any subject. The key to achieving a convincing result lies in combining the stone texture with the face to maintain natural lighting, shadows, and facial features. This article will guide you through the process of adding stone textures to a face using Photoshop, step by step, and offer tips to make your work look polished and realistic.

Choosing the Right Stone Texture
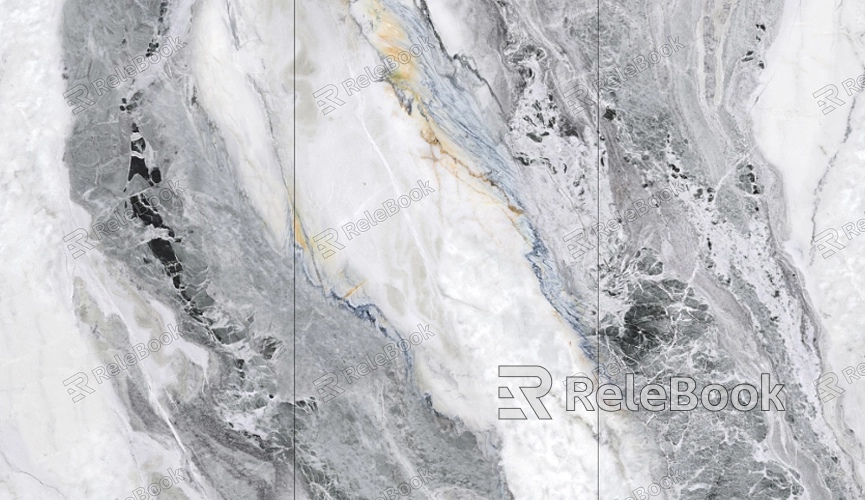
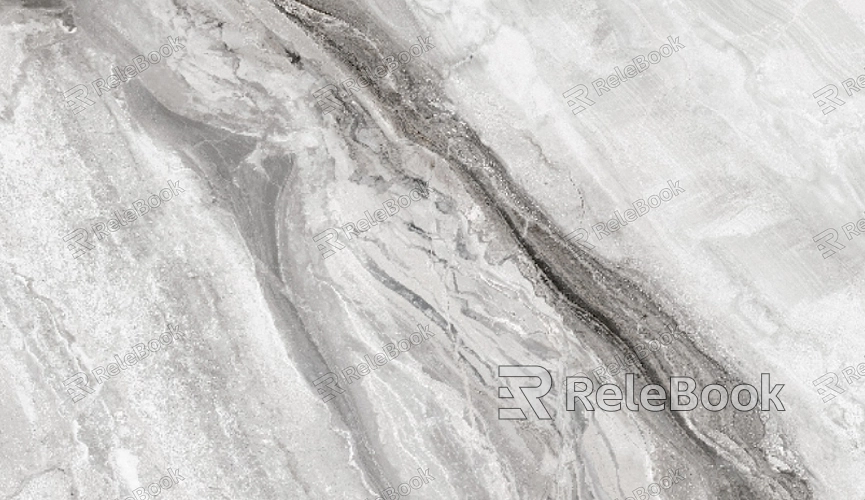
The first step in adding a stone texture to a face is selecting an appropriate stone texture. Stone textures come in many forms, from rough granite to smooth marble, each with its unique characteristics. When choosing the texture, think about how it will interact with the contours of the face. You may want to opt for a texture that matches the overall feel of the image. For example, if the face in the photo is weathered or old, a rougher texture, like cracked stone or aged limestone, might be more appropriate.
Once you've found a texture, make sure it’s high quality and has a resolution that matches or exceeds the resolution of the image you're working with. You can either download stone textures from various online resources or use a texture library if you have one. If you're unsure which texture to choose, you can always experiment with different options until you find the one that fits best.
Preparing the Image
Before applying the stone texture, it’s essential to prepare the image. Open your portrait photo in Photoshop and make any necessary adjustments, such as correcting the exposure, contrast, or color balance. This will ensure that the face looks natural and well-lit before adding the stone effect.
To make the process smoother, it's a good idea to work with non-destructive layers. Begin by duplicating the original image layer (Ctrl+J or Cmd+J on Mac). This way, you can work on the duplicate layer, and if you make any mistakes, you can always revert to the original.

Importing the Stone Texture
Next, import your stone texture into Photoshop. Go to File > Place Embedded and select the stone texture you want to use. Once the texture is imported, it will appear as a new layer on top of your portrait. Resize and position the texture to cover the entire face or the area you want to apply it to. You can use the Transform tool (Ctrl+T or Cmd+T on Mac) to adjust the texture size and orientation.
Blending the Stone Texture
At this stage, it’s time to blend the stone texture with the face. To do this, you will need to change the blending mode of the stone texture layer. Select the stone texture layer, and in the top toolbar, find the dropdown menu that says “Normal.” Click on it and experiment with different blending modes such as Overlay, Soft Light, or Multiply. These modes will allow the stone texture to interact with the underlying face layer, making the texture blend more naturally.
If you want to reduce the intensity of the stone texture, you can adjust the opacity of the texture layer. Lowering the opacity will soften the effect and make the stone look more integrated into the skin.
Masking and Refining the Effect
To make the stone texture fit seamlessly with the face, you will likely need to use a mask. Select the stone texture layer and click on the “Add Layer Mask” button at the bottom of the Layers panel. This will create a mask that allows you to hide parts of the texture that don’t belong on the face.
Using a soft brush, paint black on the mask to remove areas of the stone texture where it doesn’t look natural, such as around the eyes, nose, or mouth. If you accidentally erase too much, switch the brush color to white and paint back over the areas you want to restore. This step ensures that the stone texture is applied only where it makes sense and doesn’t interfere with key facial features.
Adjusting the Texture for Realism
To make the stone texture look more realistic, you may need to adjust its appearance. Begin by using the Gaussian Blur filter (found under Filter > Blur > Gaussian Blur) to soften the texture slightly. This will help the texture blend more naturally with the skin and reduce the harshness of any details.
Next, use the Levels or Curves adjustment layers to fine-tune the brightness and contrast of the texture. These adjustments will help the stone texture match the lighting conditions of the photo, ensuring that it doesn’t look out of place.
Enhancing Shadows and Highlights
Adding shadows and highlights is an essential step in making the stone texture look like it’s part of the face. To do this, you can use the Dodge and Burn tools in Photoshop. The Dodge tool is used to lighten areas that should catch light, while the Burn tool is used to darken areas that should be in shadow. Apply these tools to the stone texture to emphasize the contours of the face, making the stone effect feel more integrated with the natural shape of the face.
If necessary, you can create additional adjustment layers for shadows and highlights, such as Brightness/Contrast or Exposure. Play around with these settings to enhance the depth and realism of the final image.
Final Touches
Once you're happy with how the stone texture blends with the face, take a step back and review the overall image. Zoom in and out to check for any areas that may look unnatural or harsh. If there are any spots where the texture doesn’t quite match, use the Clone Stamp tool or the Healing Brush to touch up the areas and make them blend more smoothly.
Finally, add any finishing touches, such as color grading, sharpening, or contrast adjustments, to enhance the overall look of the image. Make sure the stone texture integrates well with the lighting, color, and mood of the photo to create a cohesive final result.
In conclusion, adding a stone texture to a face in Photoshop is a creative process that involves several steps, including selecting the right texture, blending it seamlessly, and refining the final result for realism. With the right tools and techniques, you can achieve a stunning, textured effect that enhances the subject's appearance. If you're looking to take your designs even further, you can explore high-quality 3D models and textures available on the Relebook website, offering a wealth of resources to elevate your creative projects.
FAQ
Can I use any stone texture for this effect?
While you can experiment with various stone textures, choosing one that complements the lighting and feel of the face is important for achieving a realistic result. Rough textures may work better for an older or more rugged look, while smooth textures are better suited for a more refined appearance.
How do I make the stone texture look more 3D?
To give the stone texture a more three-dimensional effect, use the Layer Styles option and apply some subtle Bevel and Emboss. You can also enhance the shadows and highlights with the Dodge and Burn tools to add depth.
The stone texture looks too harsh on the skin. How can I soften it?
You can reduce the opacity of the stone texture layer or apply a slight Gaussian blur to soften the texture. Additionally, adjusting the blending mode to something softer, like Soft Light, can help blend the texture more naturally with the skin.
How do I avoid the stone texture covering important facial features?
Using a layer mask is essential for controlling where the texture appears. By painting on the mask with a soft brush (black to erase, white to restore), you can selectively remove the texture from areas like the eyes, nose, or mouth where it doesn’t belong.
Can I use other textures like marble or brick for a similar effect?
Yes, you can use any type of texture that suits the concept you are working with. The process remains the same, but different textures may require slight adjustments in blending mode or opacity to achieve the best result.

