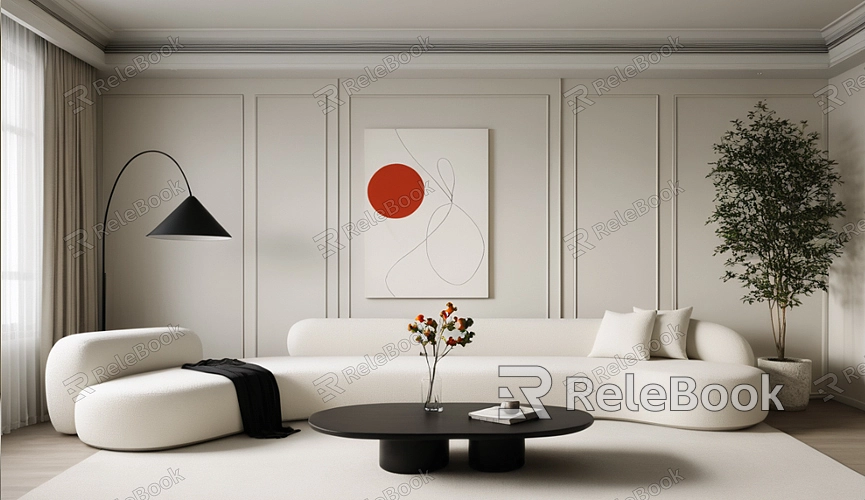
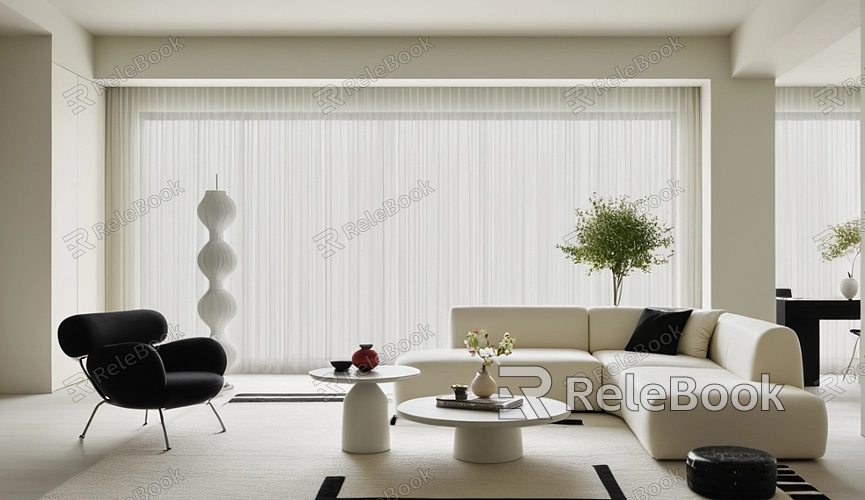
How to Add Materials and Render 3D Models in AutoCAD?
In AutoCAD, visualizing your 3D models effectively can significantly enhance the presentation of your designs, making them more realistic and engaging. By adding materials and rendering your models, you can bring your design concepts and details to life. This article will provide a detailed guide on how to add materials and render 3D models in AutoCAD, helping you improve your design presentation and showcase the intricacies of your work.
Preparation
Before you start adding materials and rendering, make sure your 3D model is complete. You can either create a new model from scratch or use an existing one. The geometry and structure of your model must be accurate and finished before you proceed with adding materials and rendering. Once your basic model is ready, you can begin the following steps to enhance its visual appeal.
Adding Materials
1. Access the Materials Panel
Open AutoCAD and locate the “Materials” panel in the main interface. Typically, this panel can be found under the “View” or “Render” tabs. If you can’t find it, you can activate the material editor by typing the “MAT” command.
2. Create a New Material
In the materials panel, you’ll see a material library. Click the “Create New” button to create a new material. You can name this material to distinguish it later. Set the basic properties of the material, such as color, texture, and glossiness. Click the “Texture” tab to choose an existing texture file or use the “Browse” function to import a new texture.
3. Apply the Material
Drag and drop the created material onto the appropriate faces of your 3D model. You can also select the “Assign Material” option and specify where on the model the material should be applied. Make sure the size and orientation of the material are appropriate for the model to avoid texture stretching or distortion.
Rendering the Model
1. Set Up the Rendering Environment
Before rendering, you need to set up the rendering environment. Open the “Render” tab and choose “Render Settings.” Here, you can adjust the rendering quality, resolution, and lighting settings. Select settings that fit your project needs to ensure the best rendering outcome.
2. Adjust Lighting
Lighting plays a crucial role in rendering. In the render settings, you can choose different types of light sources, such as point lights, directional lights, and spotlights. Adjust the position, intensity, and color of the lights to achieve the desired lighting effect. Experiment with different light configurations to find the best setup for your model.
3. Preview the Render
Before performing the final render, you can do a preview render. This allows you to check the material, lighting, and shadow effects to ensure they meet your expectations. Click the “Preview” button to view the rendering effect. If there are issues, adjust the material or lighting settings until you are satisfied.
4. Perform the Final Render
Once the preview looks good, click the “Render” button to start the final render. The rendering process may take some time, depending on the complexity of the model and the render settings. After completion, you can review the rendered result and save it as an image or other formats for display and sharing.
This article covered how to select materials, set up rendering environments, and adjust lighting to create impressive 3D model presentations. We hope this guide helps you achieve better design results. For high-quality 3D models and texture resources, visit the Relebook website to download the materials you need and enhance your design experience.
FAQ
How do I choose the right texture file?
When selecting a texture file, ensure it matches the material properties of your model. High-resolution textures provide clearer details, while the right texture type better represents the material. For instance, wood textures should show wood grain details, and metal textures should reflect light.
How do I adjust the resolution in render settings?
In the render settings, you can adjust the resolution according to your needs. Higher resolution provides clearer images but increases render time. Generally, choose a resolution that balances quality and time.
How do I reduce noise in rendering?
Noise is often caused by improper render settings or insufficient lighting. Increase the render quality settings and adjust the light source's intensity and position to help reduce noise. If the noise persists, try extending the render time.
How do I save the rendered result?
After rendering, you can save the result by clicking the “Save” button and choosing an image file format (such as JPEG or PNG) and resolution. This allows you to display and share the rendered image across different platforms.
