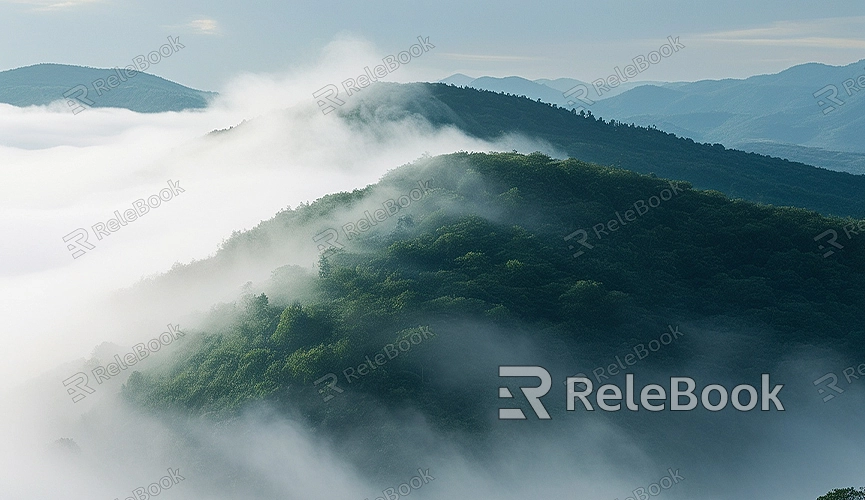
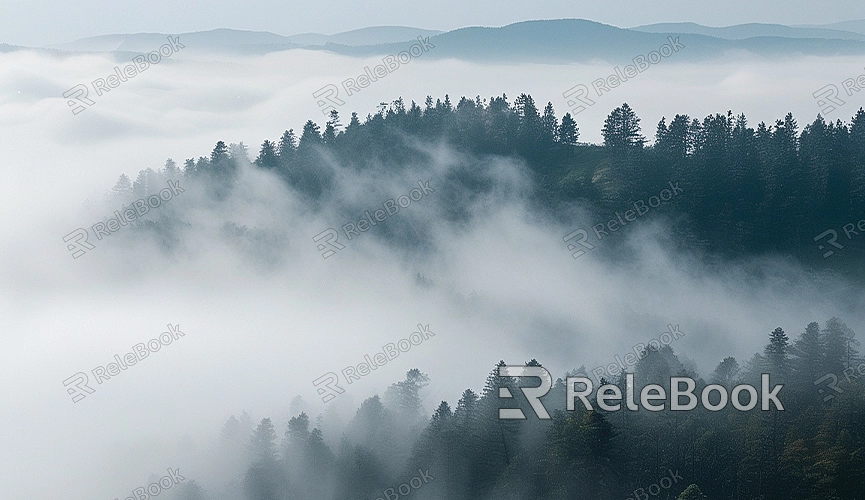
How to Render Mist Layers in Blender
Rendering mist layers in Blender is an effective way to enhance the depth and atmosphere of a scene, particularly when creating fantasy or realistic environments. Mist layers can add a sense of mystery and depth to your 3D scene, making it more vibrant. This guide will provide a detailed explanation of how to render mist layers in Blender, covering both basic setups and advanced techniques for creating stunning mist effects.
Preparation
Before rendering mist layers, make sure your Blender project is set up and ready to go. Here are some basic preparatory steps:
1. Create the Base Scene:
- Create or import the scene where you want to add mist in Blender. Ensure the scene contains sufficient geometry and light sources so that the mist effect will be noticeable.
2. Set Up the Render Engine:
- In the “Render Properties” panel, select the appropriate render engine. Blender's Cycles and Eevee render engines both support mist effects, but their setup processes differ. Choose the render engine that best suits your needs.
Setting Up Mist Layers in Cycles
Cycles offers powerful physical simulation effects, making mist layers very realistic. Follow these steps to set up mist layers:
1. Add a Volume Object:
- In the 3D view, add a new volume object. Go to the “Add” menu, select “Mesh,” and add a “Cube.” This cube will serve as the base for your mist layer.
- Scale the cube to fit the range of your scene, ensuring it encompasses the area where you want to create the mist effect.
2. Set Up the Material:
- Select the cube and go to the “Material Properties” panel, then click “New” to create a new material.
- In the Shader Editor, add a “Principled Volume” node and connect it to the “Volume” input. Adjust the “Density” parameter to control the concentration of the mist. Higher density values result in thicker mist.
3. Configure Render Settings:
- Ensure that the “Volume Sampling” settings in the “Render Properties” panel are correctly configured to ensure the quality of the mist effect. Increasing the “Samples” can improve render quality but will also increase render time.
Setting Up Mist Layers in Eevee
Eevee provides real-time rendering effects, ideal for quick previews and game engines. Here’s how to set up mist layers in Eevee:
1. Enable Volumetric Effects:
- In the “Render Properties” panel, make sure the “Volumetric” option is enabled. This will allow Eevee to render the mist effect.
- In the “Volume” settings, adjust the “Start” and “End” parameters to define the start and end positions of the mist layer.
2. Create the Volume Object:
- Similarly, add a volume object (like a cube) and adjust its size to cover the target area of your scene.
- In the “Material Properties” panel, create a new material and add a “Volume Scatter” node. Adjust the “Density” parameter to control the concentration of the mist.
3. Adjust Light Source Settings:
- In Eevee, the appearance of the mist effect is heavily influenced by light sources. Try adjusting the position and intensity of light sources to achieve the best mist effect.
Additional Tips for Handling Mist Layers
In addition to basic mist layer setups, here are some advanced tips to enhance your mist effects:
1. Use HDRI Environment Lighting:
- Using High Dynamic Range Images (HDRI) as environment light sources in Blender can provide more natural lighting and mist effects for your scene. You can download high-quality HDRI resources for free from [Relebook’s texture site](https://textures.relebook.com/).
2. Combine with Other Effects:
- You can combine mist layers with other effects such as Depth of Field and Bloom to enhance the realism and beauty of your scene. Adjust these effects in the “Render Properties” panel to achieve the best visual results.
3. Optimize Render Settings:
- Rendering volumetric effects can be resource-intensive, especially with high density and quality settings. Balance render quality and efficiency by adjusting sampling rates and volume settings.
Rendering mist layers in Blender is an effective way to enhance the depth and atmosphere of your scene. Whether using Cycles or Eevee, you can create realistic mist effects by adjusting material settings and render options. Combining HDRI environment lighting and other effects can further elevate your scene's presentation.
If you need high-quality 3D textures and HDRIs, you can download them for free from [Relebook’s texture site](https://textures.relebook.com/). For beautiful 3D models, visit [Relebook’s model site](https://3dmodels.relebook.com/) where Relebook offers a wide range of premium 3D resources. These resources will help you enhance your rendering quality and create outstanding visual work.
