How to Adjust the Exposure of a Skydome HDR Texture in Cinema 4D
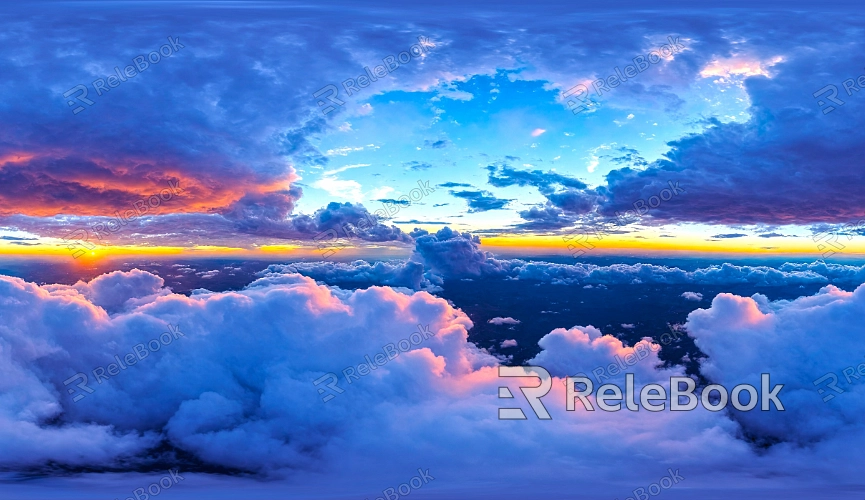
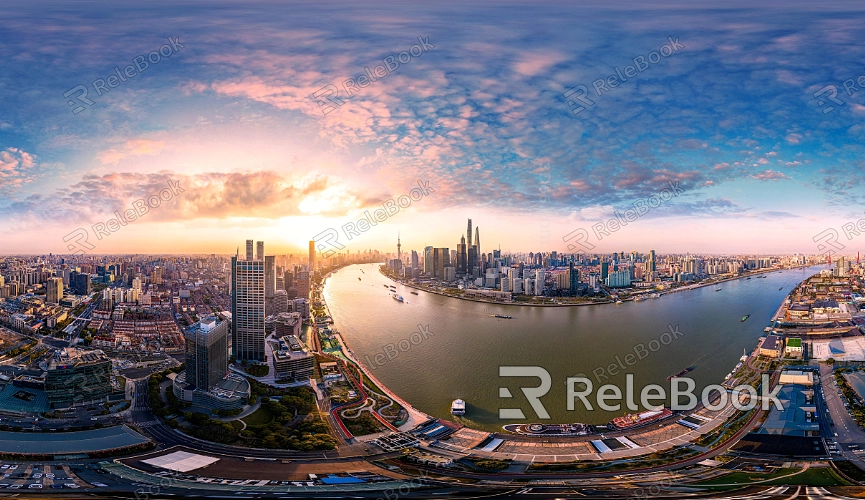
In 3D software like Cinema 4D, skydome HDR textures provide natural lighting and shading for scenes. However, you may occasionally need to adjust the exposure of a skydome HDR texture to achieve the desired rendering effect. This situation often arises in scenarios such as insufficient or excessive scene lighting, specific artistic requirements, improving rendering quality, and light matching issues. Here’s a detailed guide on how to adjust skydome HDR texture exposure in Cinema 4D.
1. Import the HDR Texture
Select the Right HDR File: Ensure that the HDR file you’re using is high-quality and suitable for your scene. If creating HDR textures seems too complex or time-consuming, or if you’re unsure how to create them, you can visit Relebook to download high-quality HDR textures from https://textures.relebook.com/ .
Load the HDR Texture: In Cinema 4D, use the material editor to apply the HDR texture to the skydome. Open the material editor, go to the "Environment" tab, and drag the HDR texture into the “Environment” channel of the skydome material.
2. Adjust Exposure Settings
Access Exposure Settings: In the material editor, find the "Exposure" setting for the HDR texture. This option is typically located under “Image Effects” or “Basic” settings.
Modify Exposure Value: Adjust the brightness of the HDR texture by increasing or decreasing the exposure value. Increasing the exposure will brighten the texture, while decreasing it will darken the texture. Gradually adjust the exposure value and check the results in real-time until you achieve the desired effect.
3. Correct Colors and Contrast
Color Correction: Sometimes, after adjusting the exposure, the HDR texture's colors may shift. Use color correction tools (such as “Levels” or “Curves”) to fine-tune the colors so they better match the scene requirements.
Adjust Contrast: Increasing contrast can enhance the texture’s details and depth, while decreasing contrast will result in smoother transitions between light and shadow. Adjust contrast based on the needs of your scene.
4. Real-Time Preview and Test Rendering
Use Real-Time Preview: While adjusting the exposure settings, utilize Cinema 4D’s real-time preview feature to observe the effects. This allows you to quickly identify changes and make necessary adjustments.
Perform Test Renders: Before finalizing the exposure settings, conduct small-scale test renders. This ensures that the adjusted settings perform well in the final render and meet the project’s requirements.
Adjusting the exposure of a skydome HDR texture is a crucial step in optimizing 3D rendering results. Proper adjustments can enhance natural lighting, improve rendering quality, and achieve visually appealing effects.
By following these steps, you’ll gain better control over HDR texture adjustments in Cinema 4D, boosting your rendering efficiency and results. If you’re looking for high-quality HDR images, 3D textures, SketchUp models, or 3ds Max models to create your designs and virtual scenes, Relebook offers a wealth of options to help you achieve outstanding visual effects in your projects.
