How to Set Up a Skydome HDR Texture in Unreal Engine for Realistic Lighting
In Unreal Engine, skydome HDR textures can provide natural and dynamic lighting effects that greatly enhance the realism of a scene. However, achieving the best lighting results requires proper setup of the skydome HDR texture. Whether you're dealing with insufficient or uneven scene lighting, aiming for specific visual effects, improving rendering quality, or coordinating with other light sources, here’s how to effectively set up a skydome HDR texture in Unreal Engine for realistic lighting.
1. Import the HDR Texture
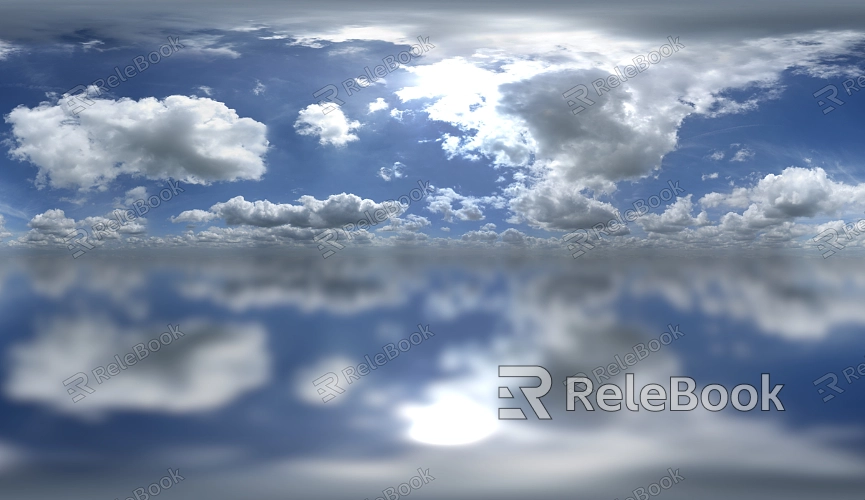
Choose the Right HDR File: Ensure that the HDR file you select is high-resolution and of good quality, suitable for your scene. If creating HDR textures seems too complex or time-consuming, consider visiting Relebook to download high-quality HDR texture resources, saving you both effort and time.
Import HDR Texture into Unreal Engine: Use the “Content Browser” in Unreal Engine to import the HDR texture into your project. Select the “Import” option and locate your HDR file to complete the import process.
2. Set Up the Skydome Material
Create a Skydome Material: In Unreal Engine, create a new material and set its “Material Type” to “Volume Lighting” or “Environment Lighting.” This will set up the appropriate material type for your skydome.
Apply the HDR Texture: Drag the imported HDR texture into the material’s “Environment” channel. Adjust the material settings to ensure that the HDR texture is correctly mapped to the skydome.
3. Adjust Lighting Settings
Set Exposure Value: In the material editor, find the “Exposure” option. Increase or decrease the exposure value to adjust the brightness of the HDR texture. Make incremental adjustments and preview the effects in real-time until you achieve the desired lighting level.
Tune Color and Contrast: Use “Color Correction” and “Contrast” tools to fine-tune the color and contrast of the HDR texture. Increasing contrast can highlight details, while adjusting color ensures that the texture matches the tone of the scene.
4. Real-Time Preview and Testing
Conduct Real-Time Preview: Utilize Unreal Engine’s real-time preview feature to view the effects of HDR texture adjustments. This allows for quick identification and correction of any issues.
Perform Test Renders: Before finalizing the settings, conduct test renders to ensure that the HDR texture’s lighting effects meet project requirements. This helps to verify the accuracy of the settings and ensures that the final result is satisfactory.
Properly setting up skydome HDR textures is crucial for achieving high-quality, realistic lighting effects. By following these steps, you can effectively adjust lighting settings in Unreal Engine, enhancing the natural appearance and detail of your renders.
Once you’ve completed these steps, you'll have greater control over HDR texture settings in Unreal Engine, boosting both the quality and efficiency of your renders. If you're looking for more high-quality HDR images, 3D textures, or other resources, Relebook offers a wide range of options to help you achieve exceptional visual effects in your projects.
