How to Blend HDR Forest Textures with 3D Models for Realism
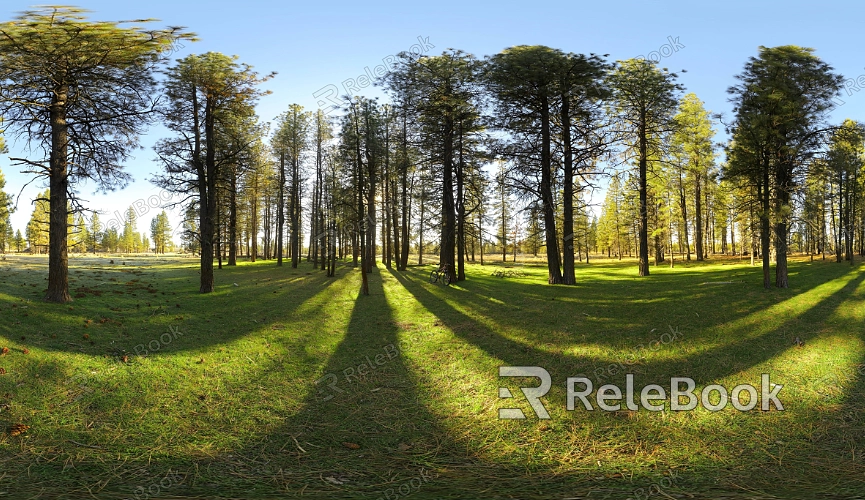
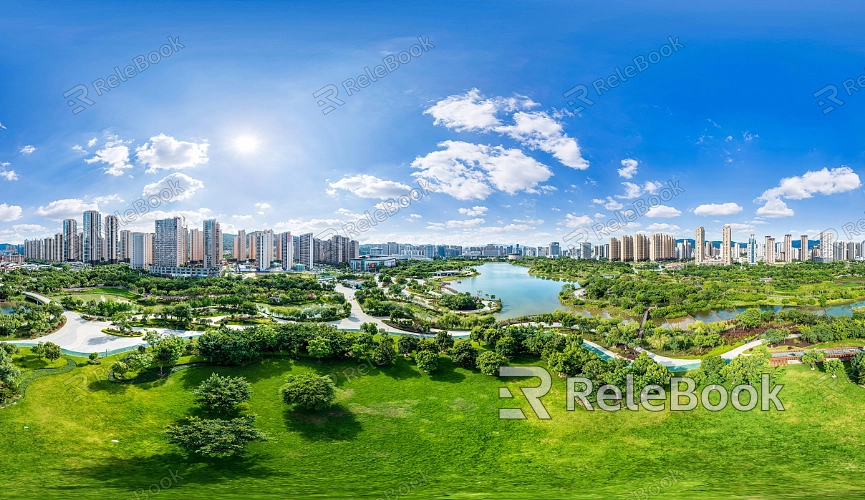
HDR textures capture a broader range of lighting details, especially in natural environments like forests, where shadows and highlights play a crucial role. HDR textures can bring more realistic lighting and atmosphere to outdoor scenes, enhancing the overall realism. Popular software such as Blender, Unreal Engine, 3ds Max, and Cinema 4D often utilize HDR forest textures to combine with 3D models, creating visually impactful renderings. This article explores techniques and methods to blend HDR forest textures with 3D models for enhanced realism.
1. Choosing the Right HDR Forest Textures
Before starting any project, selecting appropriate HDR textures is essential. Different forest environments and lighting conditions require specific HDR images to ensure the 3D model blends naturally into the scene.
Lighting Match: Ensure the HDR texture matches the primary light source in the scene. For instance, if sunlight is the main light source, choose an HDR texture that includes sunlight for a natural transition between light and shadow.
Resolution Requirements: High-resolution HDR textures retain more lighting details, especially in large forest scenes. Lower resolution images can negatively affect the overall lighting quality.
2. Optimizing Interaction Between HDR Textures and 3D Models
When blending HDR textures with 3D models, it’s crucial to ensure that the lighting effects from the textures interact naturally with the model's surface. This requires optimization in material and lighting settings.
Reflection Effects: Use HDR textures to enhance the reflective surfaces of the model. For example, wet areas, rivers, or tree leaves in a forest scene can become more vivid with HDR reflections.
Shadow Transitions: HDR textures handle light and shadow transitions more smoothly. Adjust the shadow details to ensure your 3D model reacts naturally to different lighting conditions.
3. Enhancing Detail with Normal and Bump Maps
Combining HDR textures with normal or bump maps can significantly enhance the detail in 3D models. This technique allows for richer textures on the model while maintaining balanced lighting effects.
Terrain and Ground Details: In forest scenes, the ground’s texture, such as stones or grass, can be made more realistic by blending HDR textures with normal maps, offering a more lifelike appearance.
Tree Surface Textures: For tree rendering, combining HDR textures with normal maps enhances the bark’s texture, making it stand out more under lighting conditions.
4. Adjusting Light Direction and Intensity
When working with HDR textures, it’s essential to align the light direction and intensity with the lighting environment of the 3D scene. While HDR images provide broad light information, improper adjustments can lead to unnatural lighting.
Adjusting Light Direction: By rotating or positioning the HDR texture correctly, you can ensure that the light source matches the scene’s light direction, improving the lighting interaction with the model.
Brightness and Contrast Control: Adjust the brightness and contrast of the HDR texture to avoid overly bright or dark areas on the model, ensuring balanced lighting throughout the scene.
5. Using HDR for Global Illumination
HDR textures aren’t limited to local lighting adjustments but can also enhance global illumination in a scene. By introducing global HDR lighting, you can simulate more natural light scattering and reflections across the scene.
Environment Light Settings: Combining HDR textures with environment light settings can simulate complex lighting effects, such as sunlight filtering through leaves and changing shadows, making the forest scene more realistic.
Light Reflection and Refraction: Common phenomena like light reflections on water surfaces or refraction through tree leaves in forest scenes can be dramatically improved using HDR textures.
6. Optimizing Rendering Settings for Performance
While HDR textures can enhance visual quality, high-resolution HDR images require significant system resources. Optimizing rendering settings is necessary to balance efficiency and image quality.
Sampling Rate Optimization: By fine-tuning sampling rate settings, you can reduce unnecessary ray-tracing calculations, boosting rendering efficiency while maintaining high-quality outputs.
Denoising: During the rendering process, you can use denoising tools to minimize noise caused by HDR lighting, ensuring cleaner, sharper final images.
7. Post-Processing for Enhanced Realism
After rendering, post-processing is a key step in improving the overall visual quality of the scene. Proper post-production adjustments can further enhance the visual impact of the blended HDR textures and 3D models.
Color Correction and Contrast Adjustment: In post-production, adjusting the image’s color, brightness, and contrast can make the model appear more vivid under HDR textures, boosting the final image’s visual appeal.
Depth of Field and Light Effects: Adding depth of field and light effects during post-production can introduce more layers to the scene, making it closer to real-world lighting behavior.
By following these methods, HDR forest textures can significantly improve the lighting and detail of 3D environments, providing more realistic textures to your models. If you're looking for high-quality HDR textures, Relebook offers a wide range of HDR images, 3D models, and texture maps to help you create stunning 3D scenes. Explore Relebook’s resources to achieve extraordinary visual results in your next project.
