How to run bmw blender render
Blender is a powerful open-source 3D design software that can be used to create high-quality 3D renderings. This article will provide a detailed overview of how to render BMW models in Blender, covering the entire process from model import, scene setup, and material application to the final rendering. Whether you're a beginner or an experienced user, this guide will offer practical advice to help you achieve stunning BMW model renders.
1. Preparation
Acquire a 3D Model of a BMW
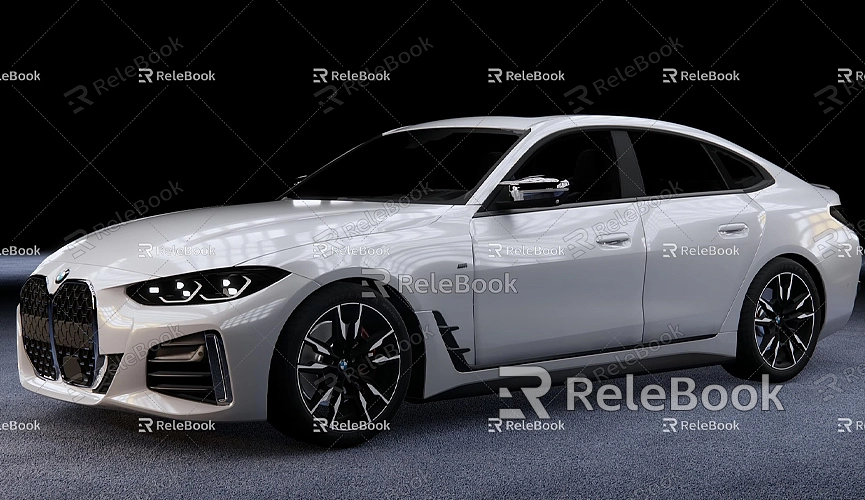
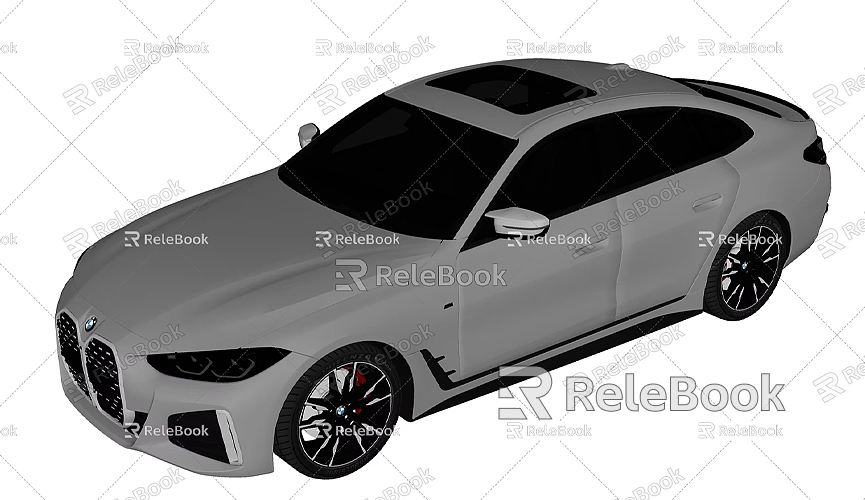
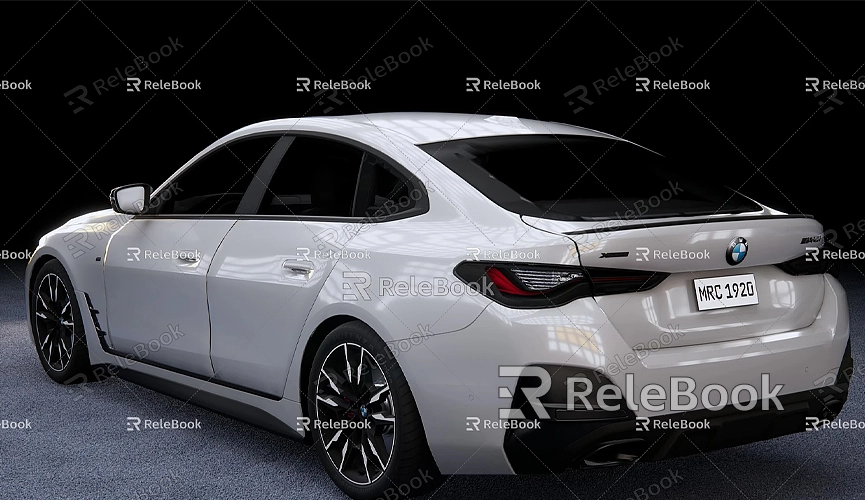
First, you need a high-quality 3D model of a BMW. If you don’t have one, you can obtain it from resource websites like Relebook. Relebook offers a wide range of beautiful 3D models, and you can download the desired BMW model from [Relebook](https://3dmodels.relebook.com/). Choose a format compatible with Blender (such as .obj or .fbx) for your download.
Install and Set Up Blender
Before rendering, ensure you have the latest version of Blender installed. You can download Blender from the [official Blender website](https://www.blender.org/).
2. Importing the 3D Model
Open Blender and Create a New Project
Launch Blender and choose to create a new project or open an existing one. If you select a new project, you can modify the default cube scene.
Import the Model
1. Go to the top menu and select “File” > “Import.”
2. From the dropdown menu, choose the file format of your model (.obj, .fbx, etc.).
3. Navigate to your folder, find the downloaded BMW model file, and click the “Import” button.
Check the Model
After importing, make sure the model is not distorted or missing details. You can check the integrity of the model by adjusting the view, scaling, or rotating it.
3. Setting Up the Scene
Adjust Model Position and Scale
1. Select the model and use the “Move” tool to position it appropriately.
2. Use the “Scale” tool to adjust the size of the model to fit the scene.
Create and Apply Materials
1. Add New Material: In the properties panel on the right, click the “Material” tab and then click “New” to create a new material.
2. Set Material Properties: Adjust properties like color and glossiness in the material settings to achieve a realistic car body effect.
3. Apply Textures: If the model comes with textures, import the texture files in the “Texture” options under the “Material” tab. For more high-quality textures, you can download them for free from [Relebook](https://textures.relebook.com/). Apply these textures to enhance visual effects.
Set Up Ambient Lighting
1. Add Light Sources: In the “Add” menu, select “Light,” then choose the appropriate type of light (point light, sunlight, or spotlight).
2. Adjust Light Source: Use the “Move” and “Rotate” tools to position and angle the light source, ensuring even lighting that highlights the model's details.
Set Up the Camera
1. Insert a Camera: In the “Add” menu, select “Camera.”
2. Adjust Camera Position and Angle: Select the camera and use the “Move” and “Rotate” tools to adjust the viewpoint, ensuring the camera captures all the model's details.
4. Rendering Settings
Choose a Rendering Engine
1. Select Rendering Engine: In the properties panel on the right, click the “Render” tab. You can choose either the “Cycles” or “Eevee” rendering engine. Cycles offers higher quality ray tracing but may take longer, while Eevee provides real-time rendering that is faster but may compromise slightly on quality.
Adjust Rendering Settings
1. Resolution Settings: In the “Output Properties” panel, adjust the image resolution to meet your needs. It’s recommended to use a higher resolution to ensure clarity in the rendered image.
2. Set Image Format: Choose the output format for the image, such as PNG or JPEG, which will affect the quality and size of the final rendered image.
3. Rendering Presets: Select different settings based on your rendering engine, such as light reflection and shadow quality, to optimize the rendering effect.
Start Rendering
1. Click the “Render” menu and select “Render Image,” and Blender will begin processing and generating the final BMW model render.
2. After rendering is complete, you can view and save the final image in the rendering window.
5. Post-Processing
Image Editing
Once rendering is complete, you can use Blender’s compositor or other image editing software (like Photoshop) for further post-processing. You can adjust colors, contrast, and brightness to enhance the visual effects of the image.
By following these steps, you can successfully render high-quality BMW models in Blender. Ensuring that each step—from model import, scene setup, and material application to light and camera adjustments—is carefully handled will significantly enhance the final rendering results. If you need a variety of high-quality 3D textures and HDRIs for creating models and virtual scenes, you can download the necessary resources for free from [Relebook](https://textures.relebook.com/). For stunning 3D models, check out [Relebook](https://3dmodels.relebook.com/), which offers a wealth of high-quality 3D resources.
I hope this guide helps you achieve a successful render of your BMW model. If you have any questions or need further assistance, don’t hesitate to explore more features and techniques within Blender.
